Positive Blues

I have made quite a few quilts over the past few years. Many of them have been very simple, because I have been gravitating toward patterns that settle the mind, rather that ignite it. I am fully capable of challenging patterns and designs, some of which I plan to share as I begin to ‘unfold’ again into social media and such. It feels so good to be back, with a solid mindset of productivity. I hope to inspire a few of you to pick things up again if you also feel like you had put things on a shelf for another day, which then turned into another year or more.

Having finished a few really fun quilts for guys, I found that I had a decent amount of leftover scraps. This was not a big surprise. Actually, it’s par for the course, I am afraid. Maybe, instead of talking about this quilt, I should have started with the ones that produced the scraps for this one. Doing things backwards is in my blood, though, so lets just go with it.
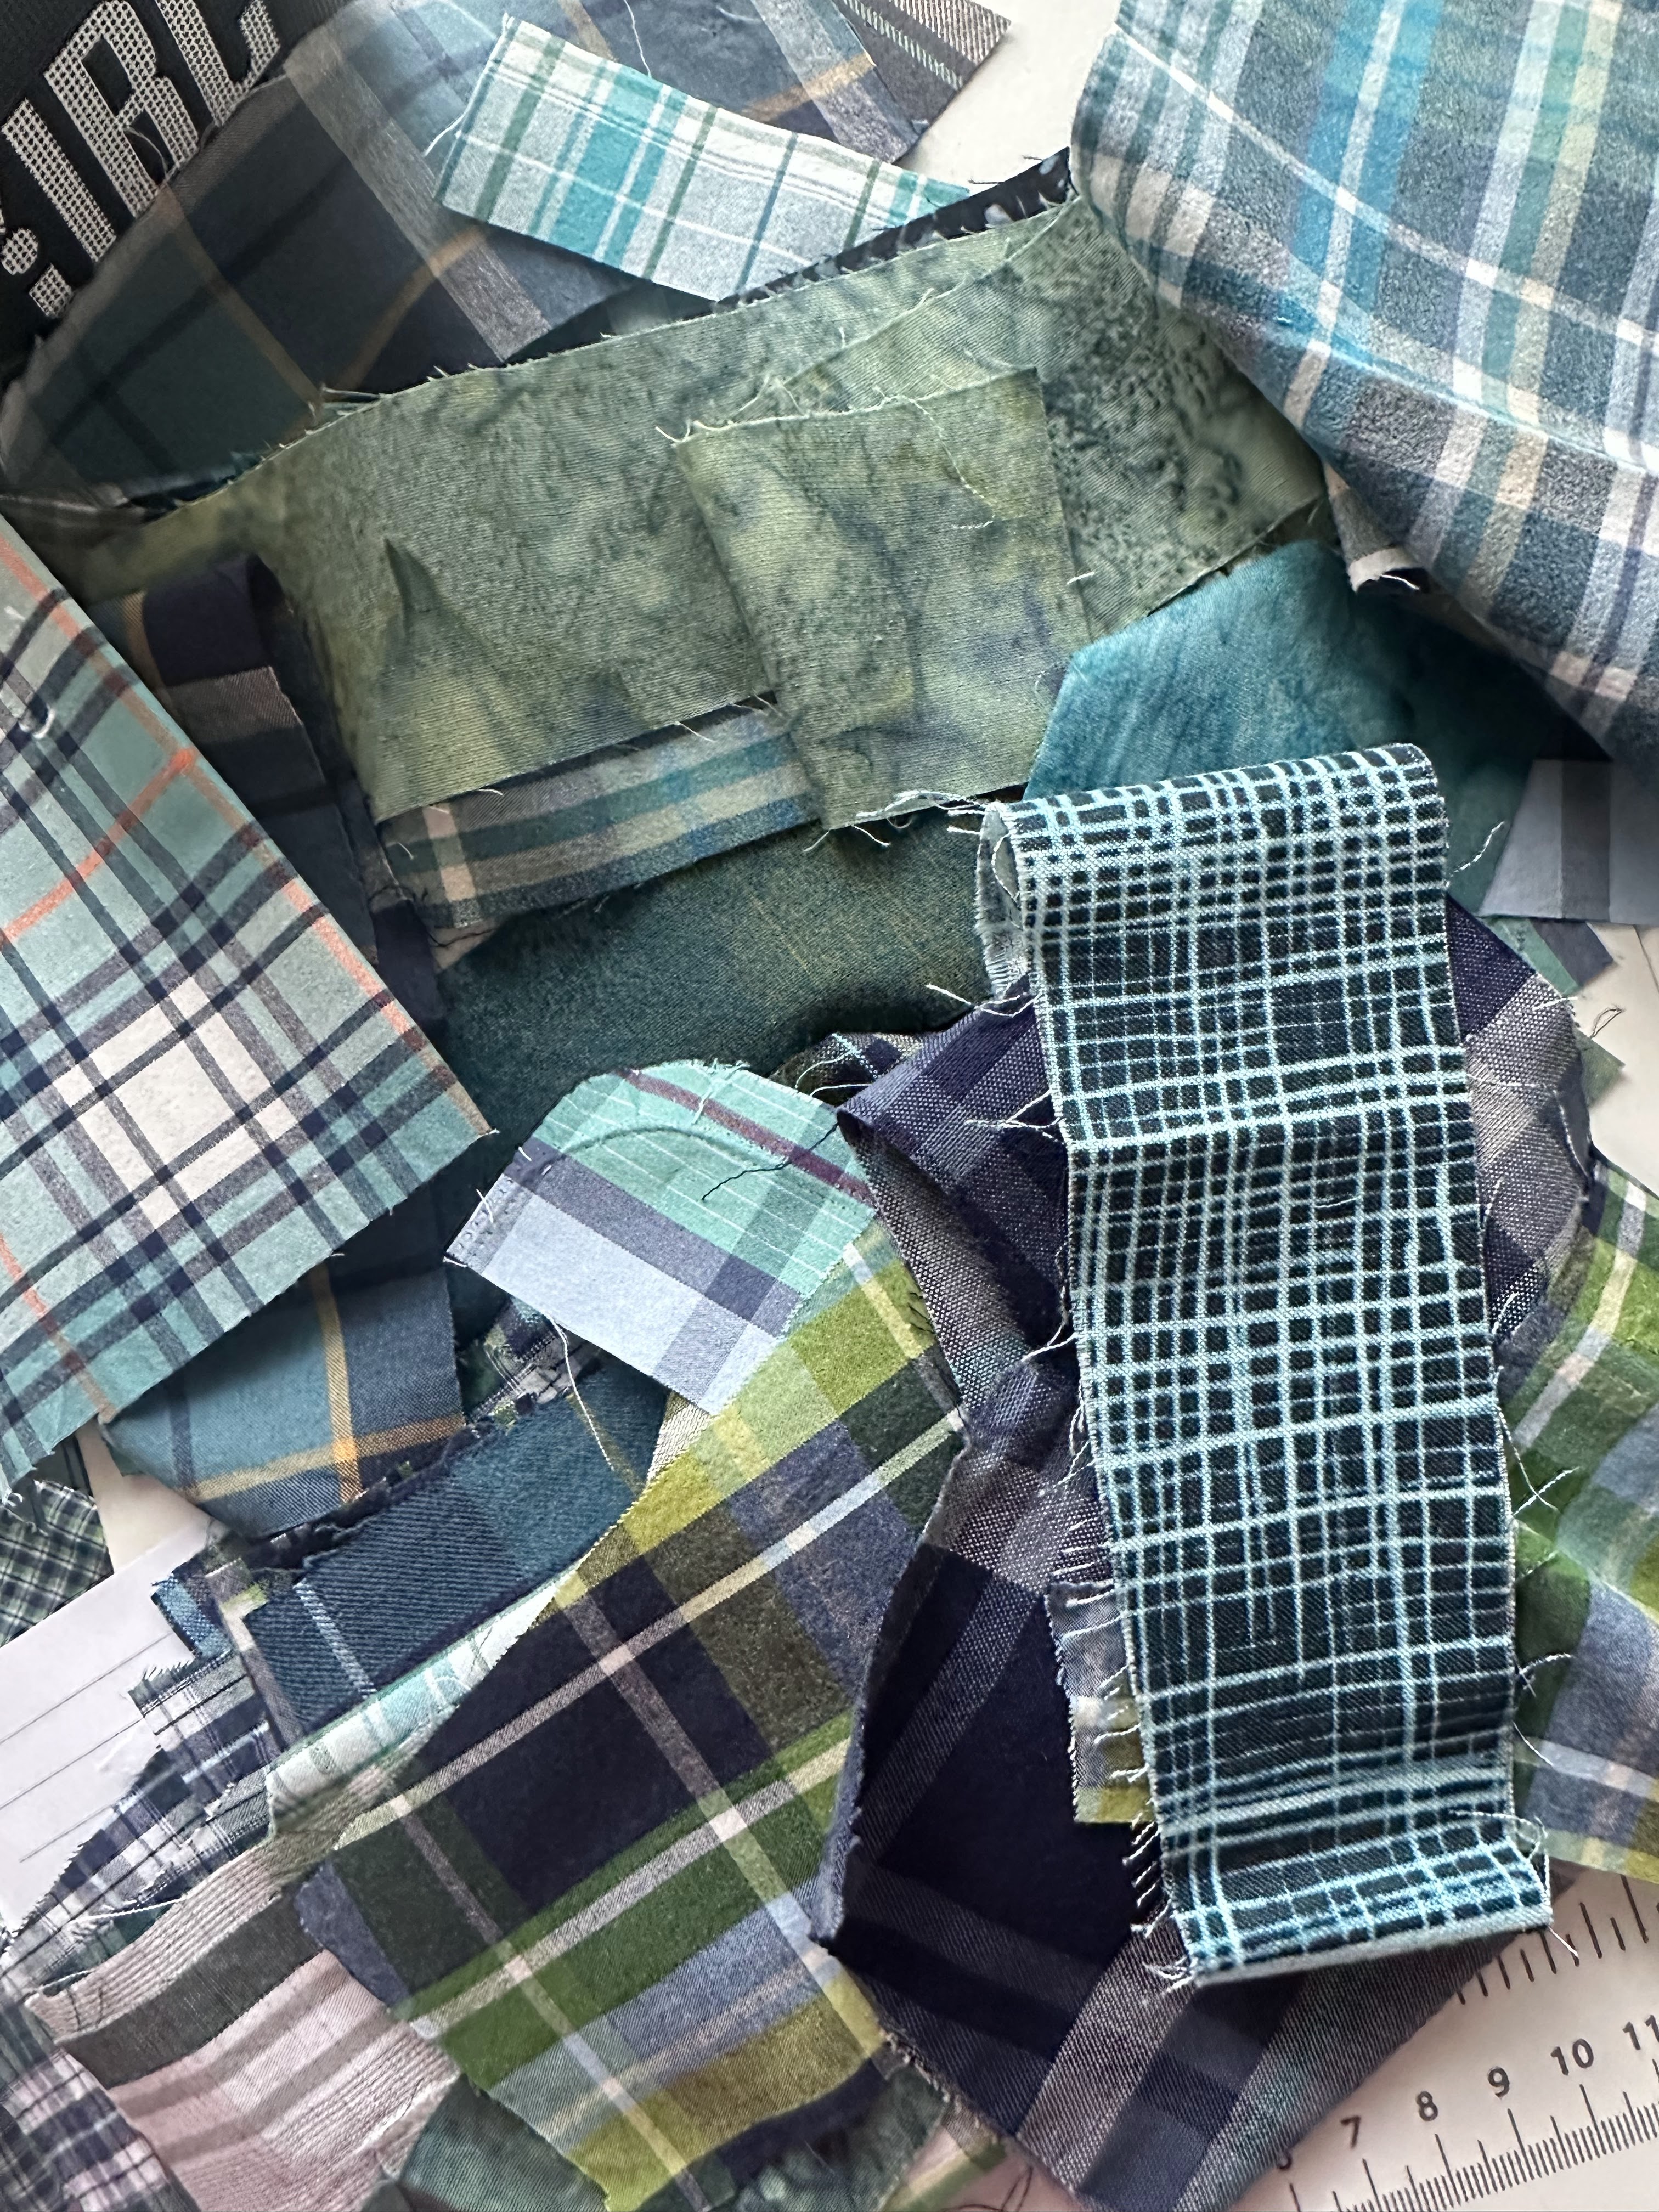
It began as it usually does, with a pile of scraps left over from another project that coordinates so well that I refuse to throw them in the garbage. Sometimes I wish that I would get the minimalist bug, but my brain would just get bored with the nothing and end up with something within about 30 minutes. I won’t explain myself. I will simply share my madness.

Here, you can see that I have a variety of cut-up plaid shirts, quilting cotton, and batiks, In a range of mostly blue, turquois, and green. I stayed on that one corner of the color wheel and it seemed to work out just fine. Most of these scraps were small, so i just sewed a bunch of them together, improv-style, until I got pieces that measured 3 1/2 inches square, not yet knowing what I was going to do with them.
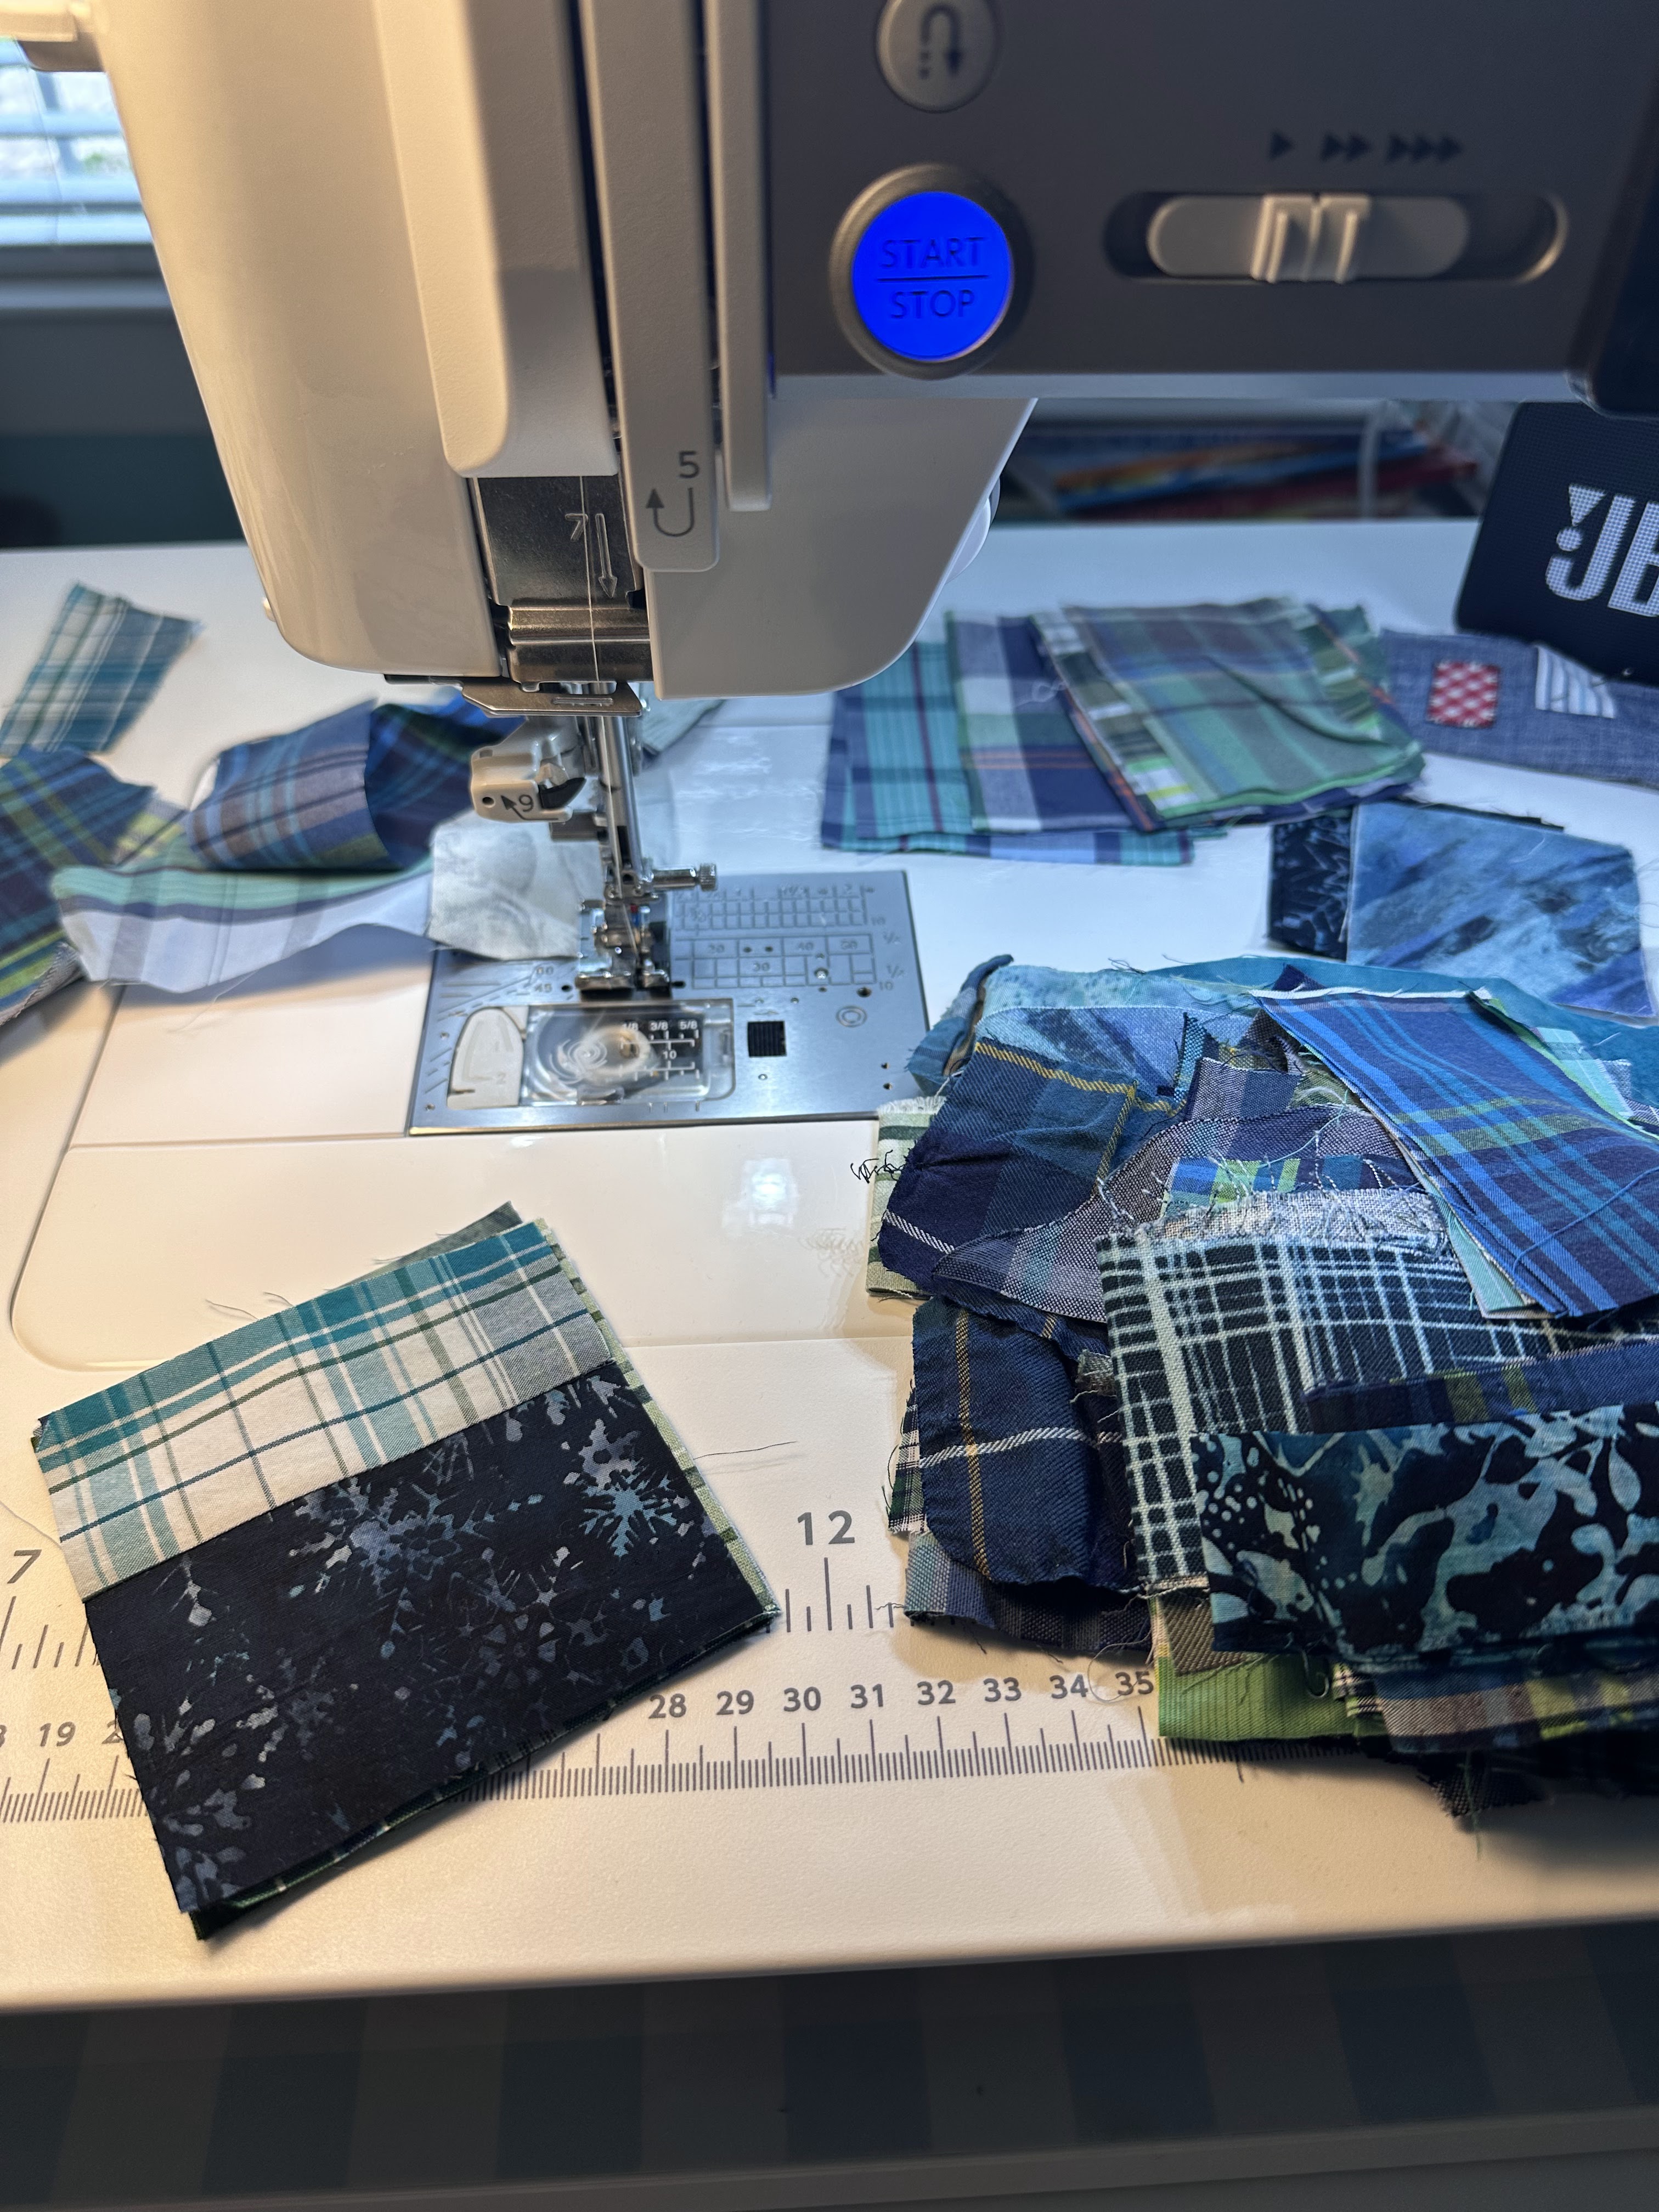
This is what they started looking like as I sewed. I didn’t worry too much about contrast or too much of one color or another, but I did try to vary the type of fabric within each square, such as a batik sewn to a plaid, or quilting cotton to a batik, etc.
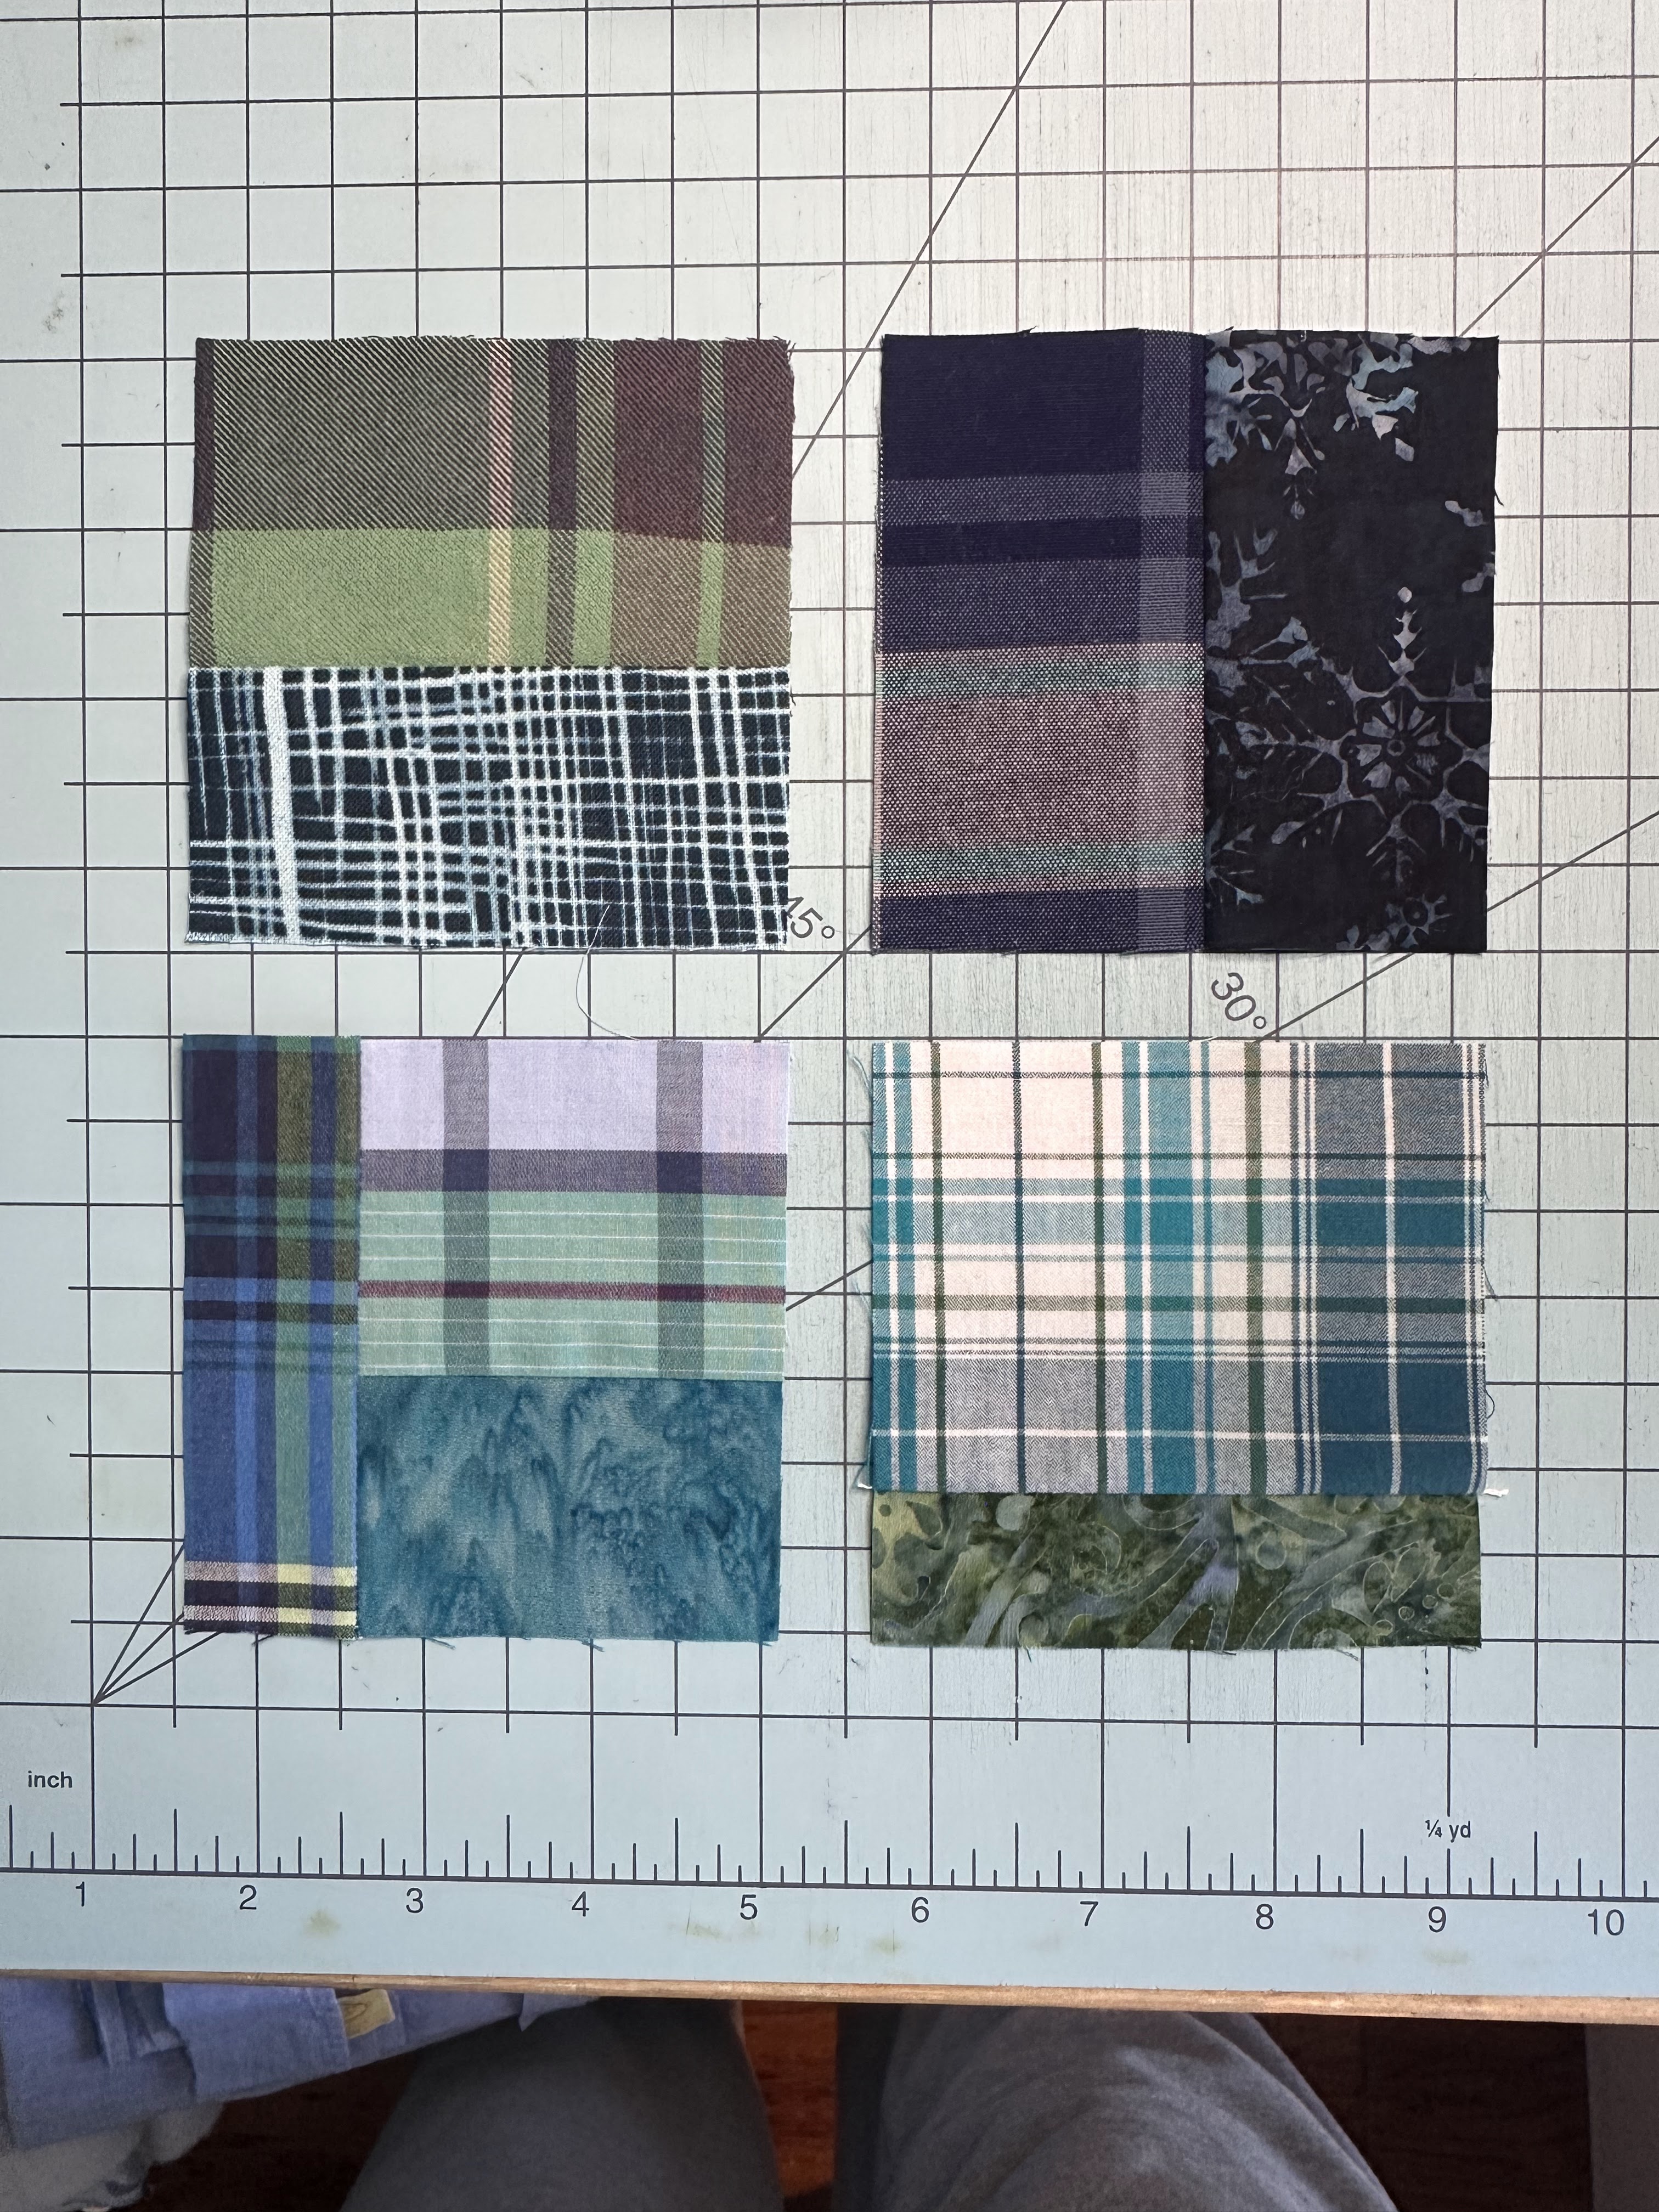
Most of the squares looked like these. I only did vertical and horizontal lines, but I think a stray diagonal would have been fantastic too.
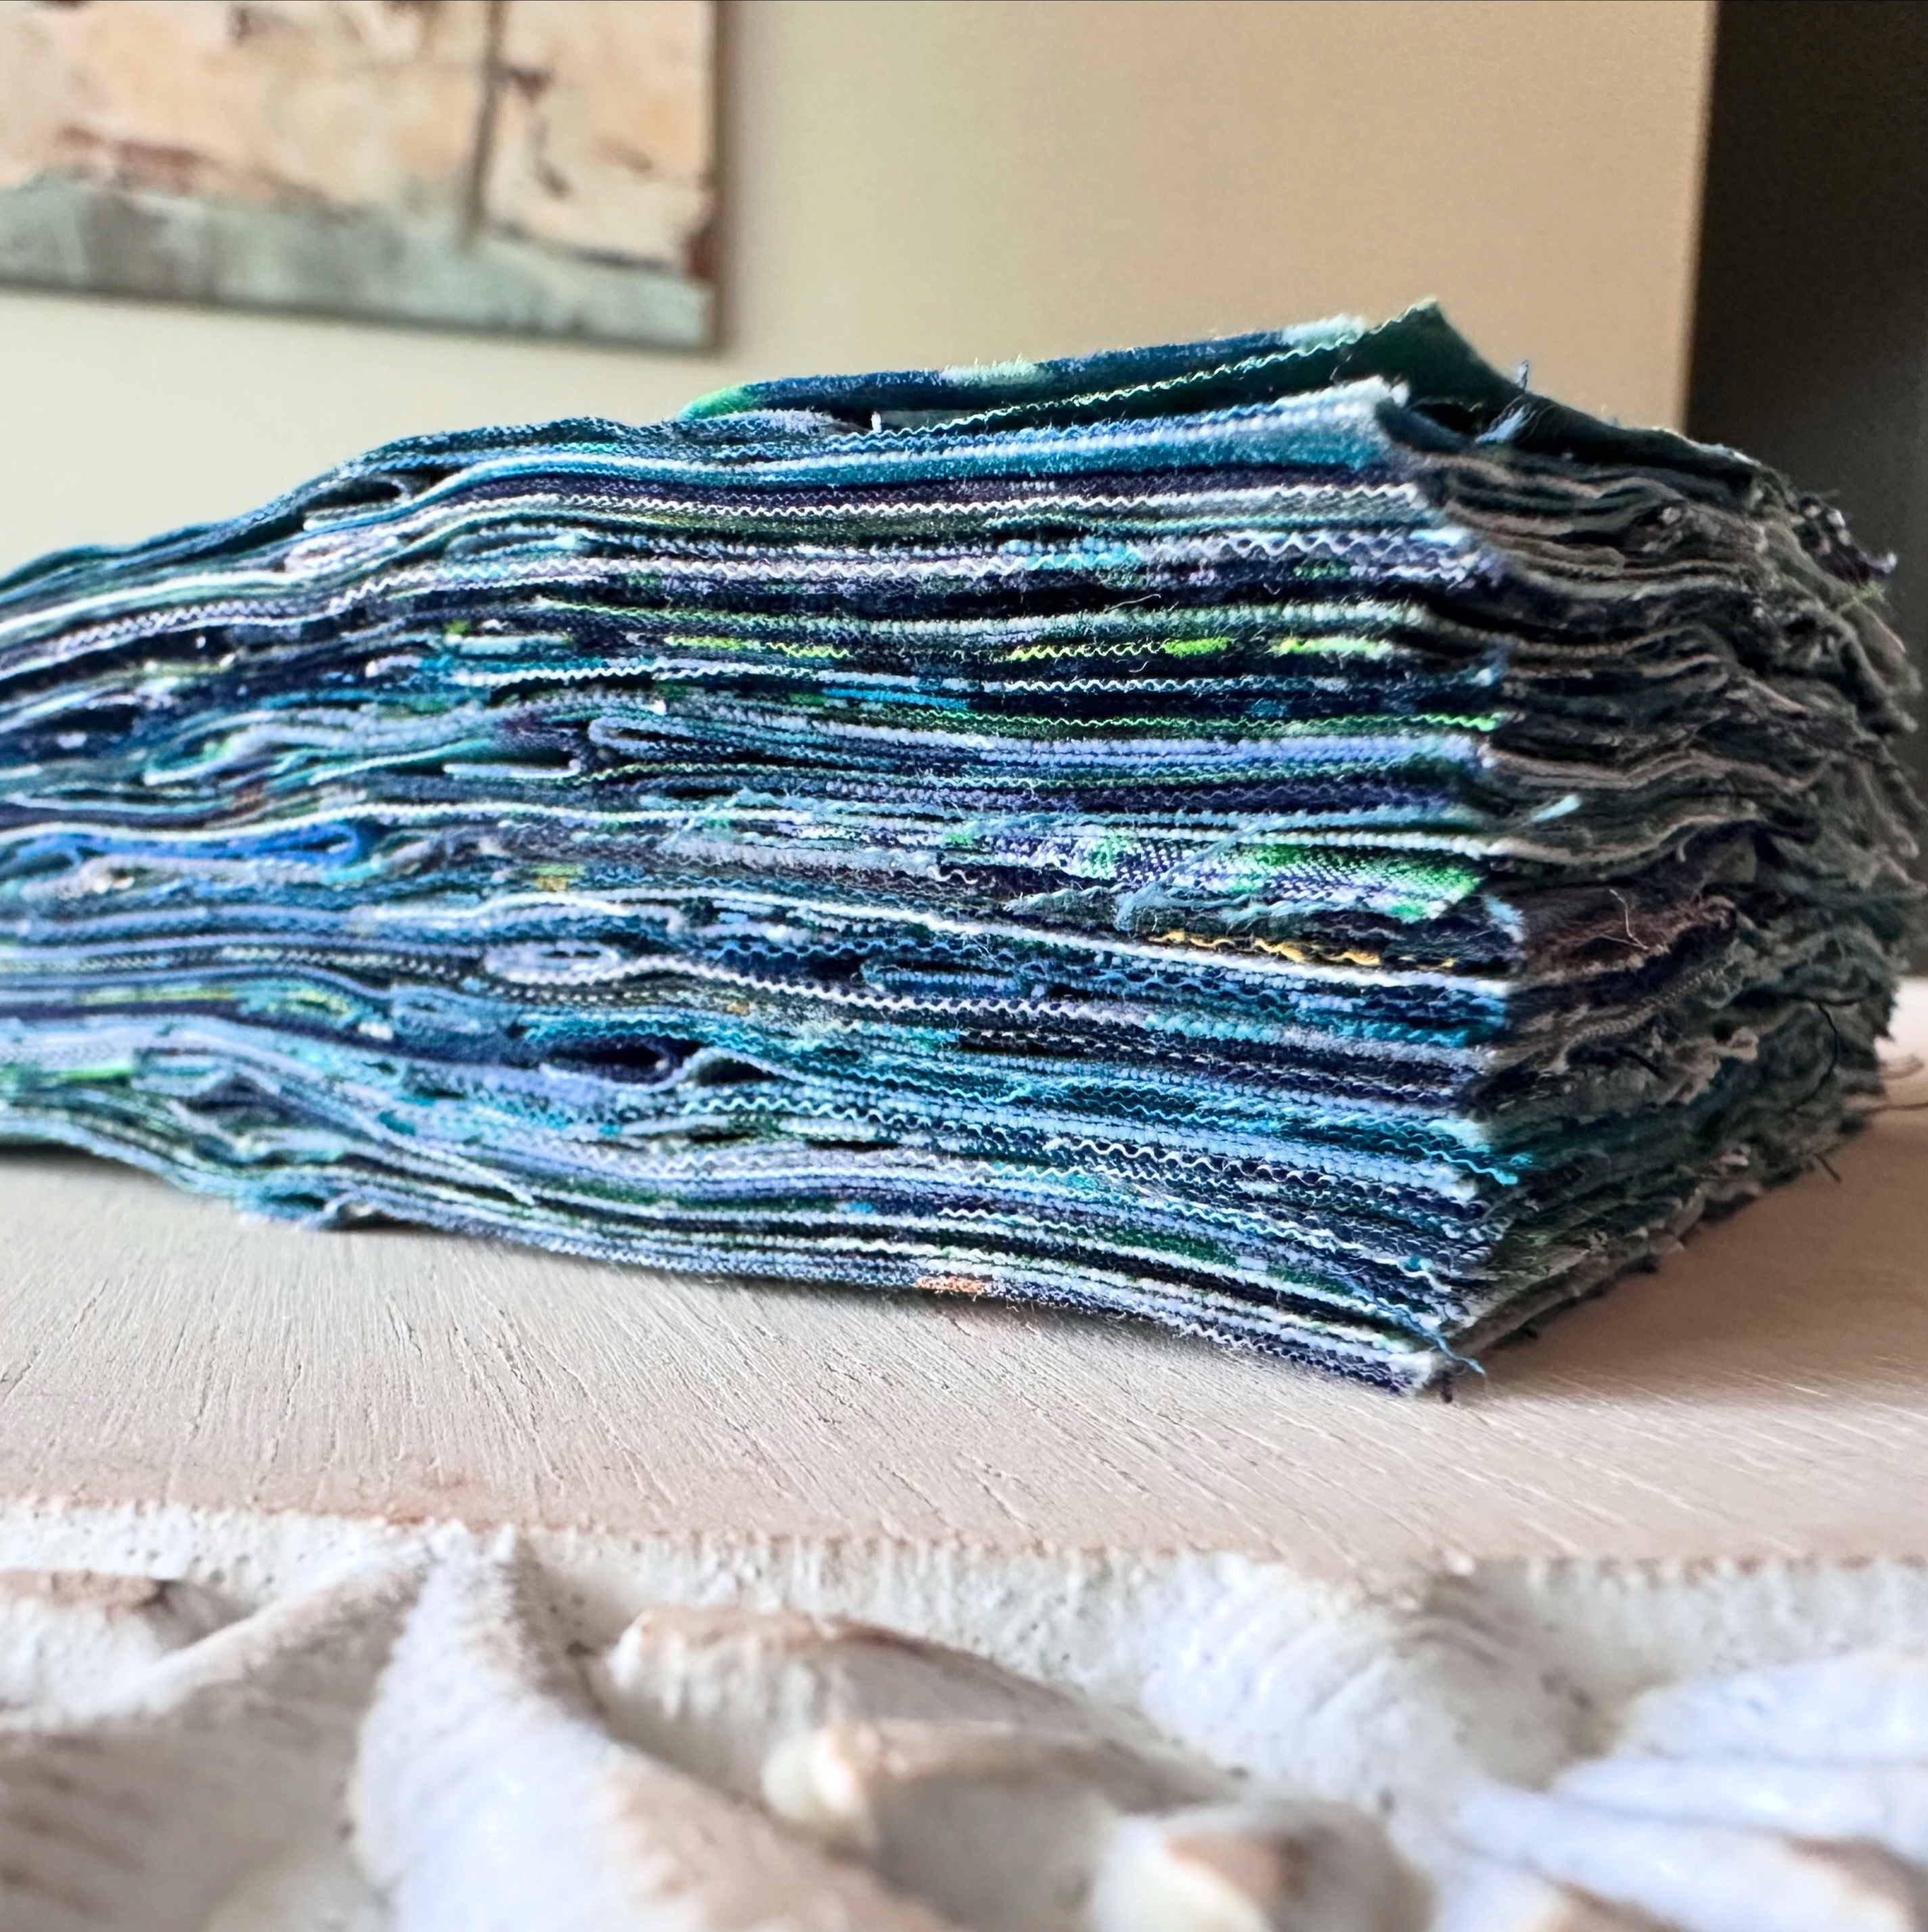
I kept sewing until I had a few stacks like this, still not knowing what to do with them…until I was inspired by a really cool pattern that I will link HERE
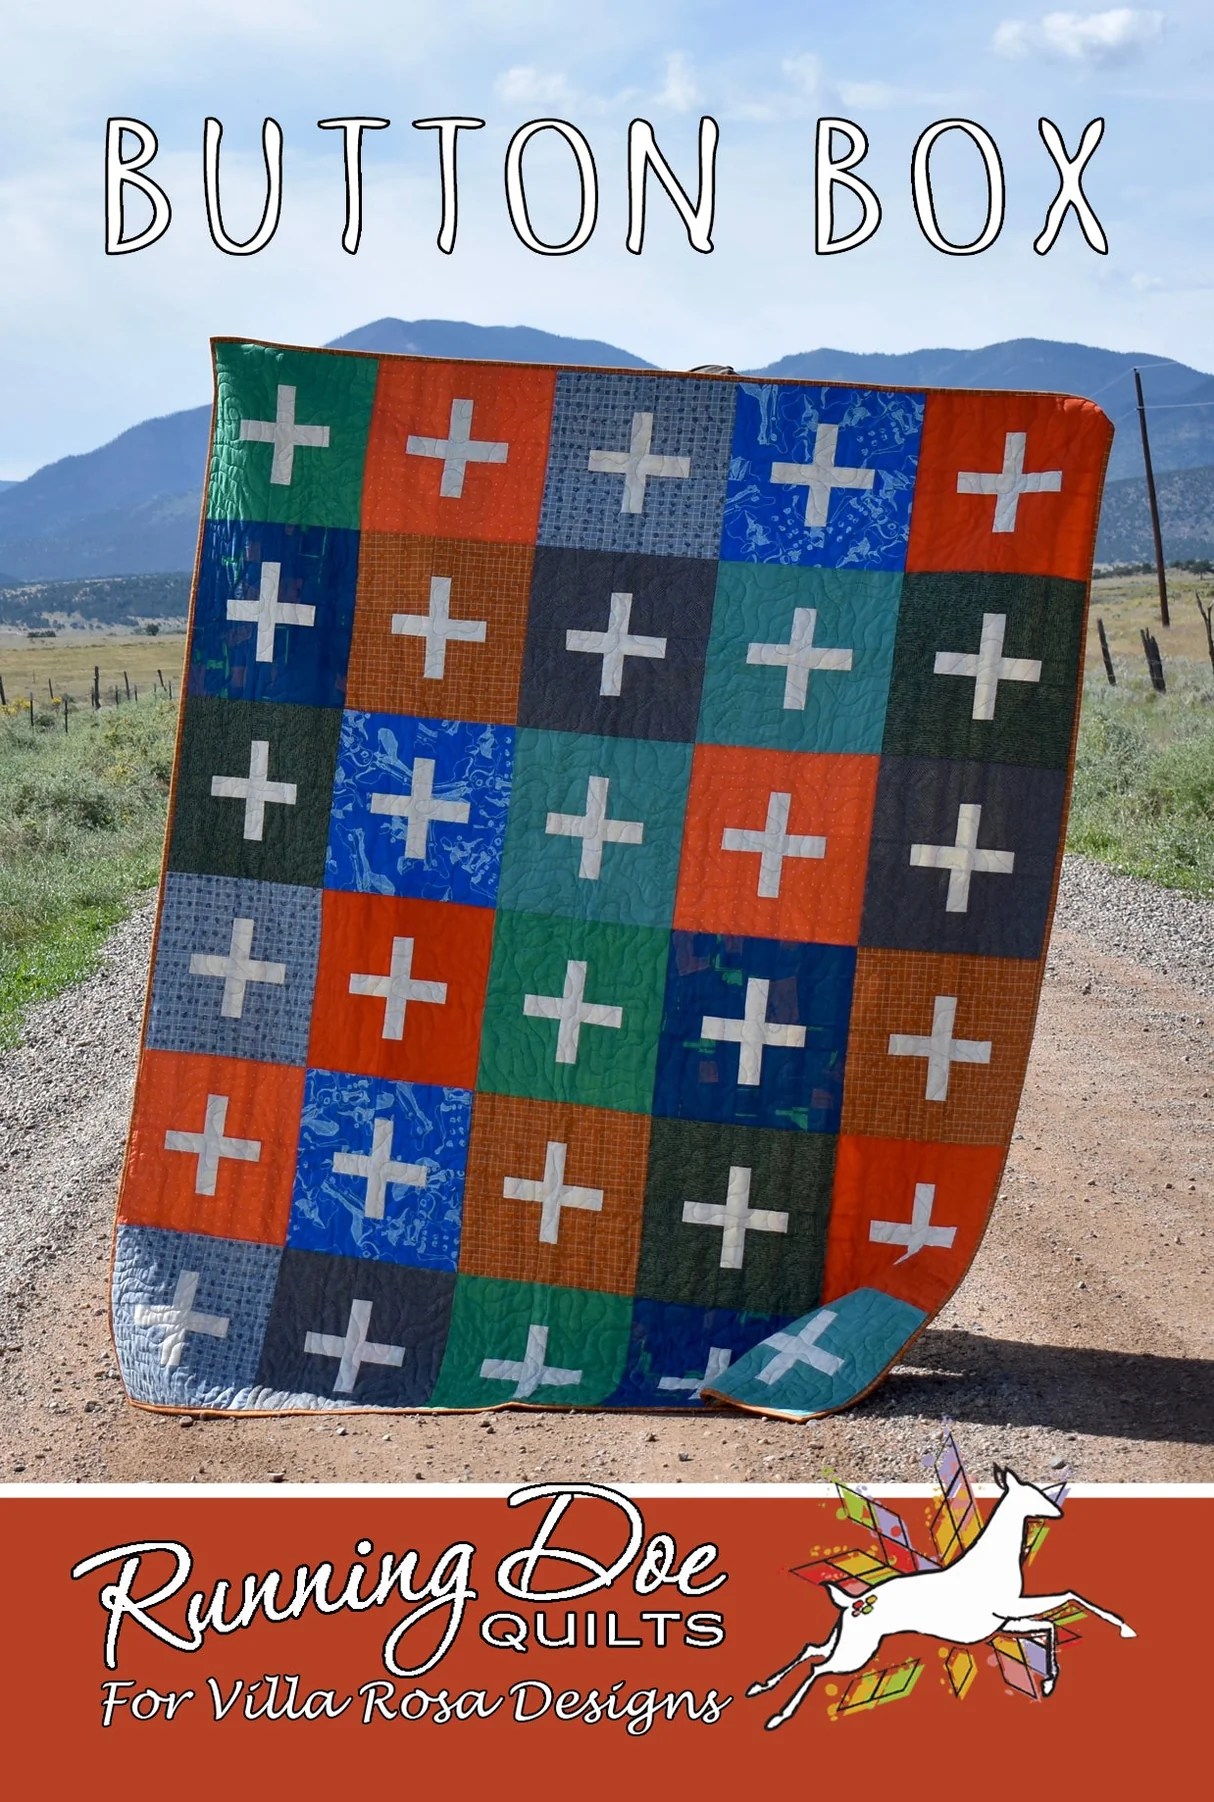
I will disclose that I do not know Catherine at Running Doe personally, but I would be shocked if we haven’t met as she is from the same part of Texas as I. I receive no royalties or kick-backs by sending you to her amazing site full of super easy patterns that are easy on the pocketbook. At writing, this one is $2.00. She does long-arm quilting too, so I will have to make another post relatively soon regarding that part of her business. I have some in the works, Catherine! Watch for me.

Anyway, I bought her pattern at a local quilt shop at first site, because I thought it would be a good idea for these squares, so I used it for inspiration, and didn’t follow her measurements, since I was already starting with smaller squares. My adaptation made a baby size quilt, hers makes a much bigger quilt. I just know that I will be making her original version eventually, because I just really love this block so much. It is such a great design for a guy quilt.
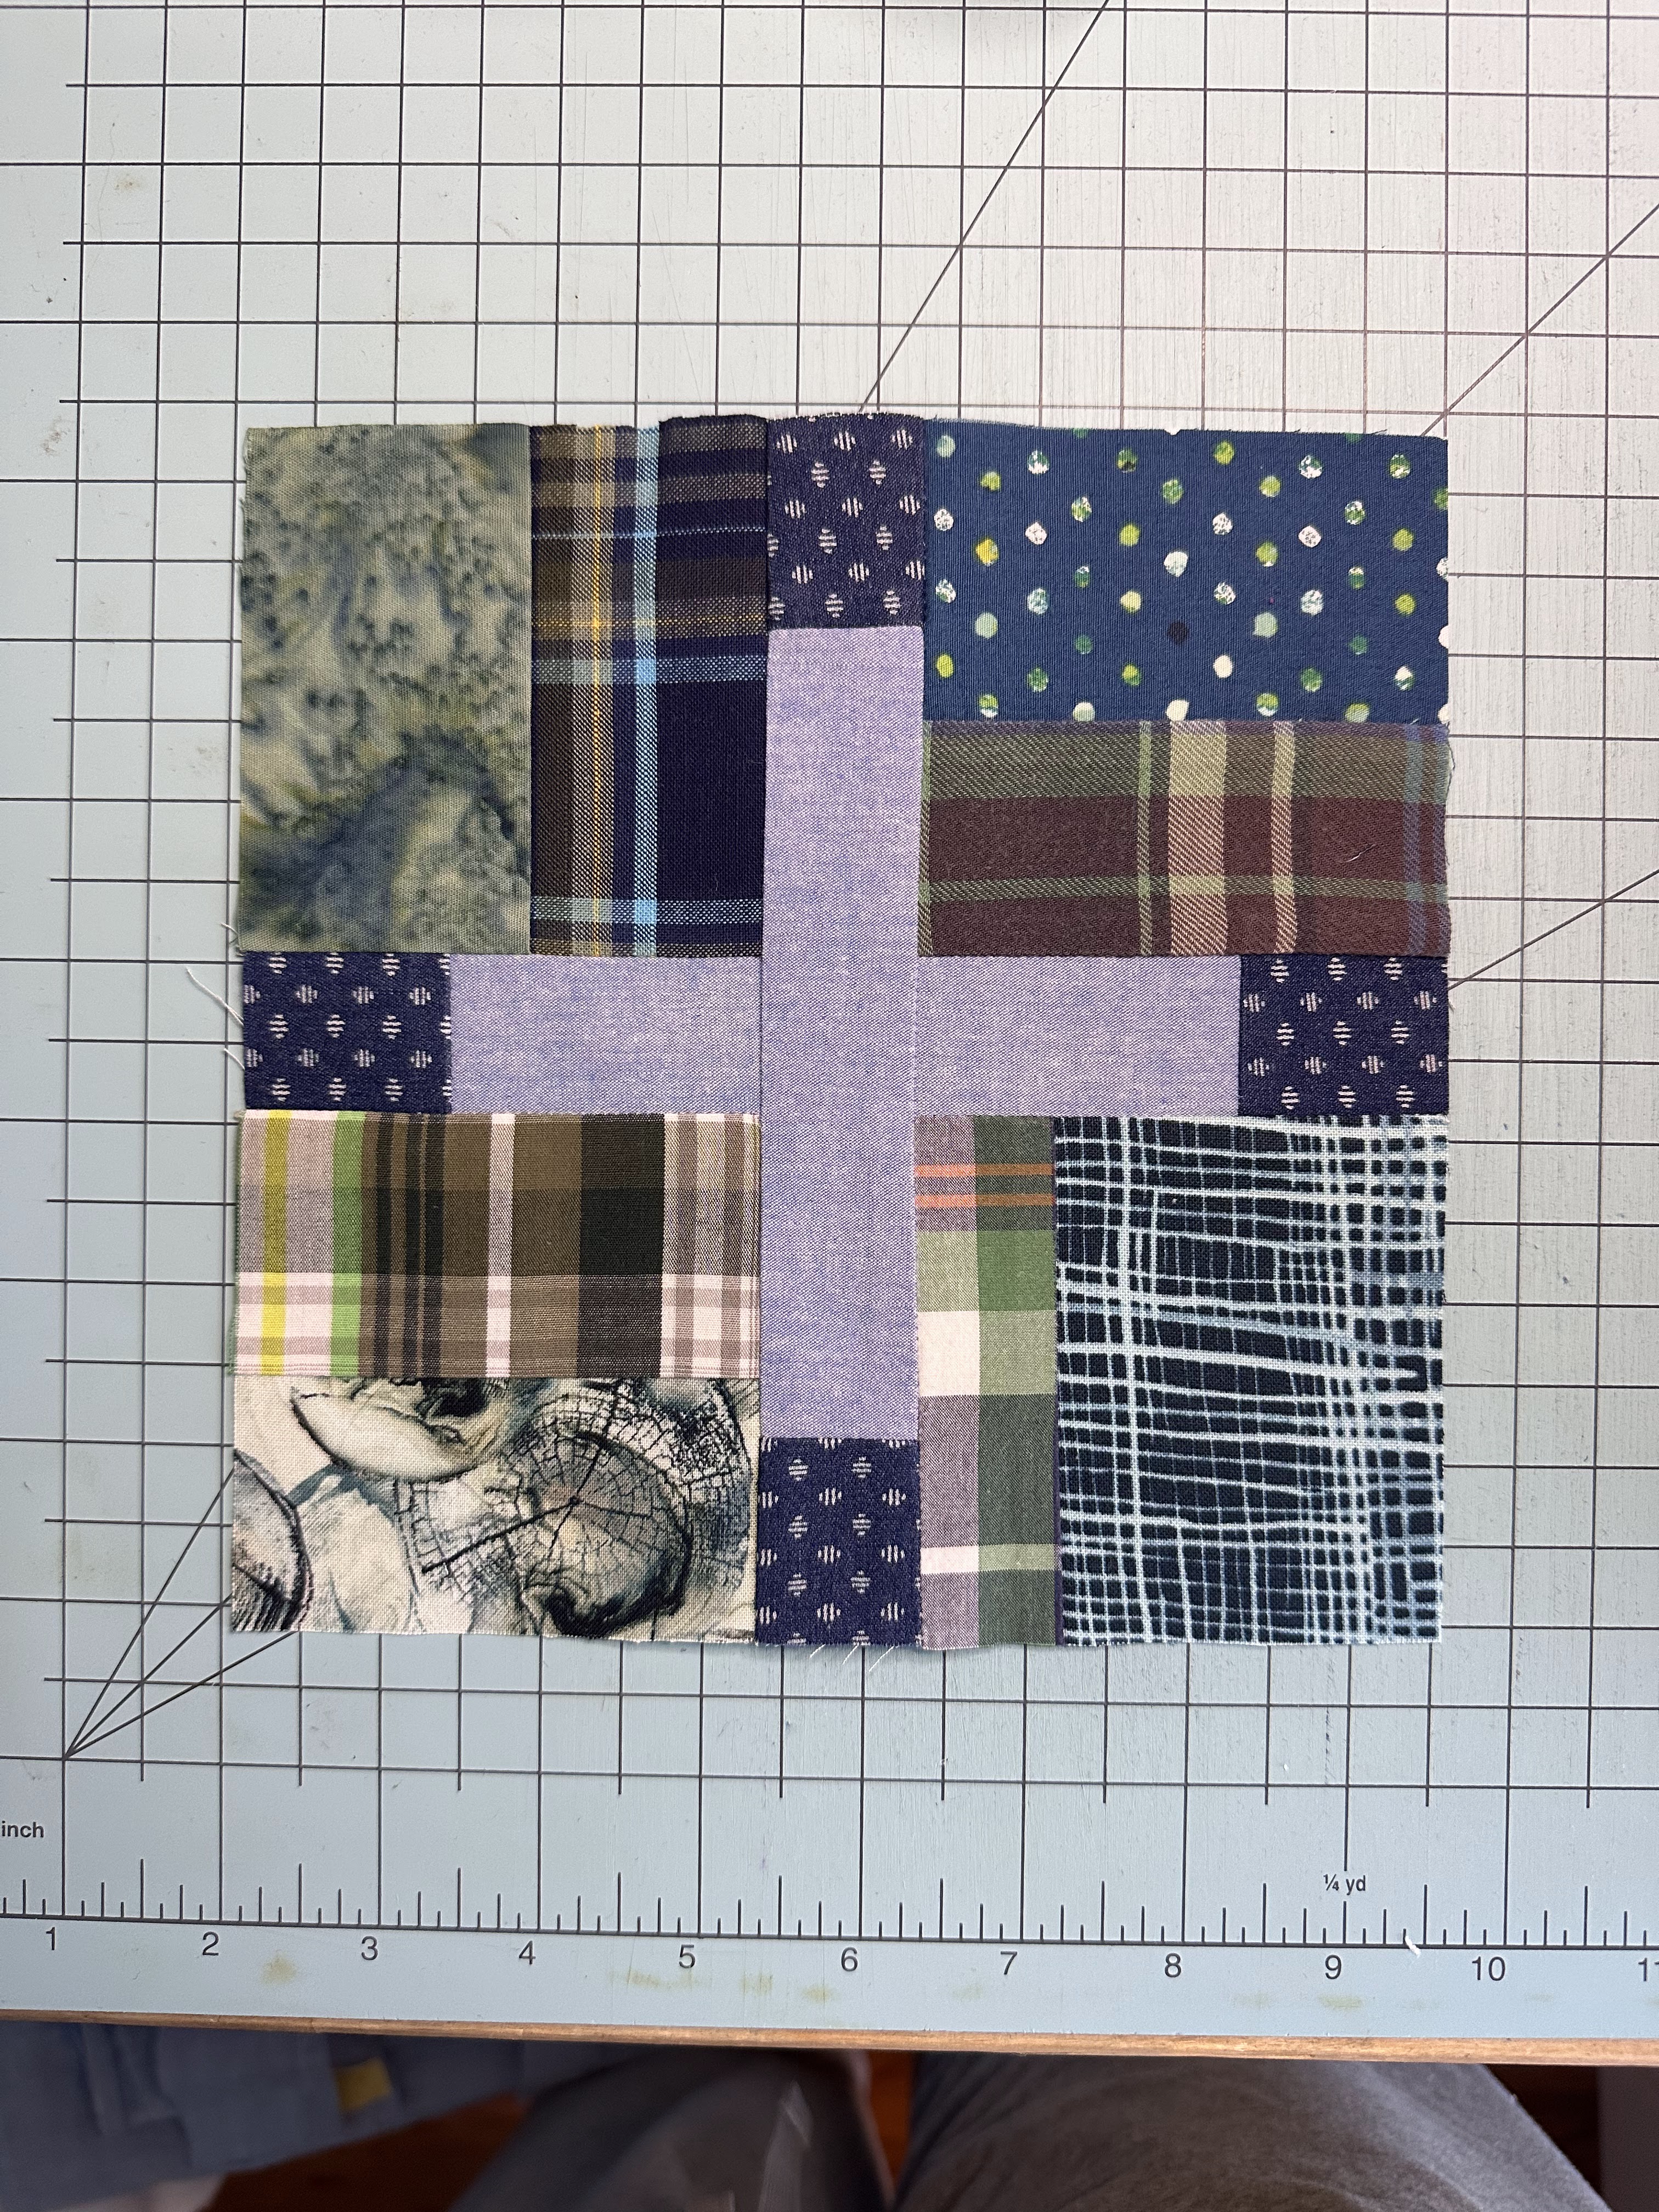
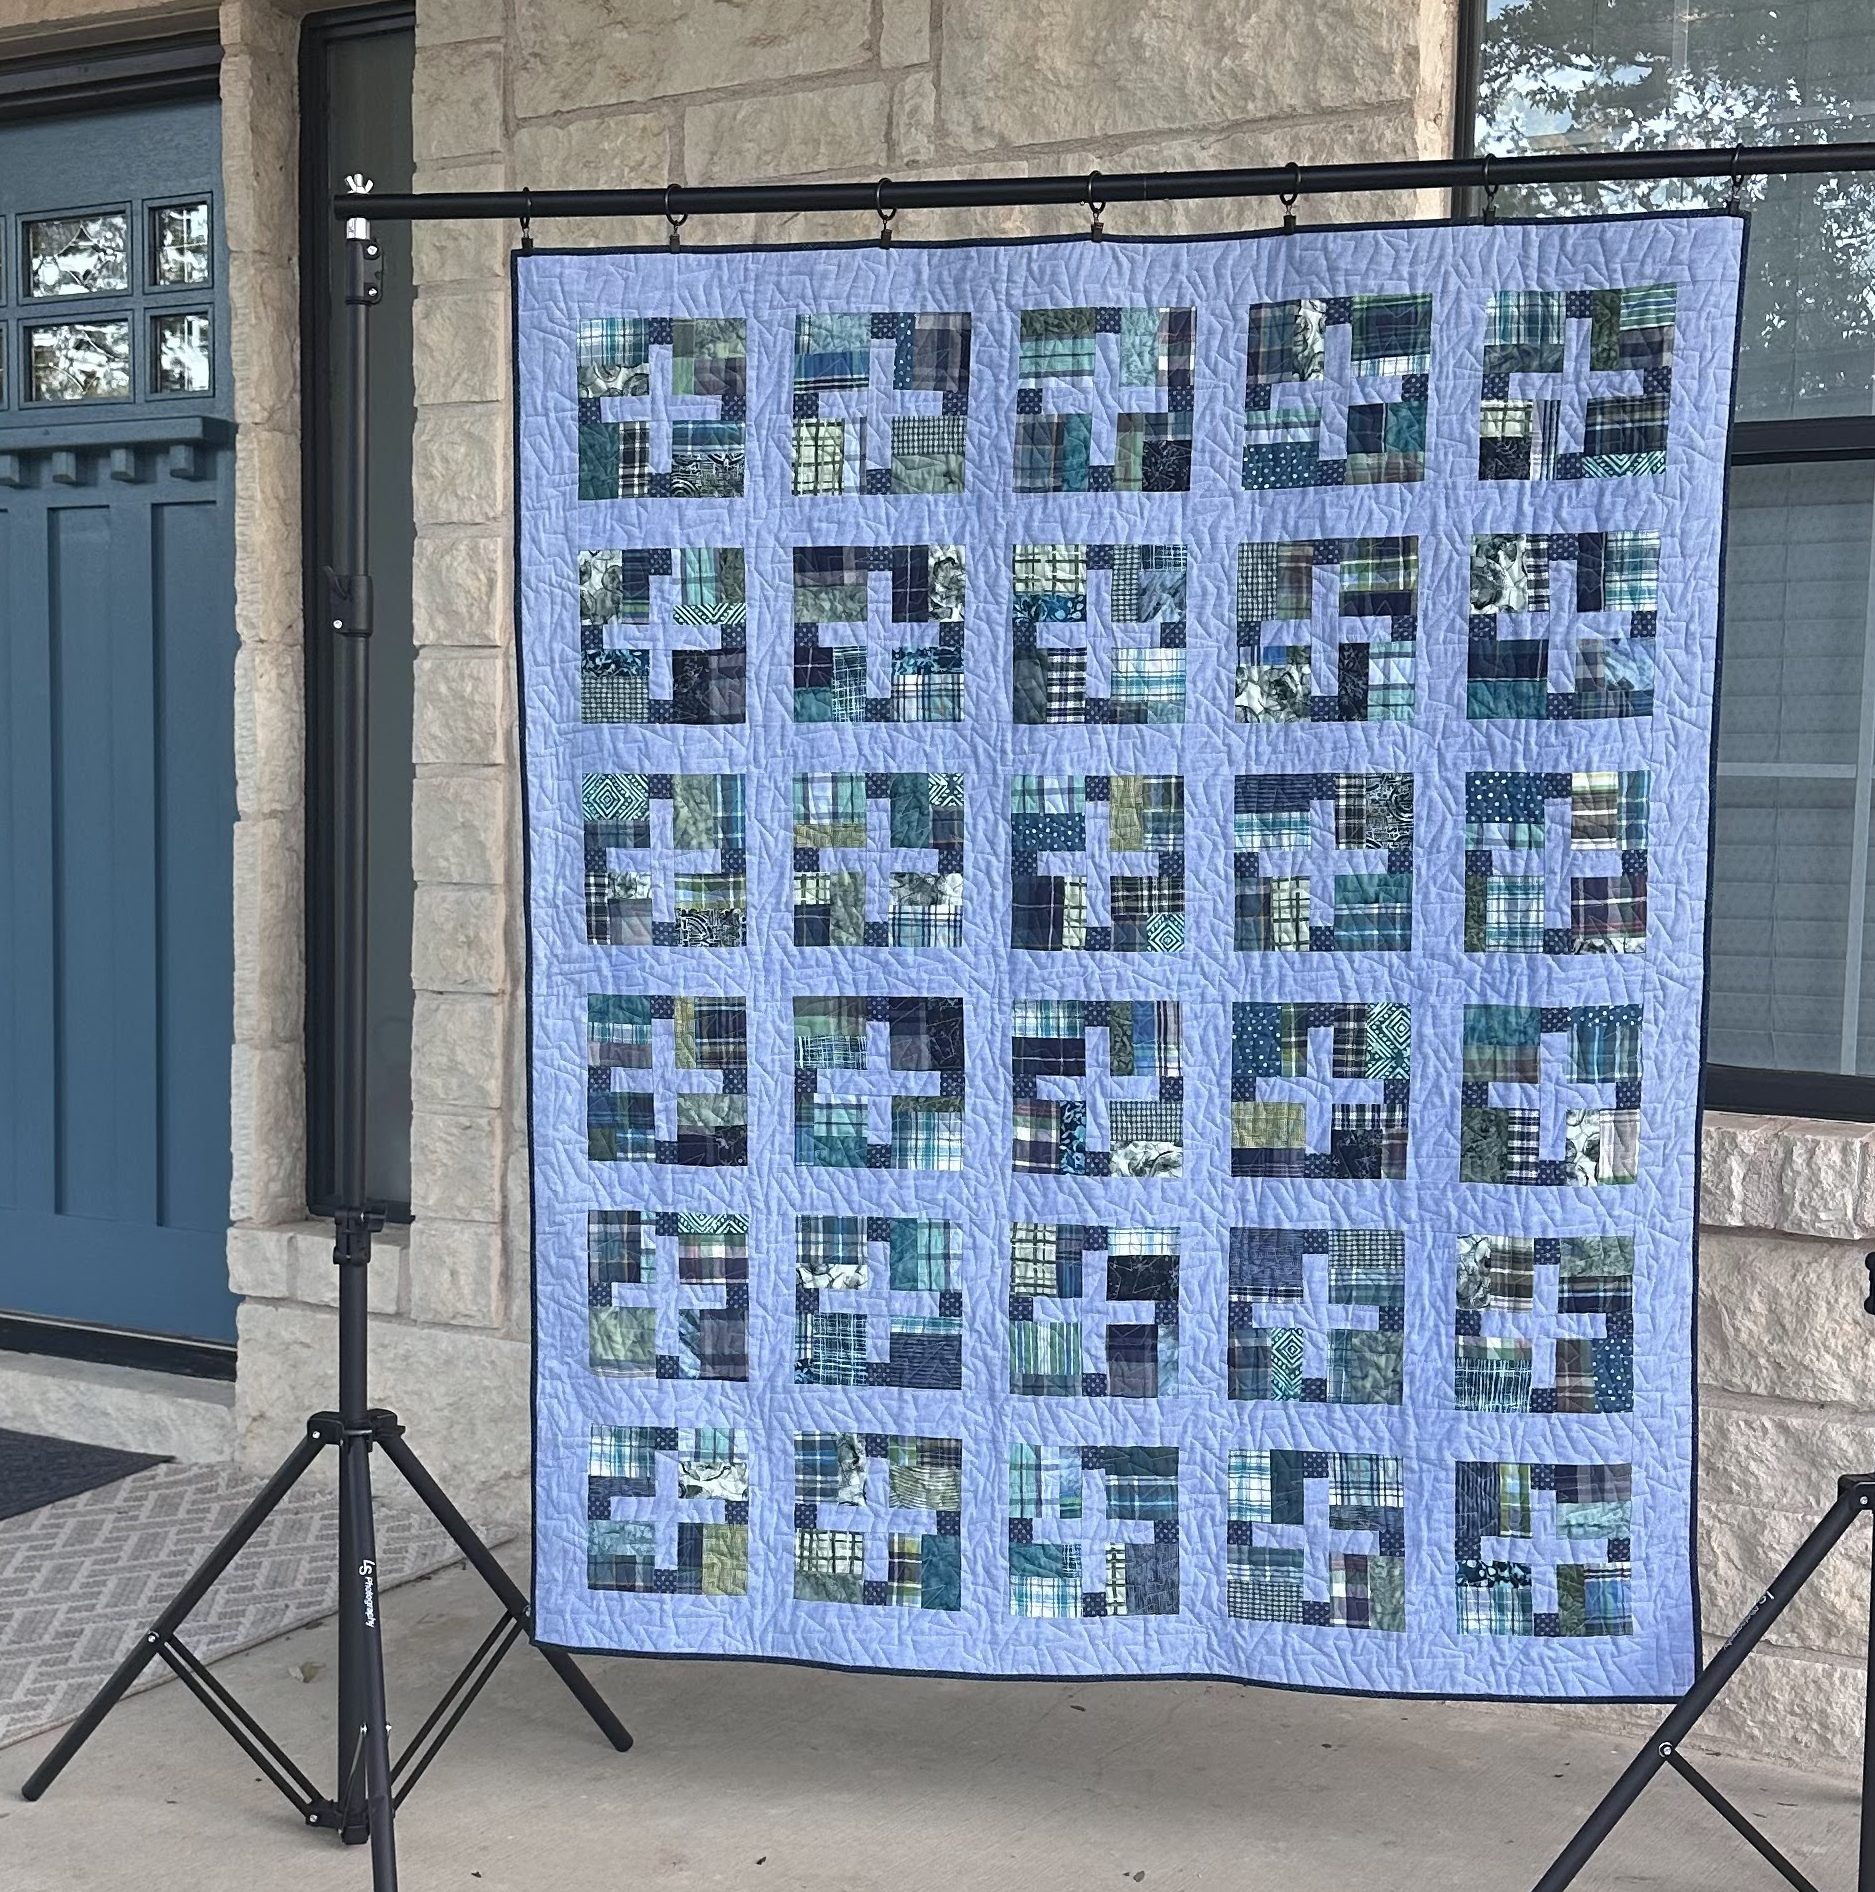
What I ended up doing here, is I added one fabric that is the same in all of the cross blocks to ‘pull’ the scrap squares together visually, and I did all of the math to figure out how much background fabric that I would need for sashing and borders, then I repeated that same background fabric in the middle cross to make those blocks look like they are just floating on the background.
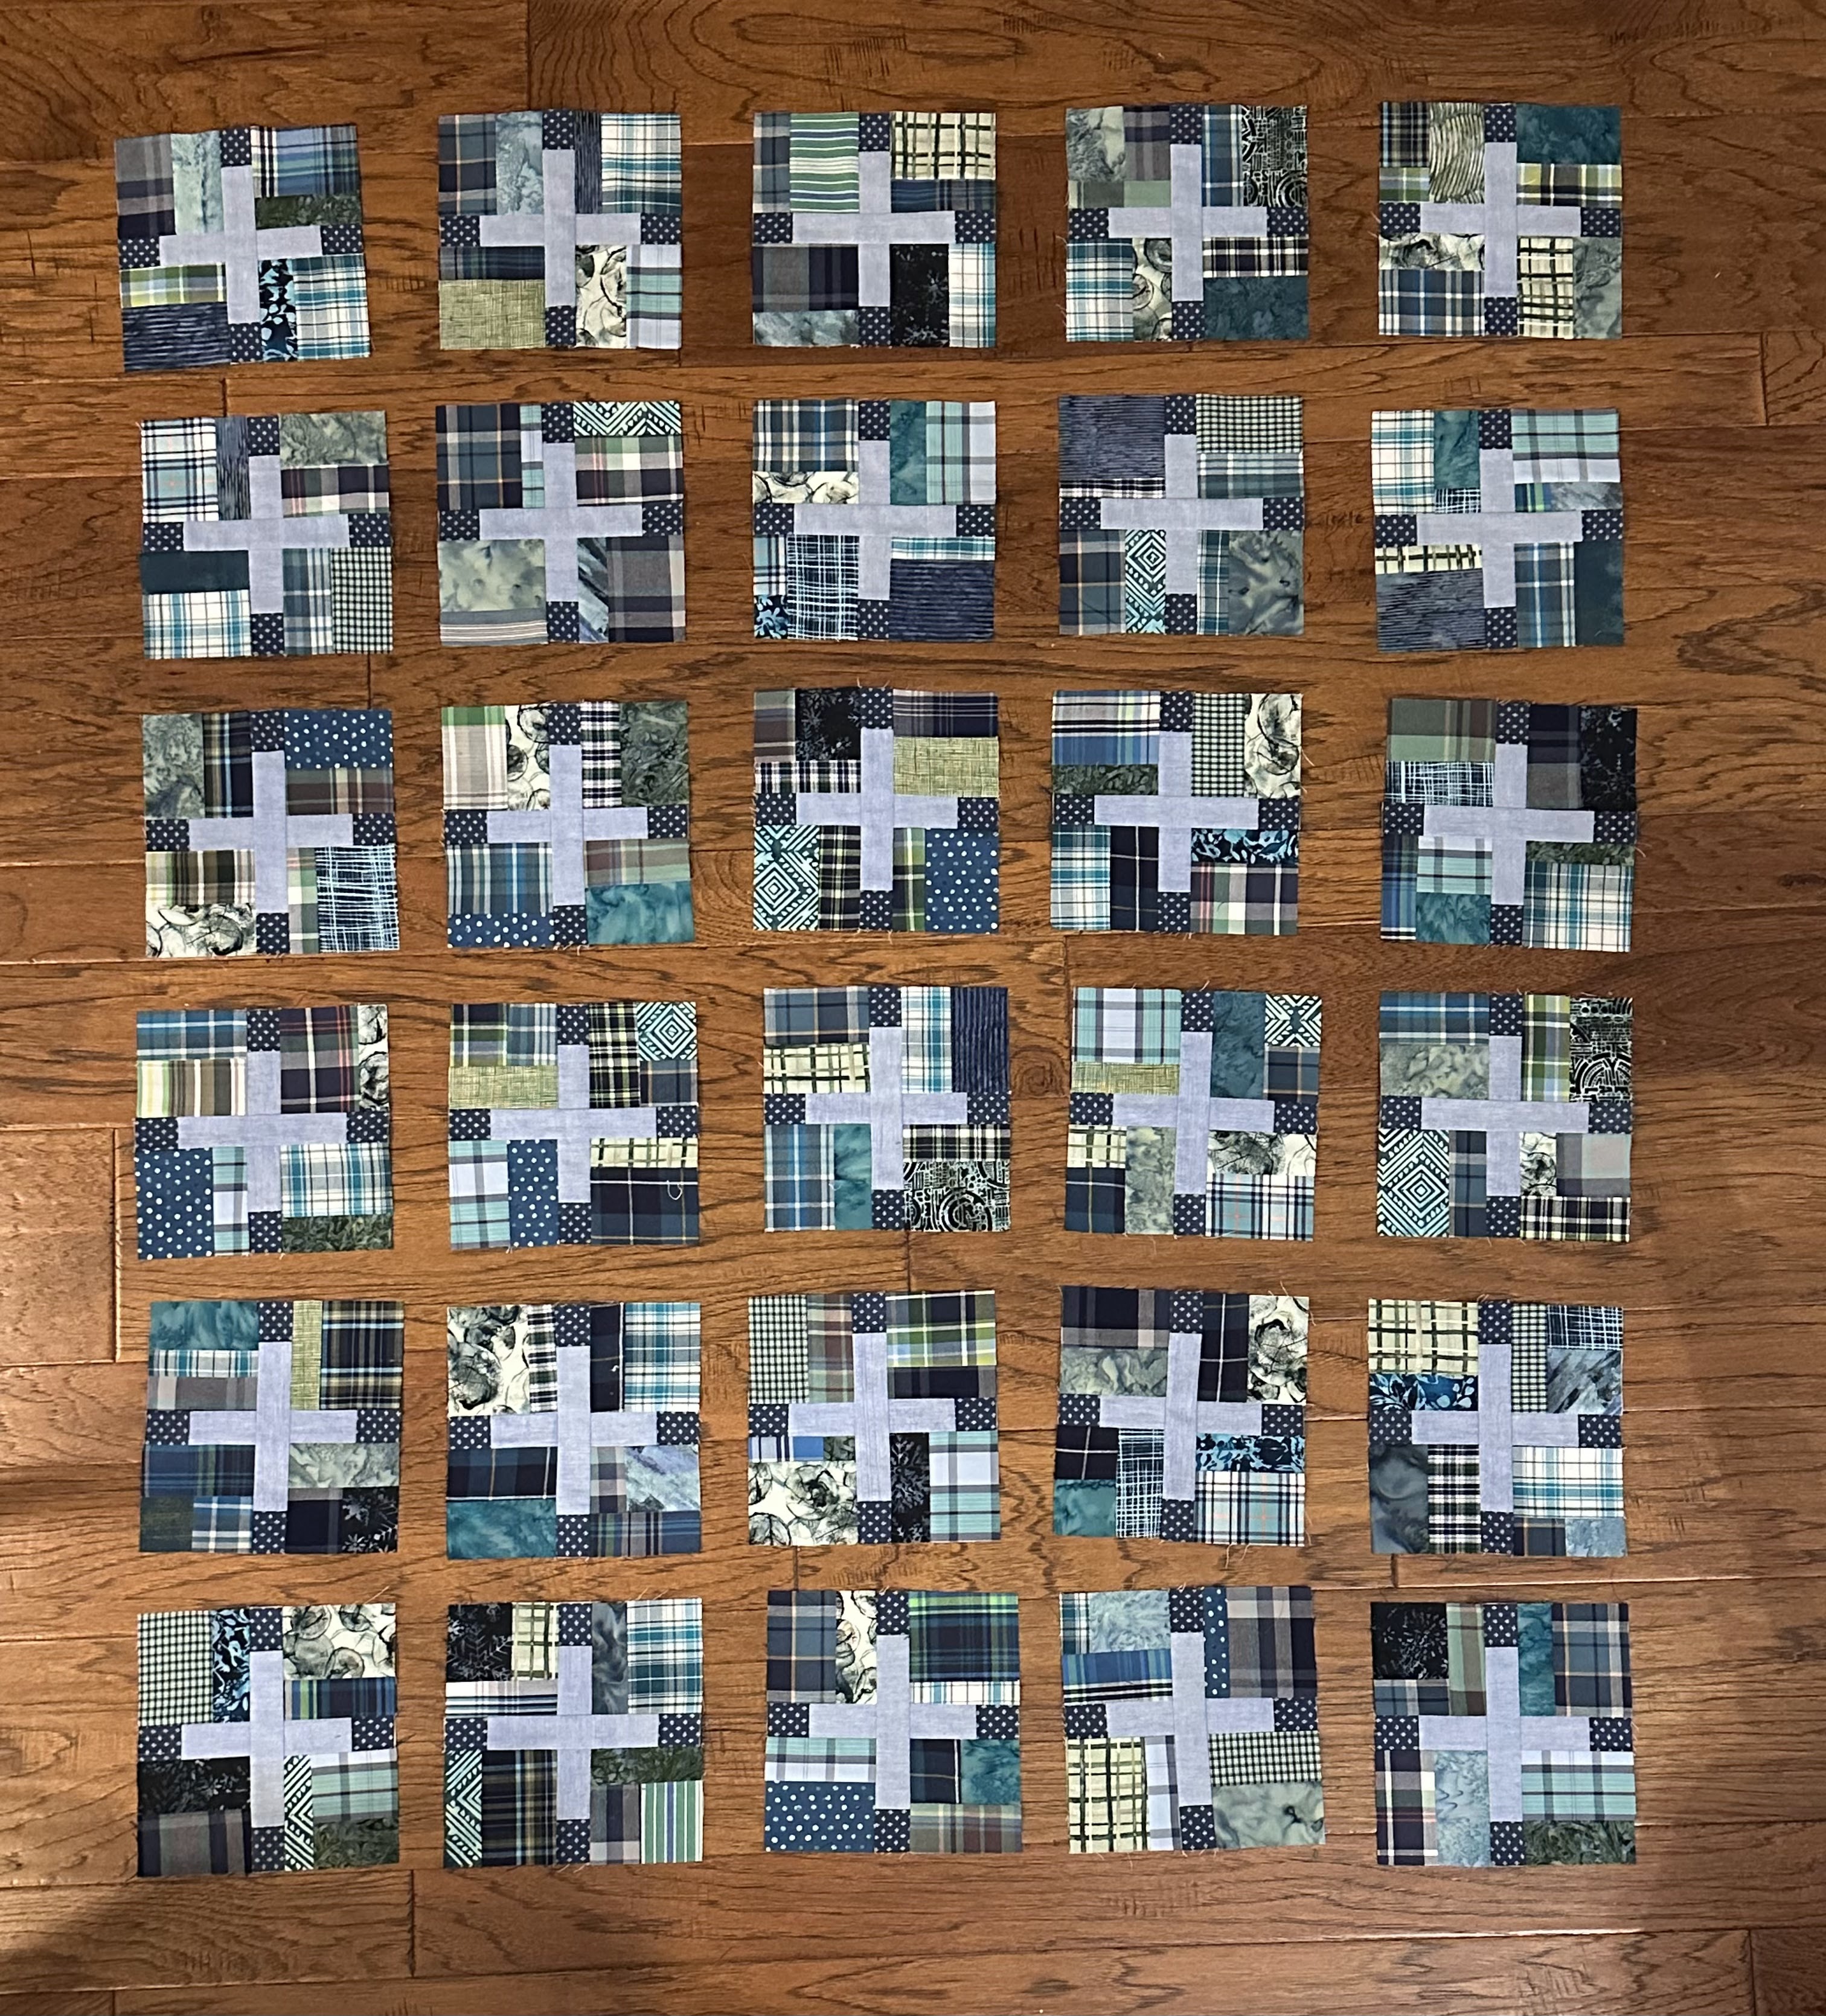
This is what the blocks looked like once I finished sewing what I had left. Once I got the quilt top all together, I sent it to www.quiltingbydavid.com who I have used multiple times in the past. I really need to get comfortable quilting on my domestic Janome, but that will take some practice and determination on my part. Lets see what is in store for me in the future. Hand quilting, yes, but I couldn’t possibly hand quilt all of my quilts in my lifetime. Longarm quilters are true gifts from God. Thank you to all who provide this service.

In closing, I ask you if YOU ever just start projects, not knowing how it will end up looking. What is your most common source of inspiration? Do you have to know what you are making before you begin, or do you piddle around like I do, until you find a path?

I have missed you all! I am so glad to be back sharing again. Have a great week!

-Button Counter
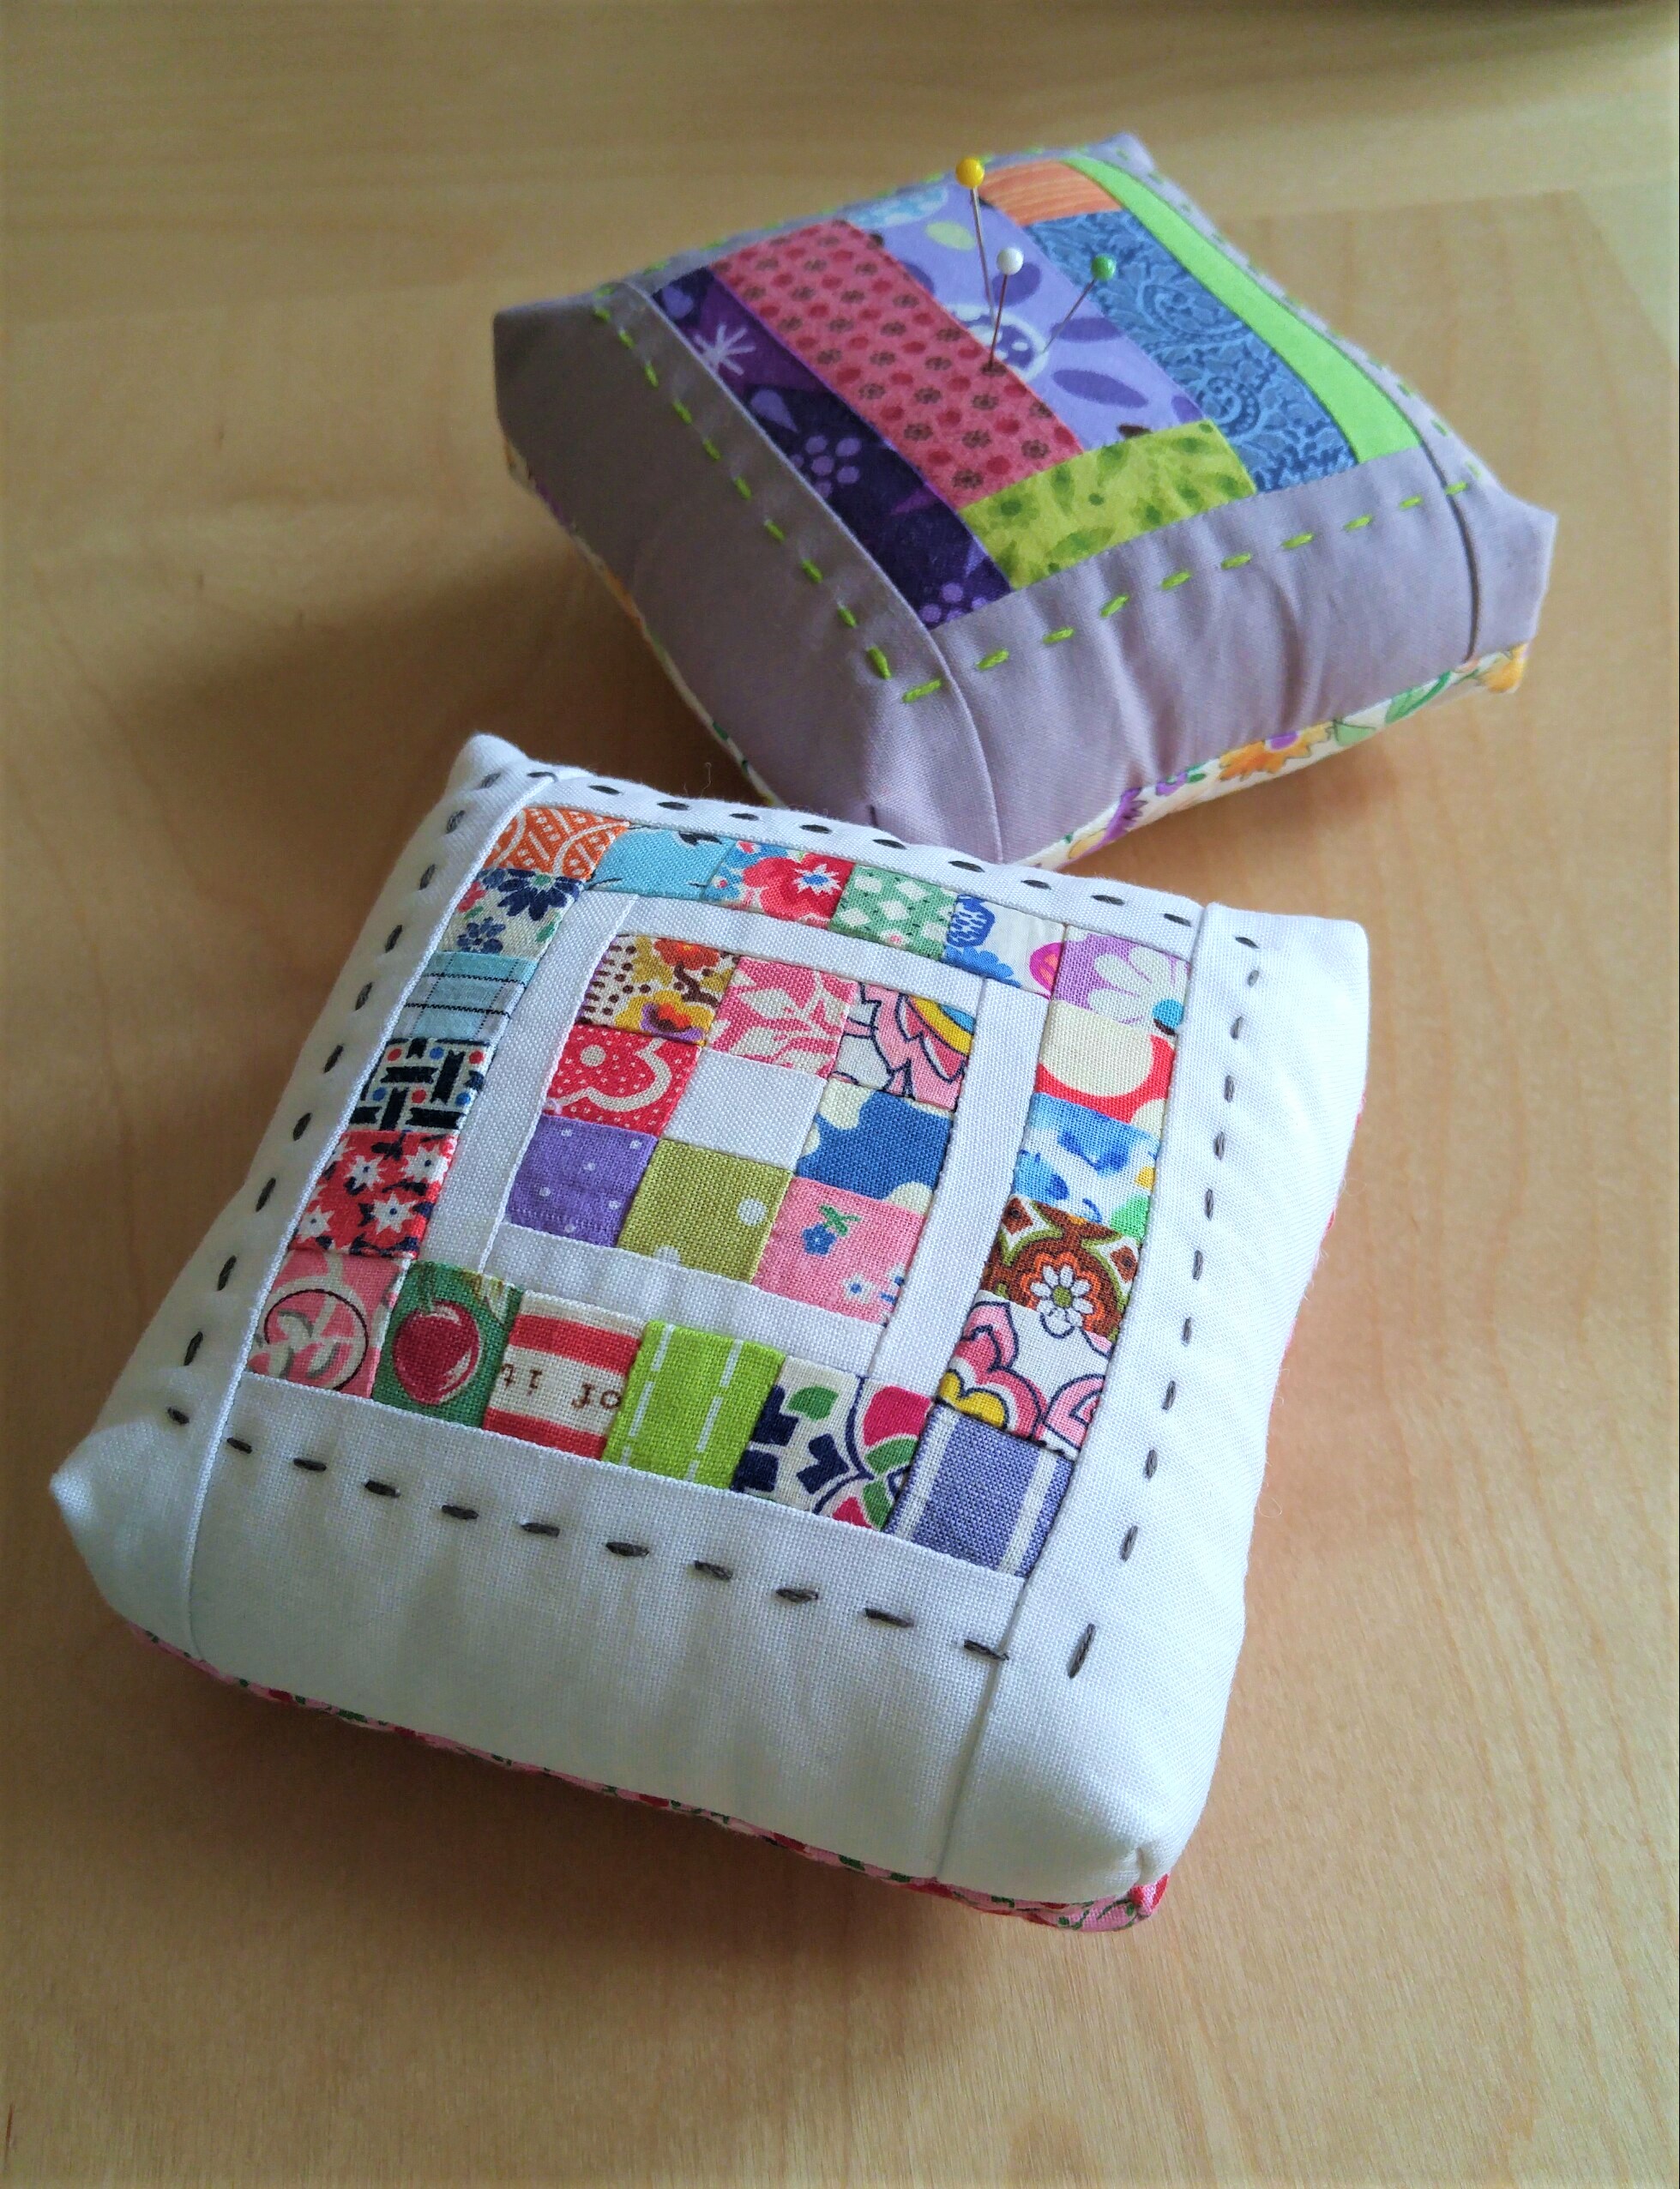
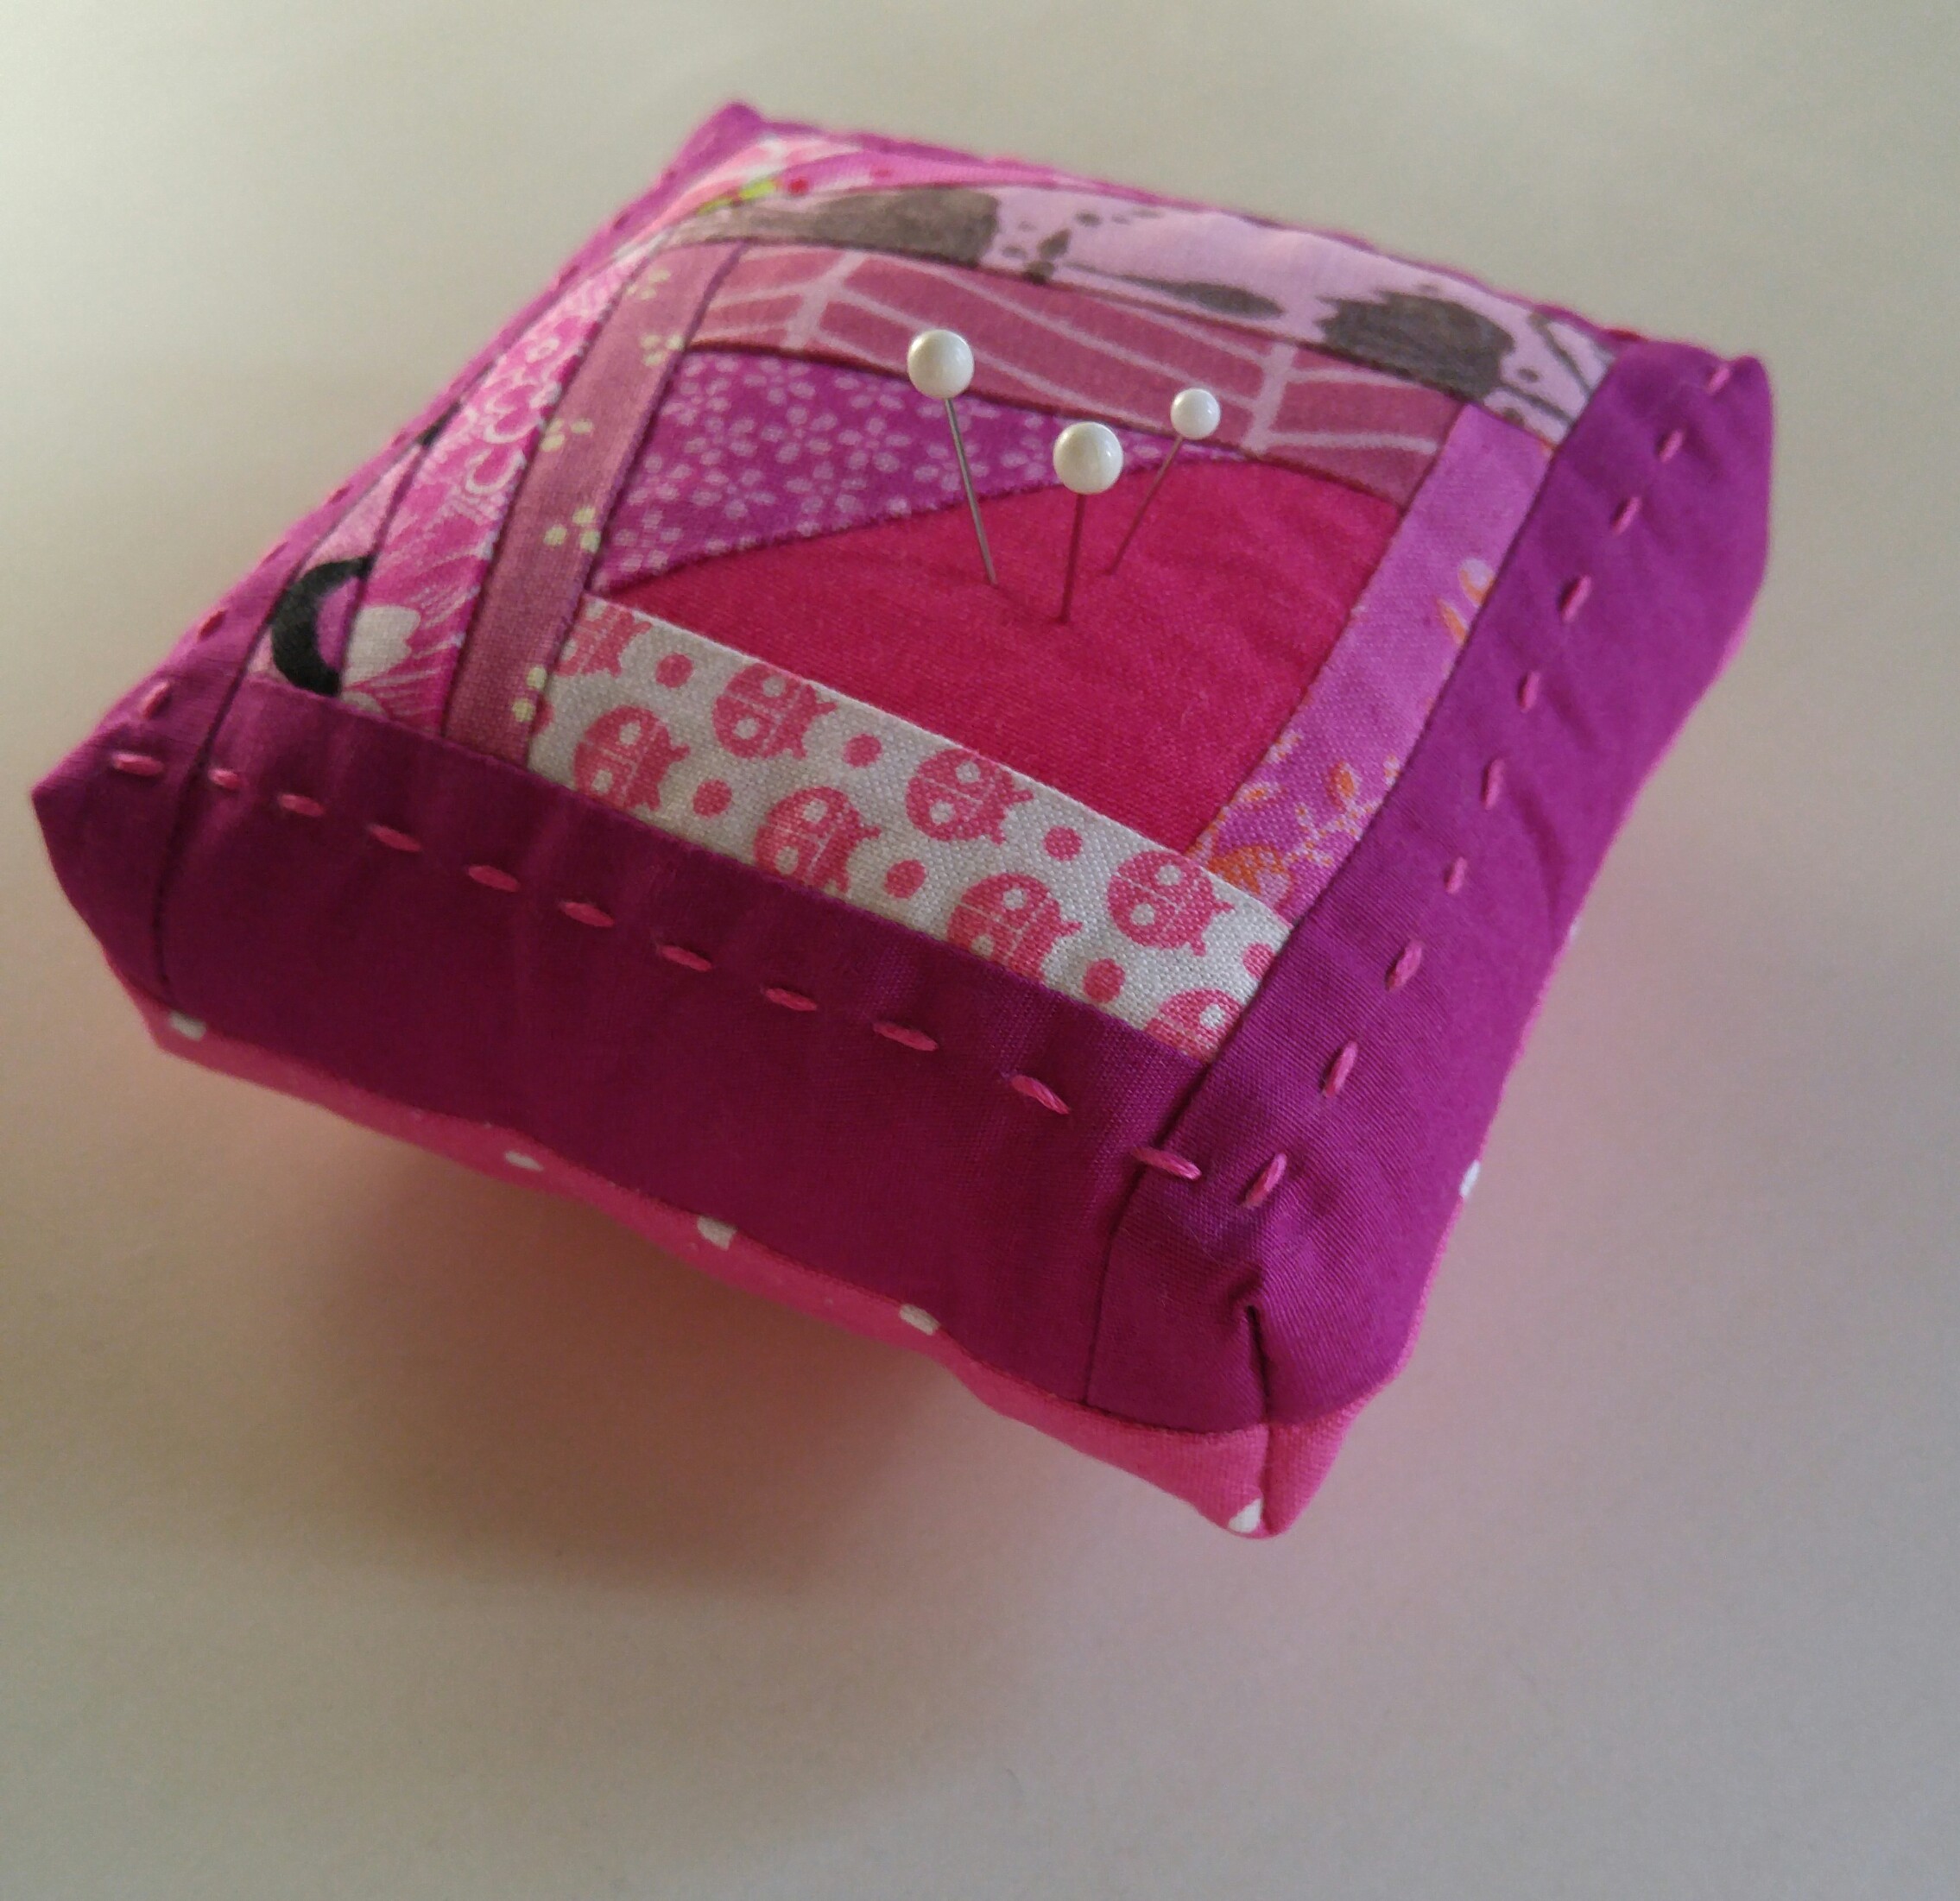
3 inch block pincushion

20170122_113849-1

Hey.  You miss me right?  I know.  I never come around anymore, and when I do, I am just trying to get you to make stuff.  But, don’t you want to make things that you can get done in just one day?  No, I mean for real.  In one day.  I tell you what.  If you don’t trust me, I understand.  I have been there with the ‘(insert project here) in a day!!!’ books, pamphlets, and classes.  I am telling you, it’s lies, all lies.  I always end up with little bits cut out of yardage, and a half-baked tea cozy…or whatever.  But this here is legit, y’all.  You can bank this one on me.

So are you with me? Quick, grab or make a block that measures 3 1/2 inches square. (This block will finish at 3 inches, which explains how I came up with the genius title.)  This could be a churn dash, a log cabin, a split rail, improv, or even a paper-pieced pterodactyl.

And so it begins.

Supplies needed:

  • 1- 3 1/2 inch block of spectacular beauty
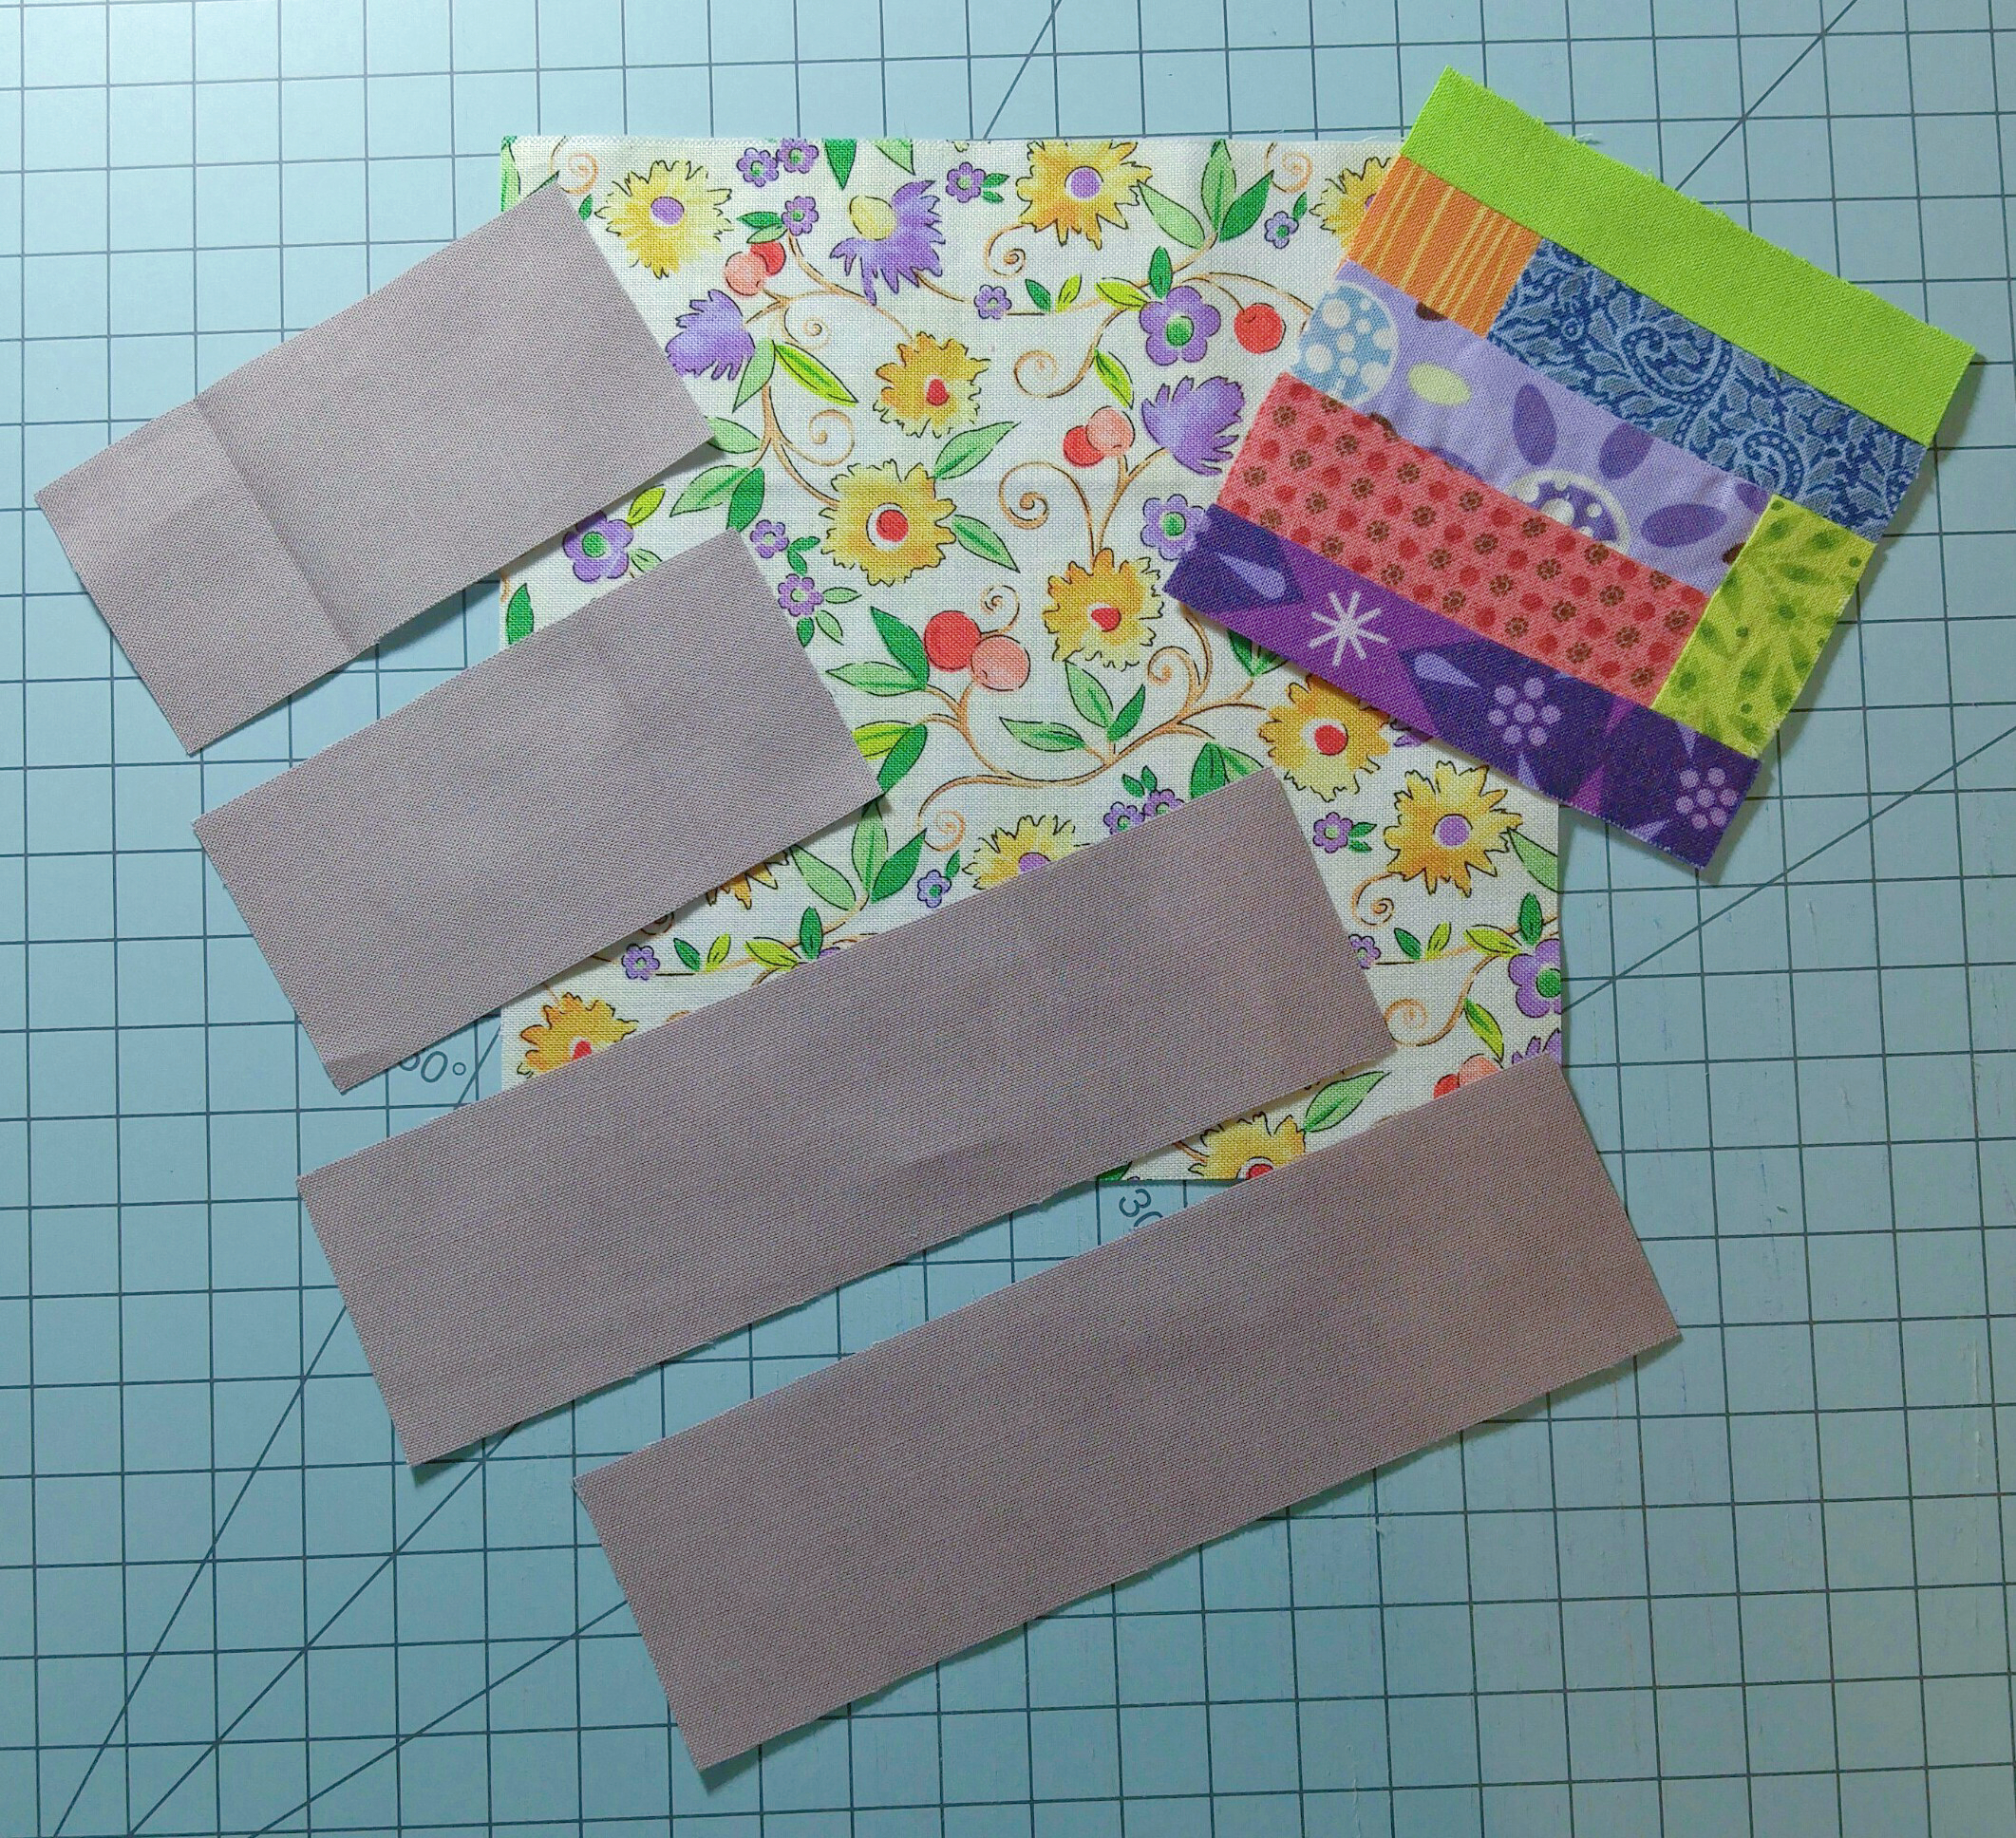
  • fabric scraps for the border cut into four rectangles. A ten inch square scrap would be plenty. 2 rectangles will be 1 3/4″ x 3 1/2″, and two rectangles will be 1 3/4″ x 6″. *note: if you are using a directional, read or follow pattern to the end before cutting, so you don’t get mad at me for ruining your day. (Seriously! Only one day!)
  • batting scrap measuring 6 1/2″ square
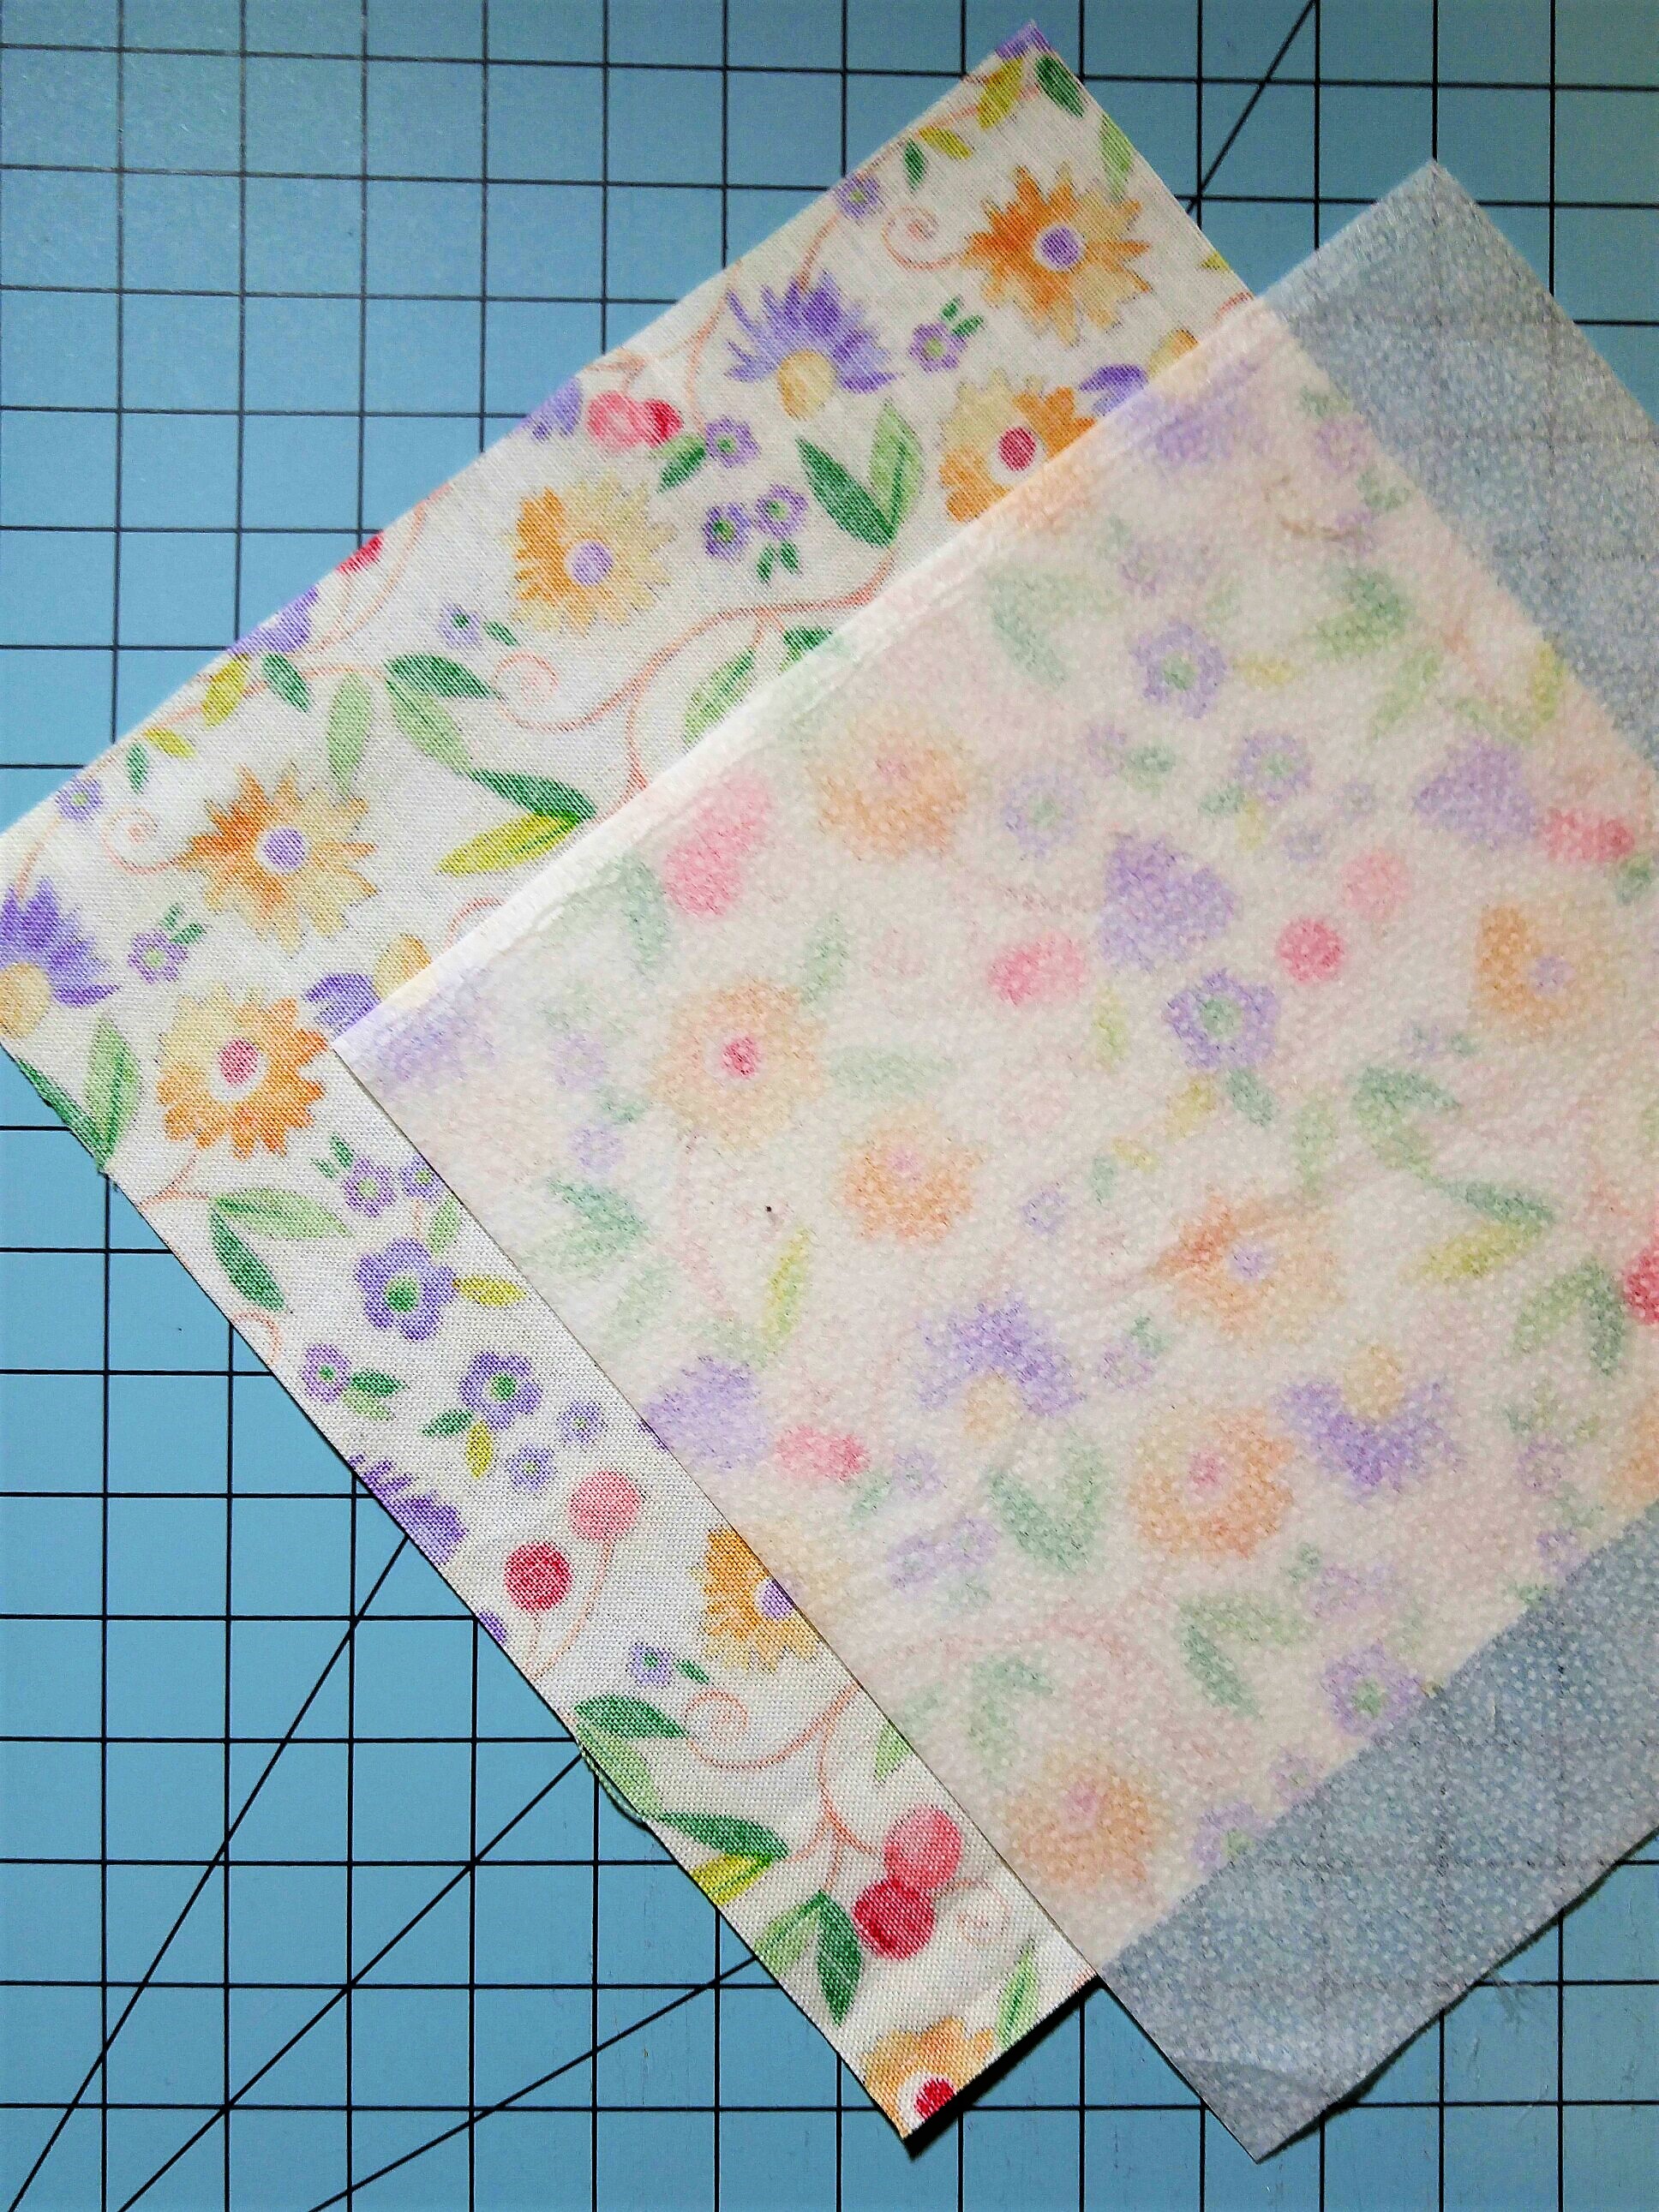
  • a 6″ scrap of fabric for the back or bottom of the pincushion
  • a 6″ piece of light weight, or woven interfacing, such as Pellon Shape Flex 101 (SF101)
  • Stuffing/filling:  Buy the ten pound bag, then only use a hand full…it’s the law.
  • a small plastic grid ruler, pencil, thread, needle, and if you sew like me…a seam ripper is always good to have around.  Don’t ask me why.

20170120_111429-1-1_mh1484932696737

These are the fabrics that I chose for the job.  I have already cut pieces to start.

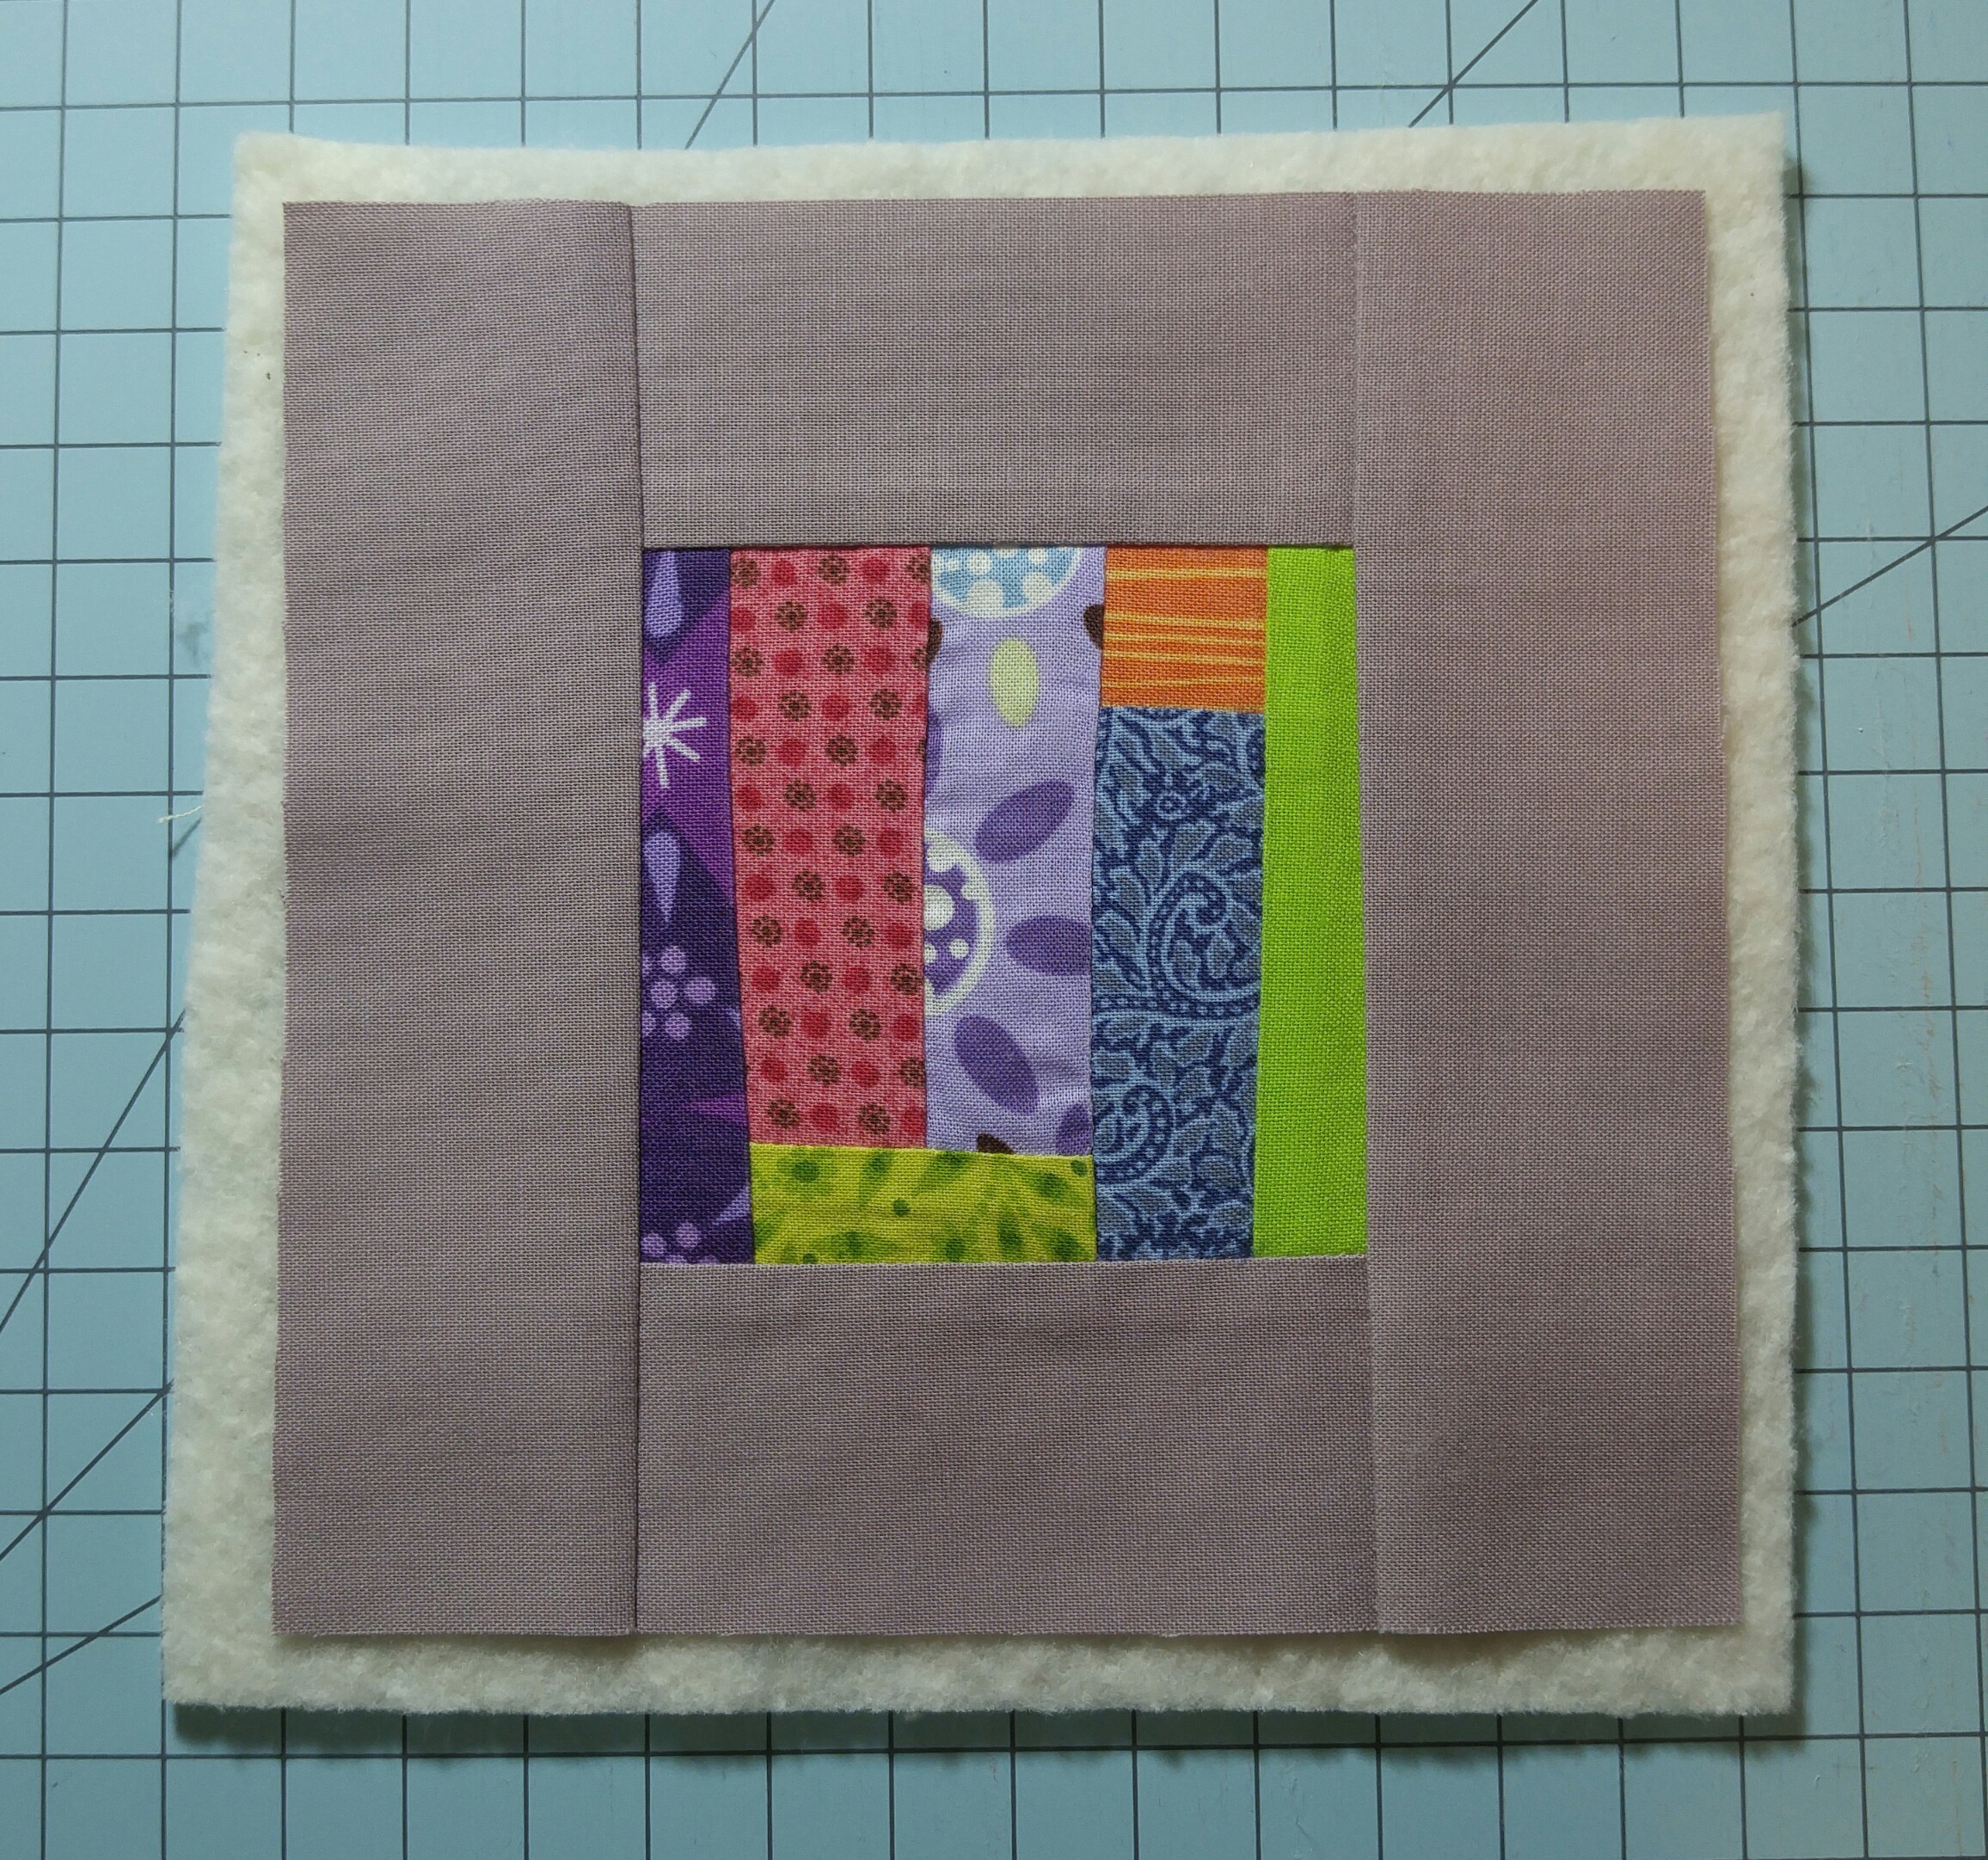
Okay, so this next picture shows the grey border rectangles already sewn to the 3 1/2 inch block, because I thought that I got a picture of the process, but like a dufus, I didn’t; however, you can easily imagine that you take the two smaller rectangles, and using a scant 1/4 inch seam allowance, sew one to each side of the 3 1/2 inch center block.  Then take the two remaining larger rectangles and sew one to the other two sides so that it looks like this:

20170120_130533-1

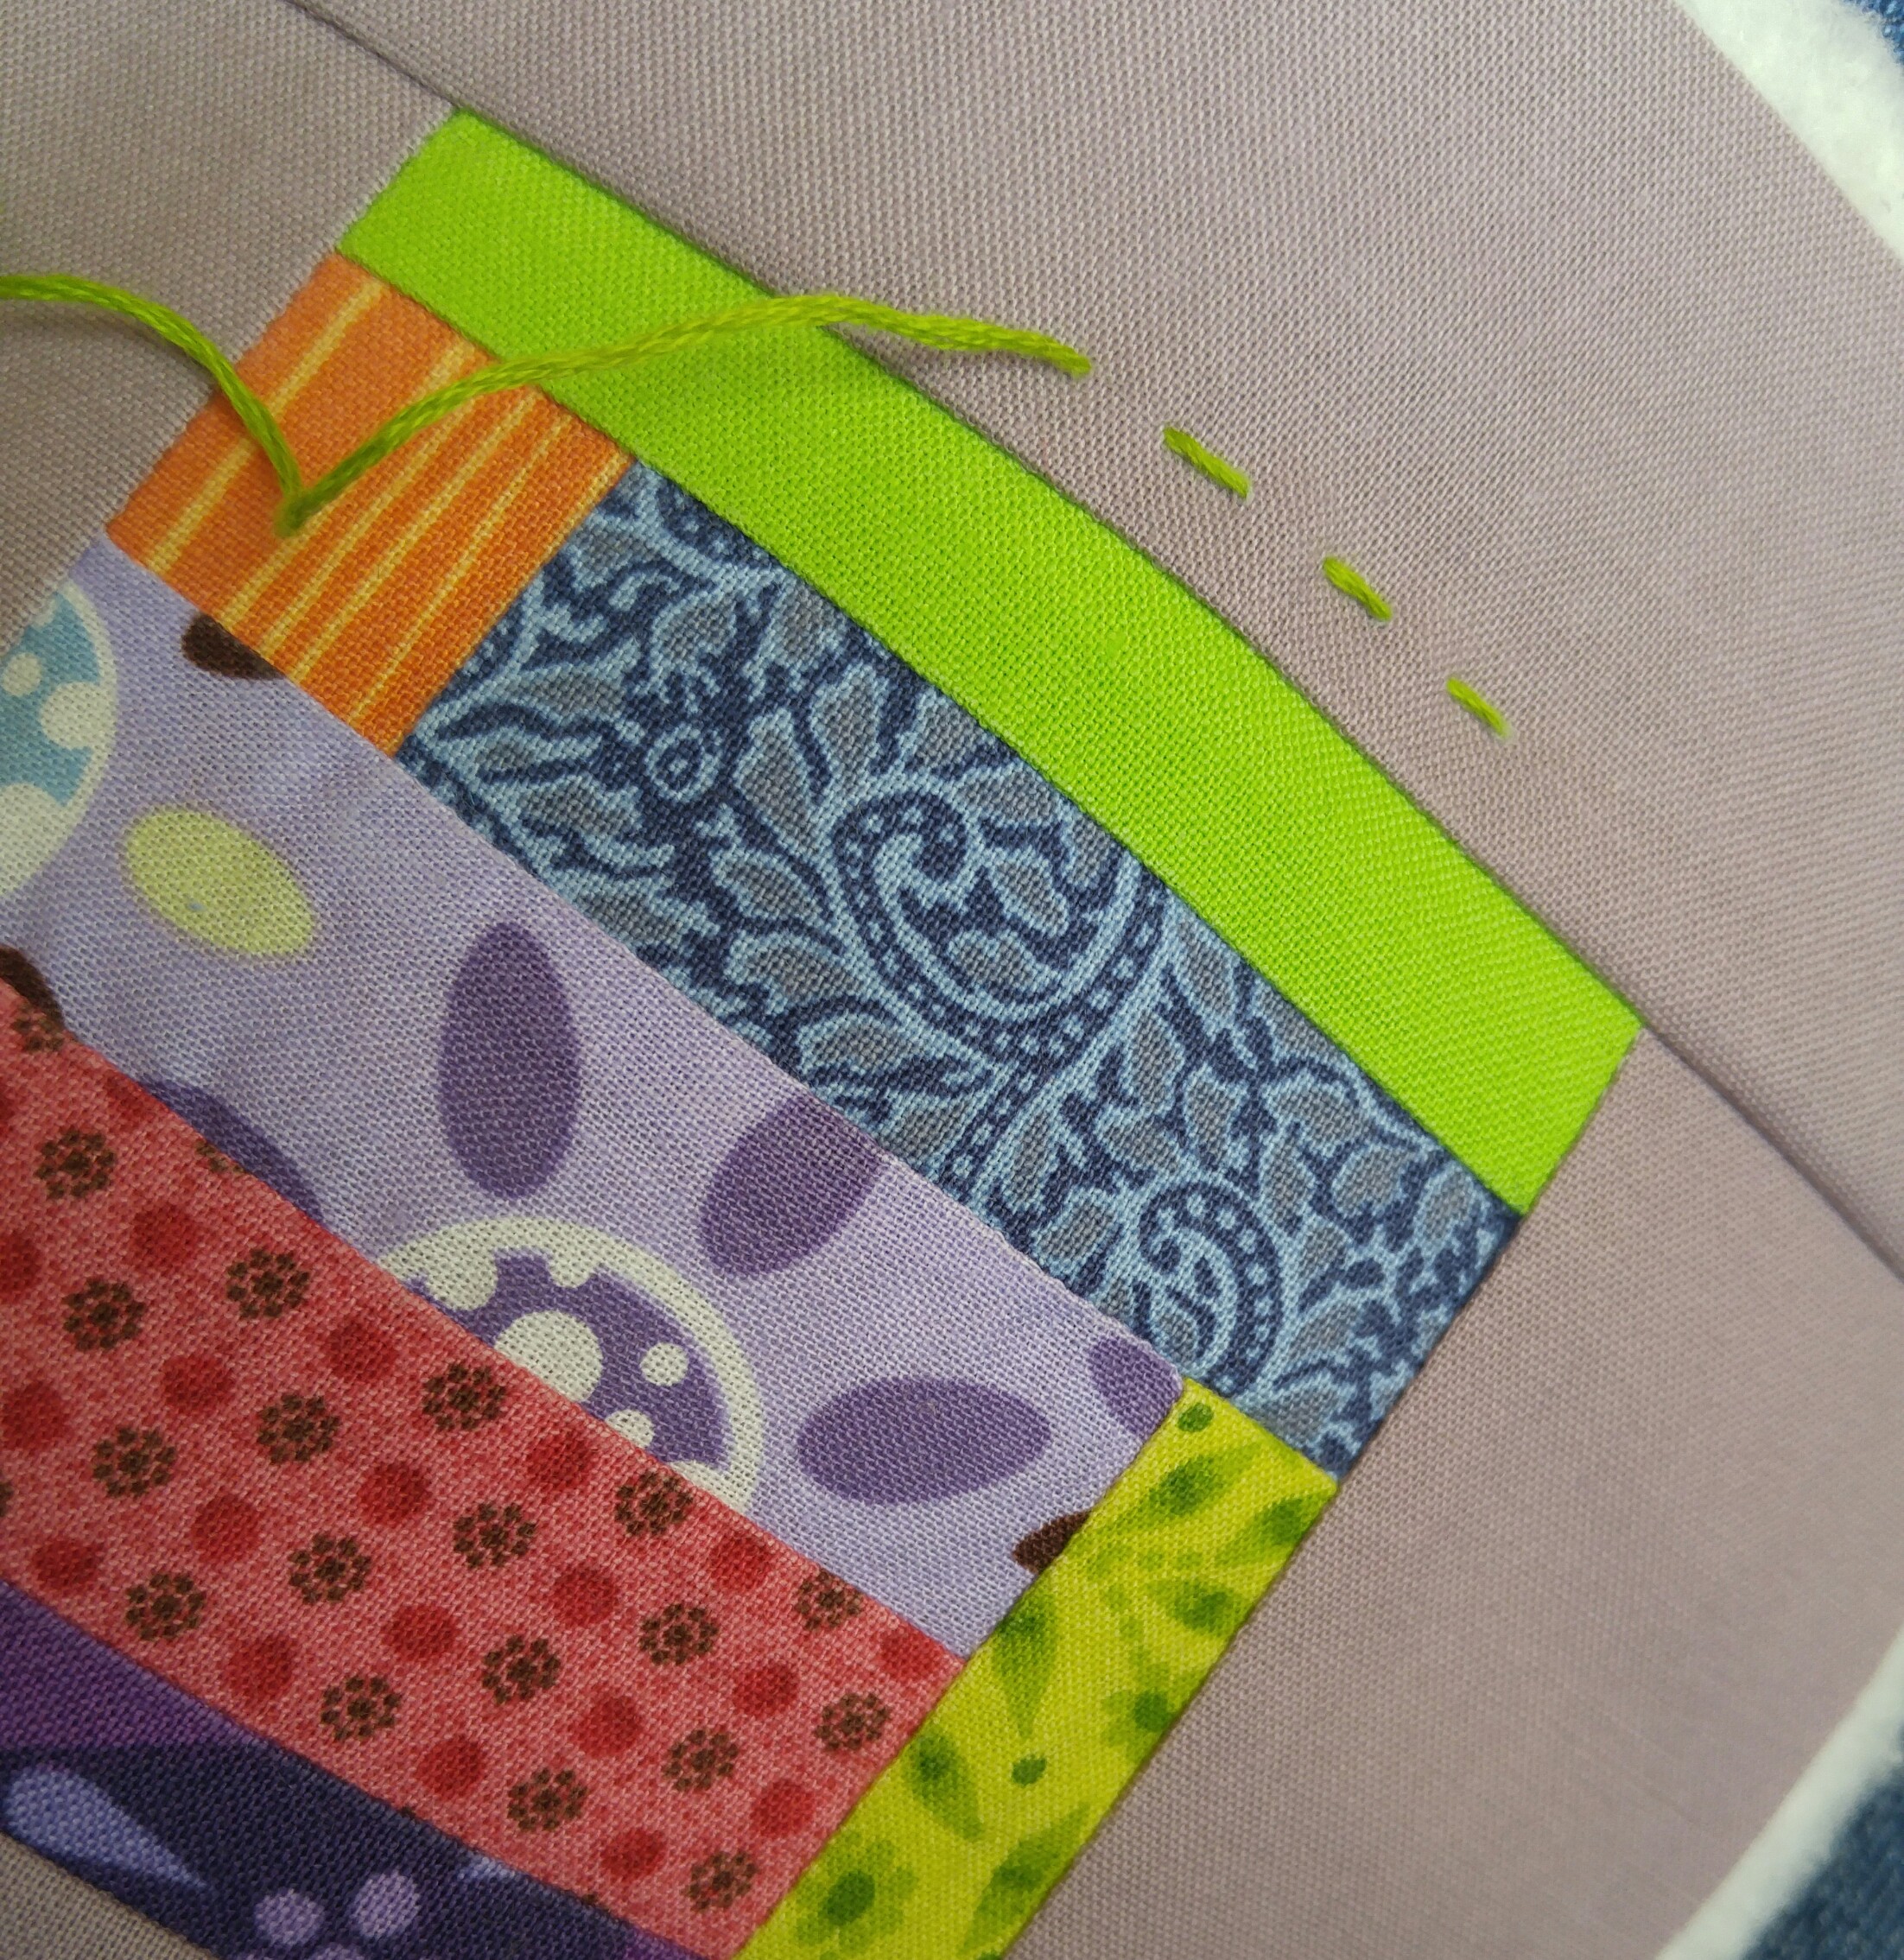
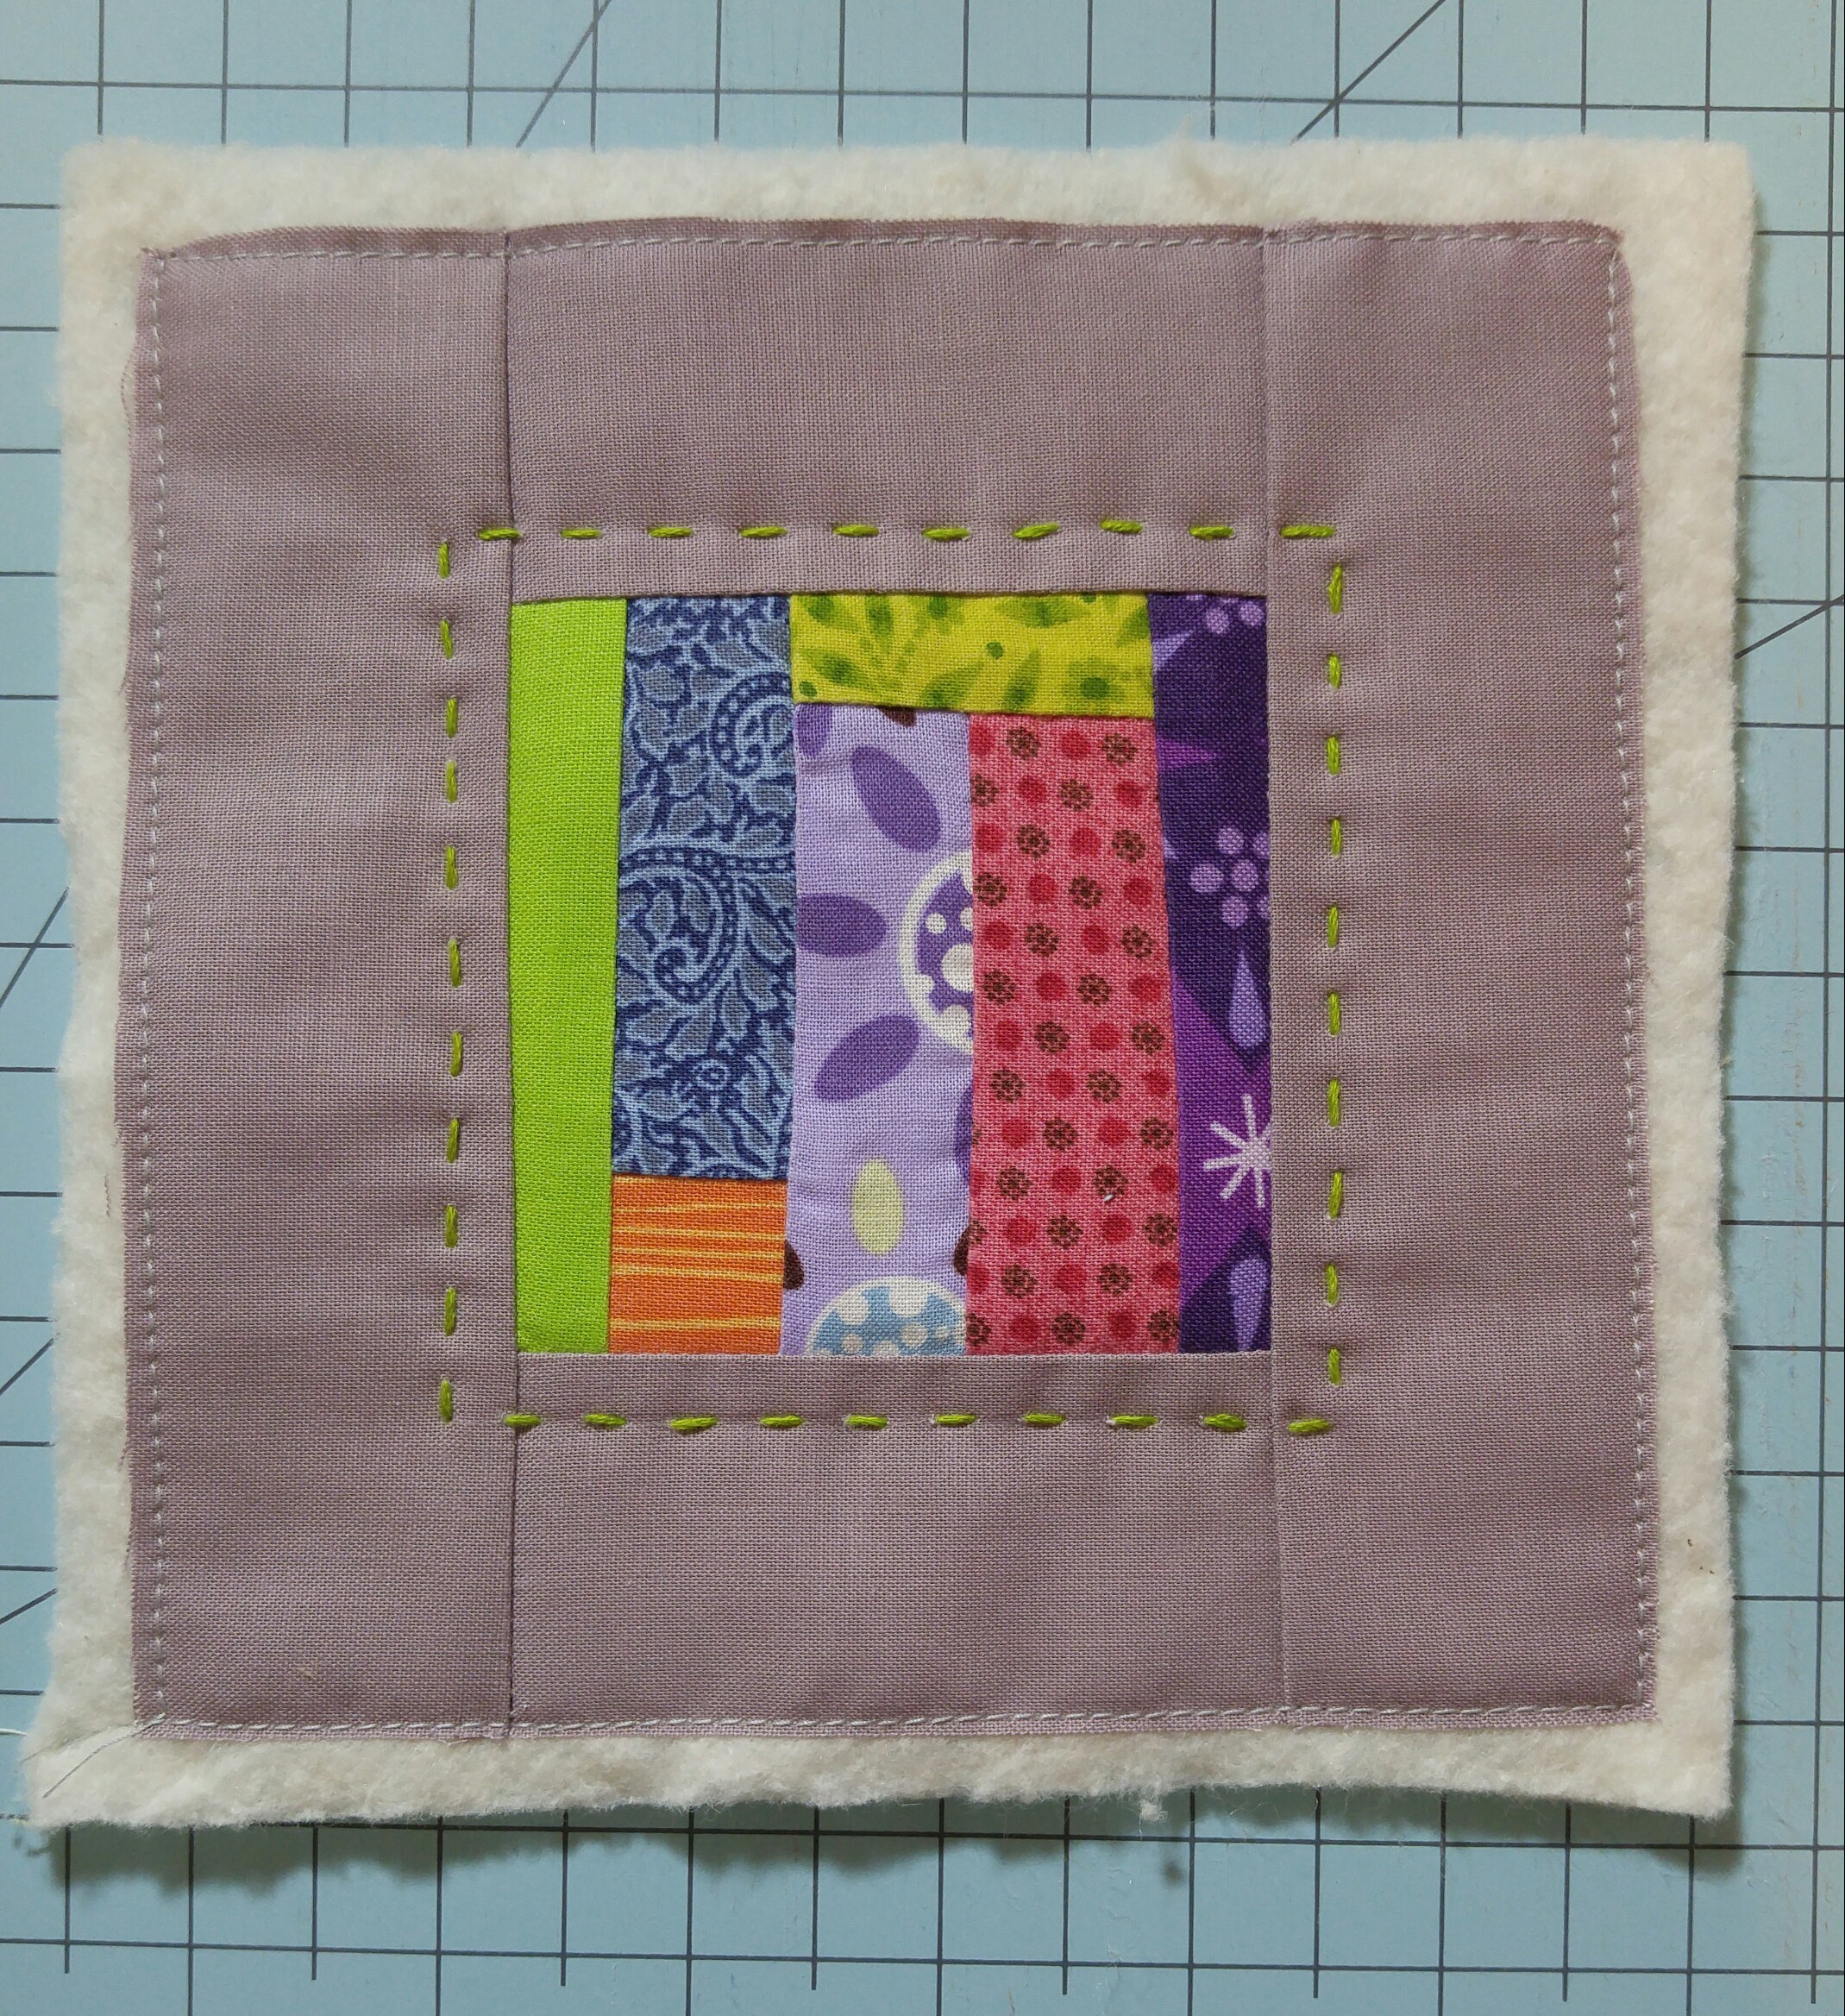
Place the block on top of your piece of batting making sure to center it.  You do not need the backing piece yet.  (by the way, I have also used flannel or thermal fleece for batting on these.) At this point, you can put a decorative hand quilt stitch around the edge of the block using pearl cotton, DMC floss, or similar.  It isn’t necessary, it’s just to make it look pretty, y’all.

20170120_131244-1

Whether you decide to do that decorative quilt stitch or not, be sure to put a baste stitch around the perimeter of the pincushion top, 1/8″ from the edge, so that it looks like this:

20170120_135104-1

Trim the excess batting from the edge of the block so that it measures 6″ square.  Set aside.

20170120_140245-1

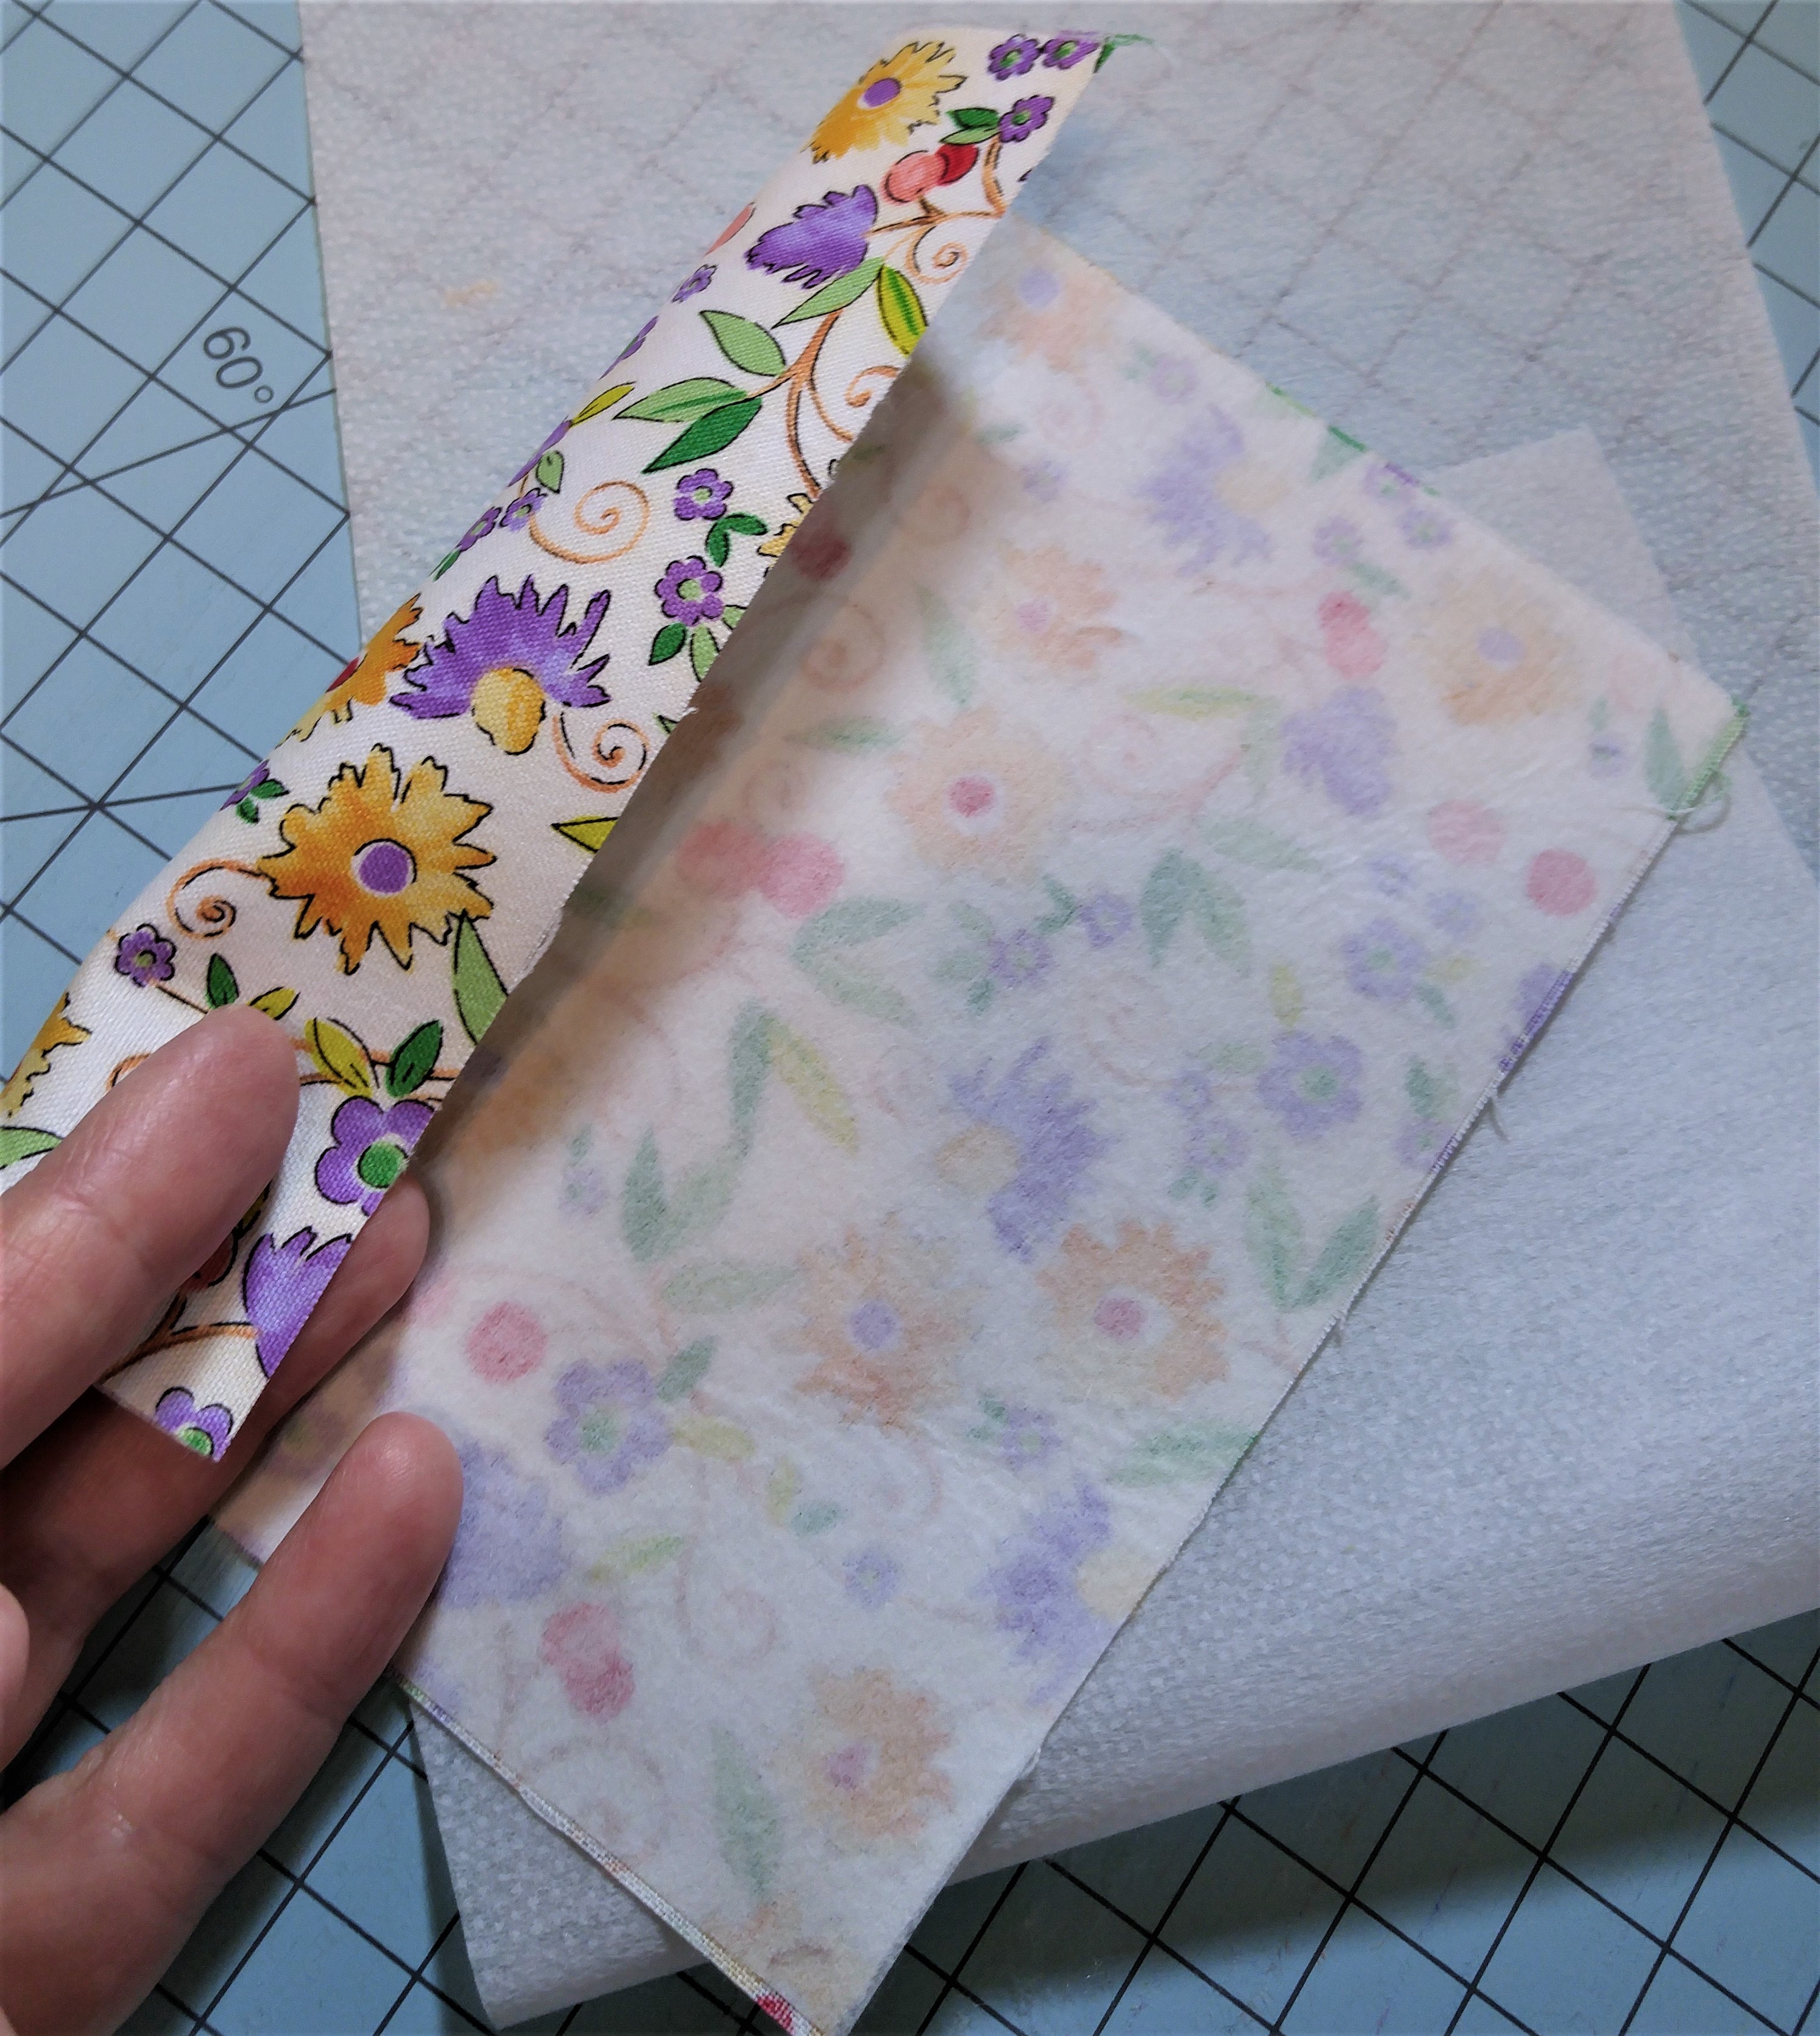
Now we are going to prepare the back, or bottom, of the pincushion by stabilizing it with the lightweight or woven interfacing.  Both the backing piece of fabric and the interfacing should be cut to 6″ square.

20170120_135817

You will attach it, following the product instructions, to the wrong side of the fabric.  Make sure that the rough side of the interfacing is facing the fabric.  If you get this wrong, it will adhere right to your iron. I have never made this mistake, but a distant cousin on my mom’s side of the family has a friend who said that it was the dumbest thing she has ever done.

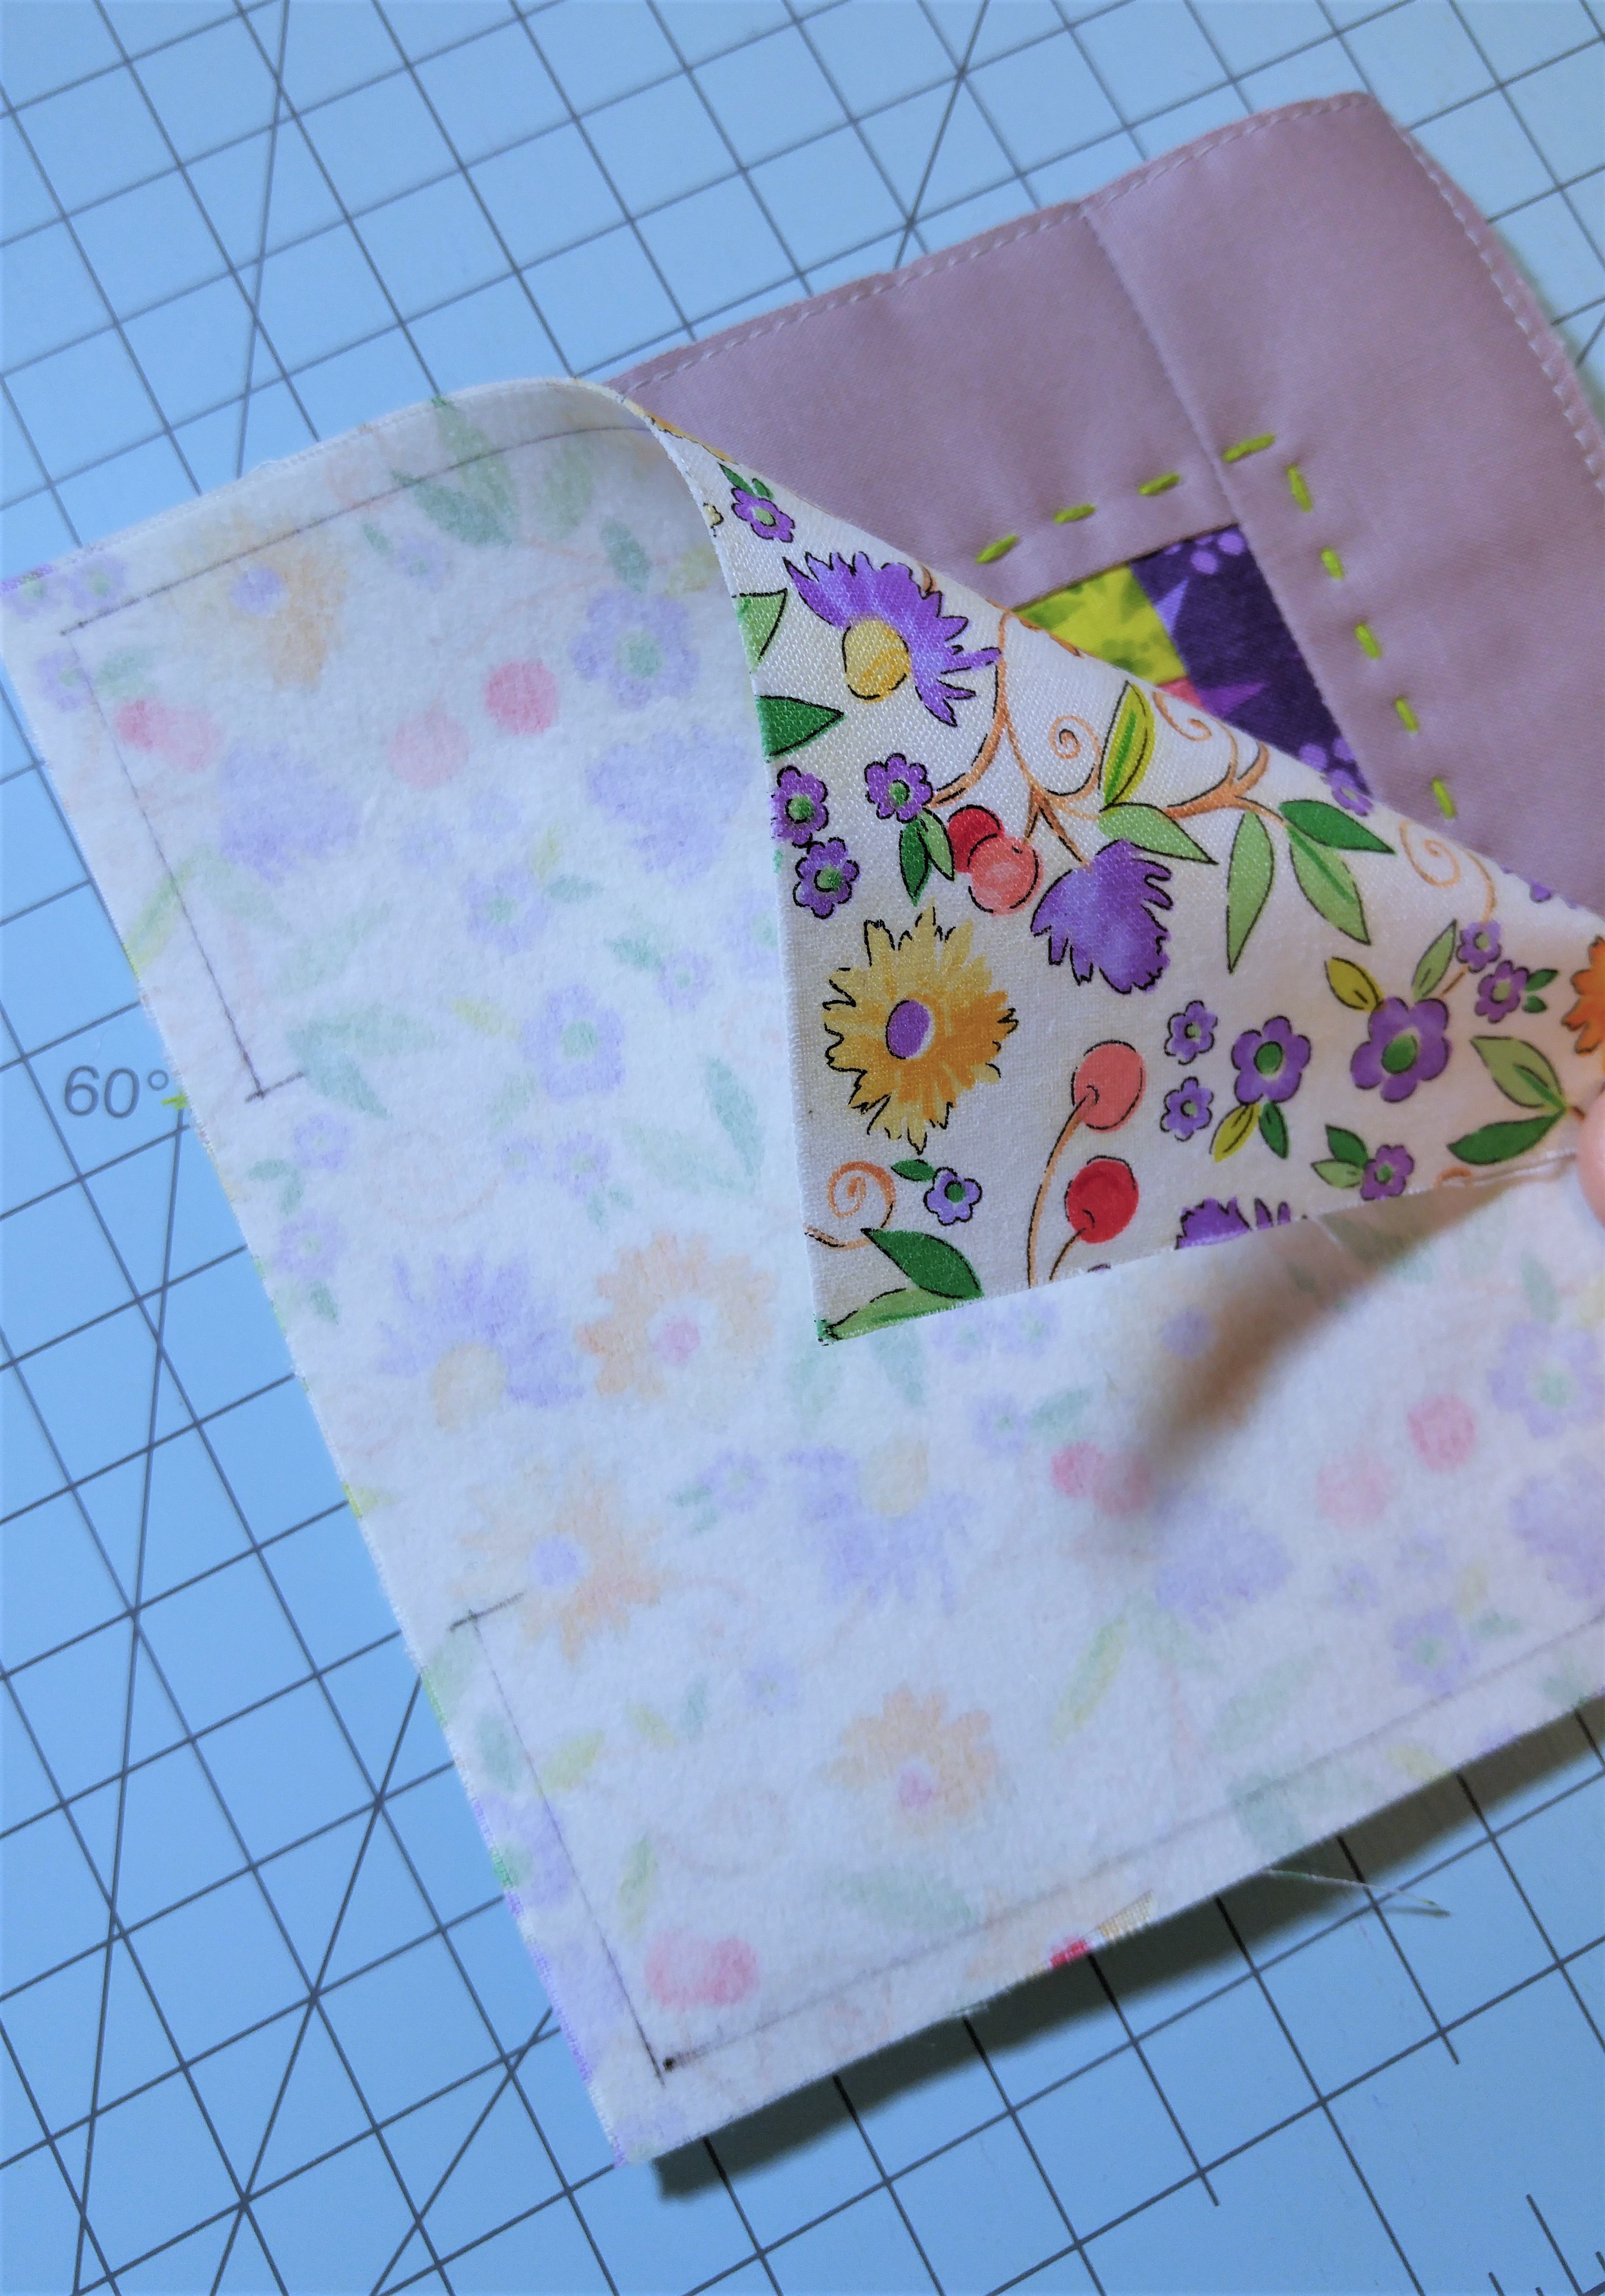
Now we get to sew the two pieces together like a miniature pillow.  Placing the two pieces, right sides together, you will stitch around the perimeter of the square, using a 1/4″ seam allowance, leaving a 2″ area unstitched, so that you can turn it right side out later.  In this picture, I marked the sewing lines on mine, purely for you to see your sewing lines easier, but you don’t need to mark yours.

20170120_140742

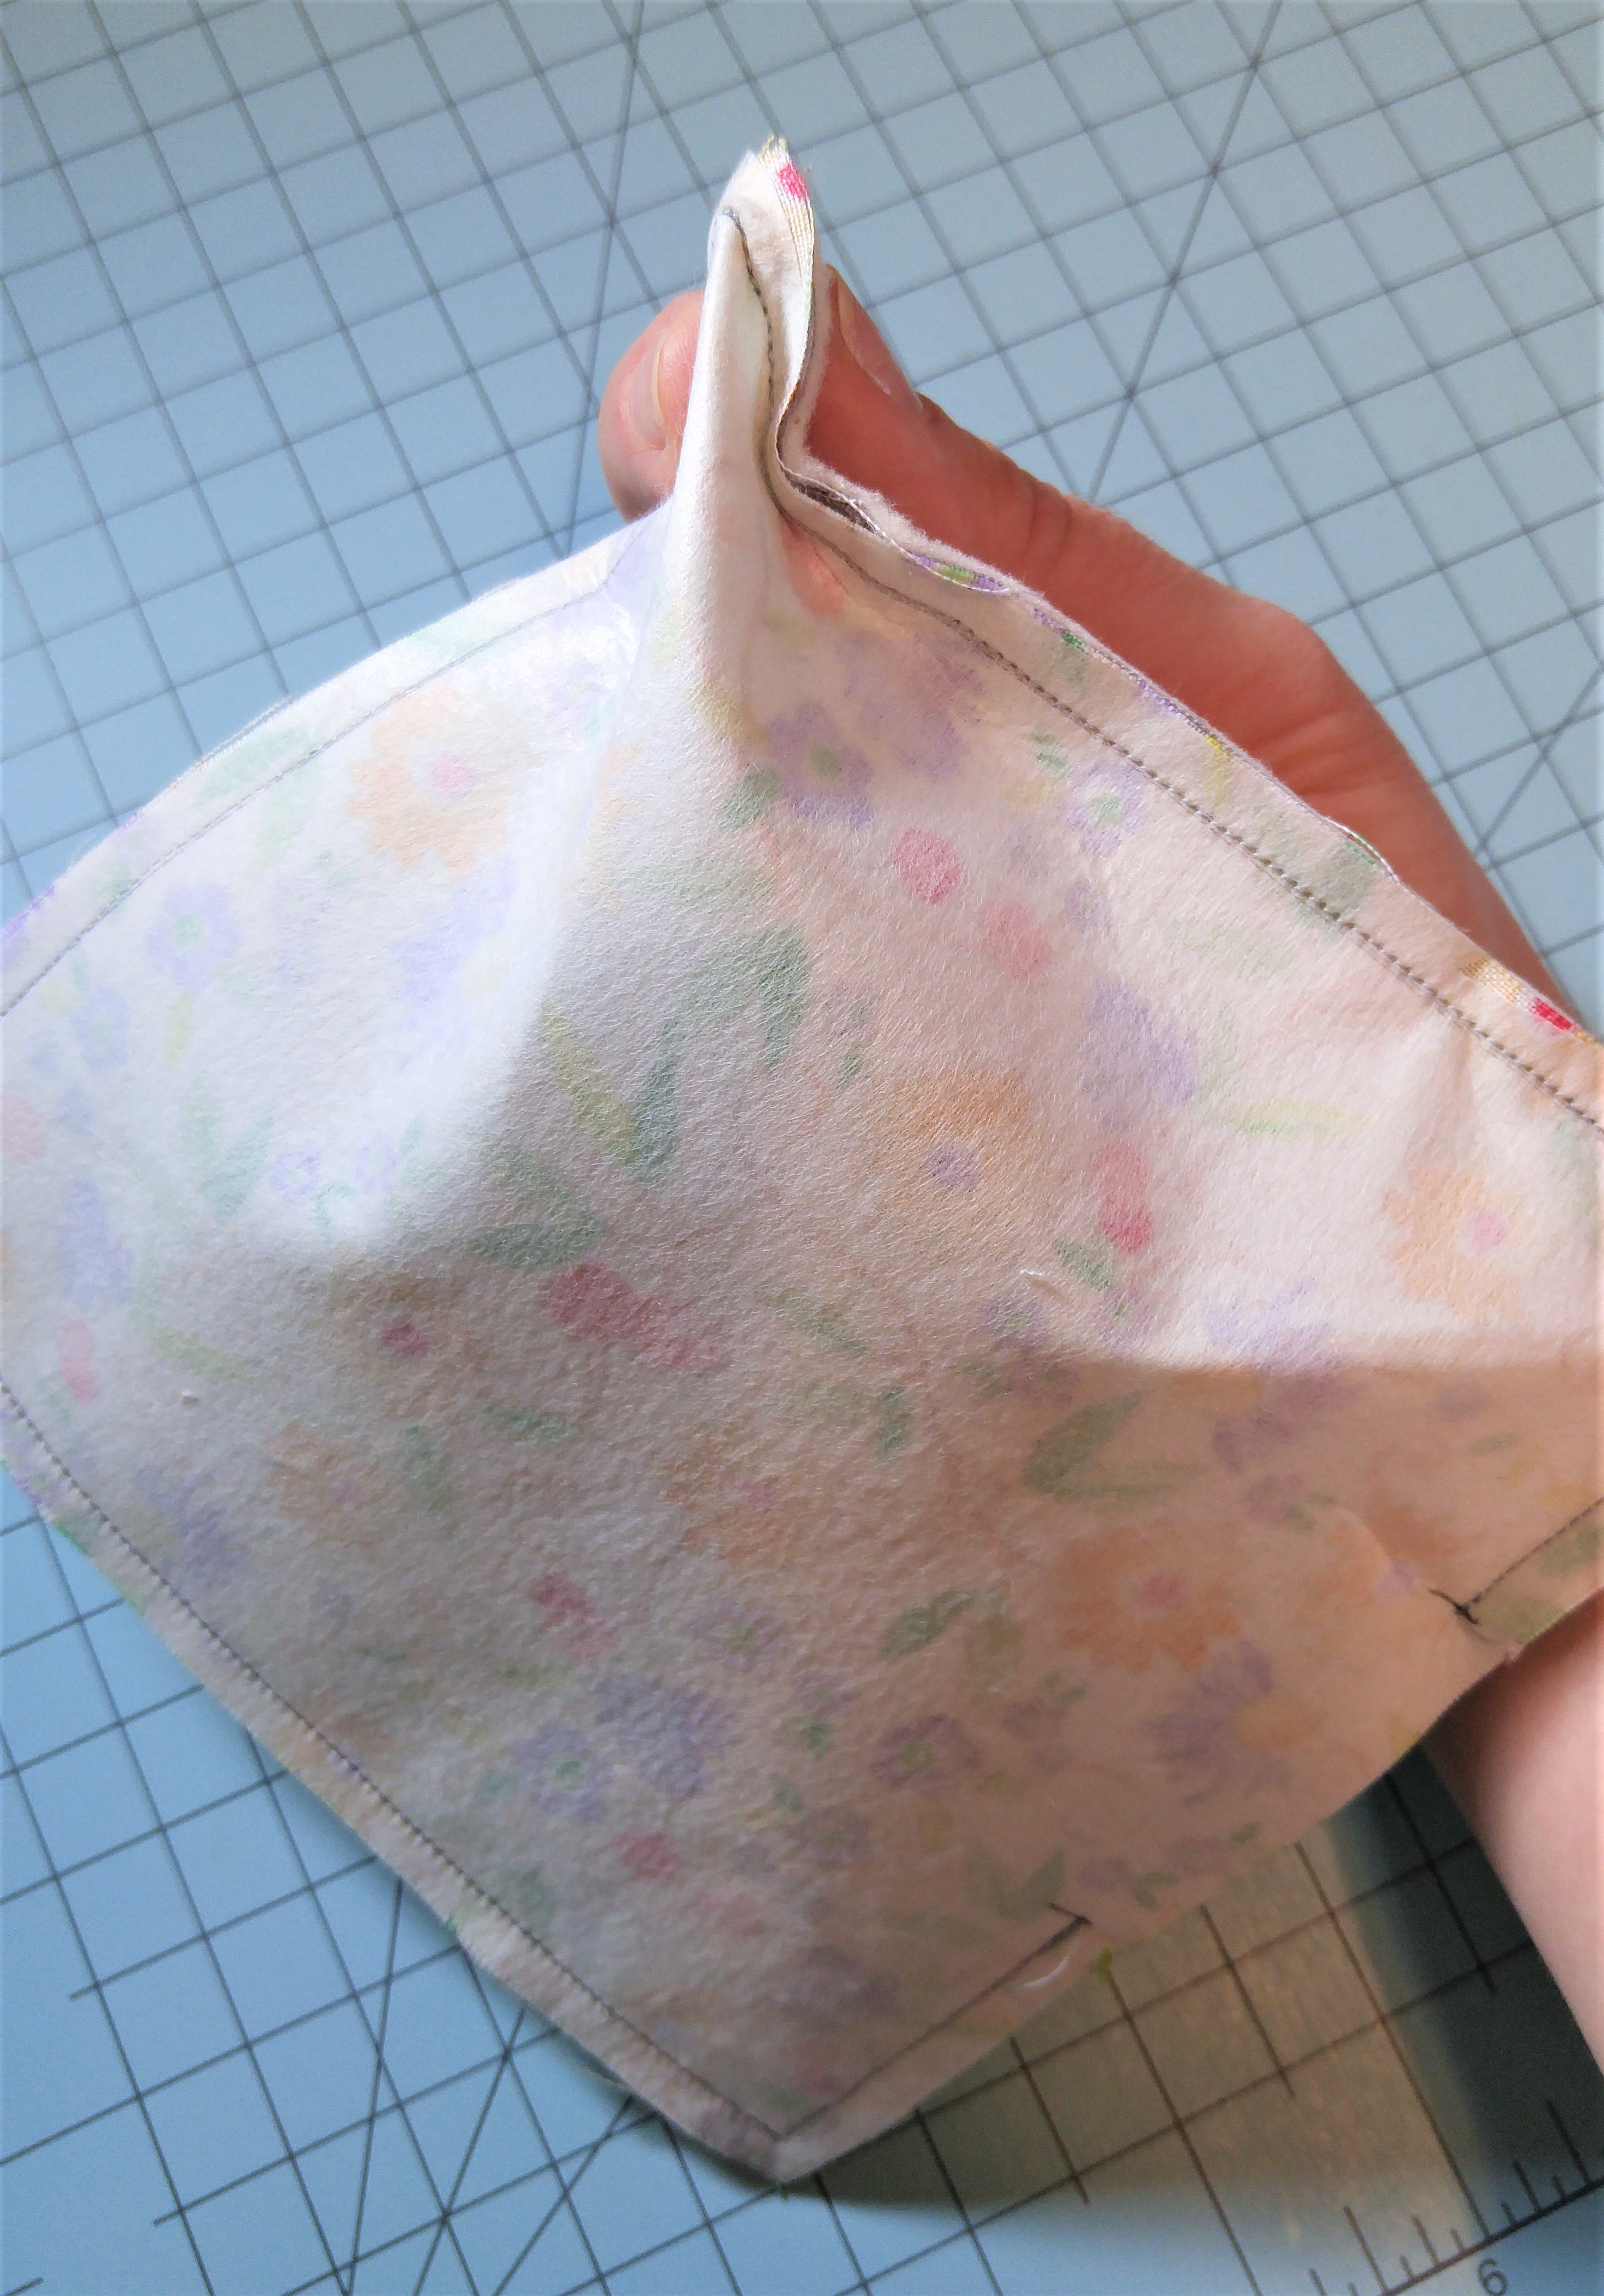
Okay, don’t turn it inside out yet.  I know you want to, but we are going to gusset the corners first.  Super easy. Pinch one corner like this:

20170120_141224

20170120_141518

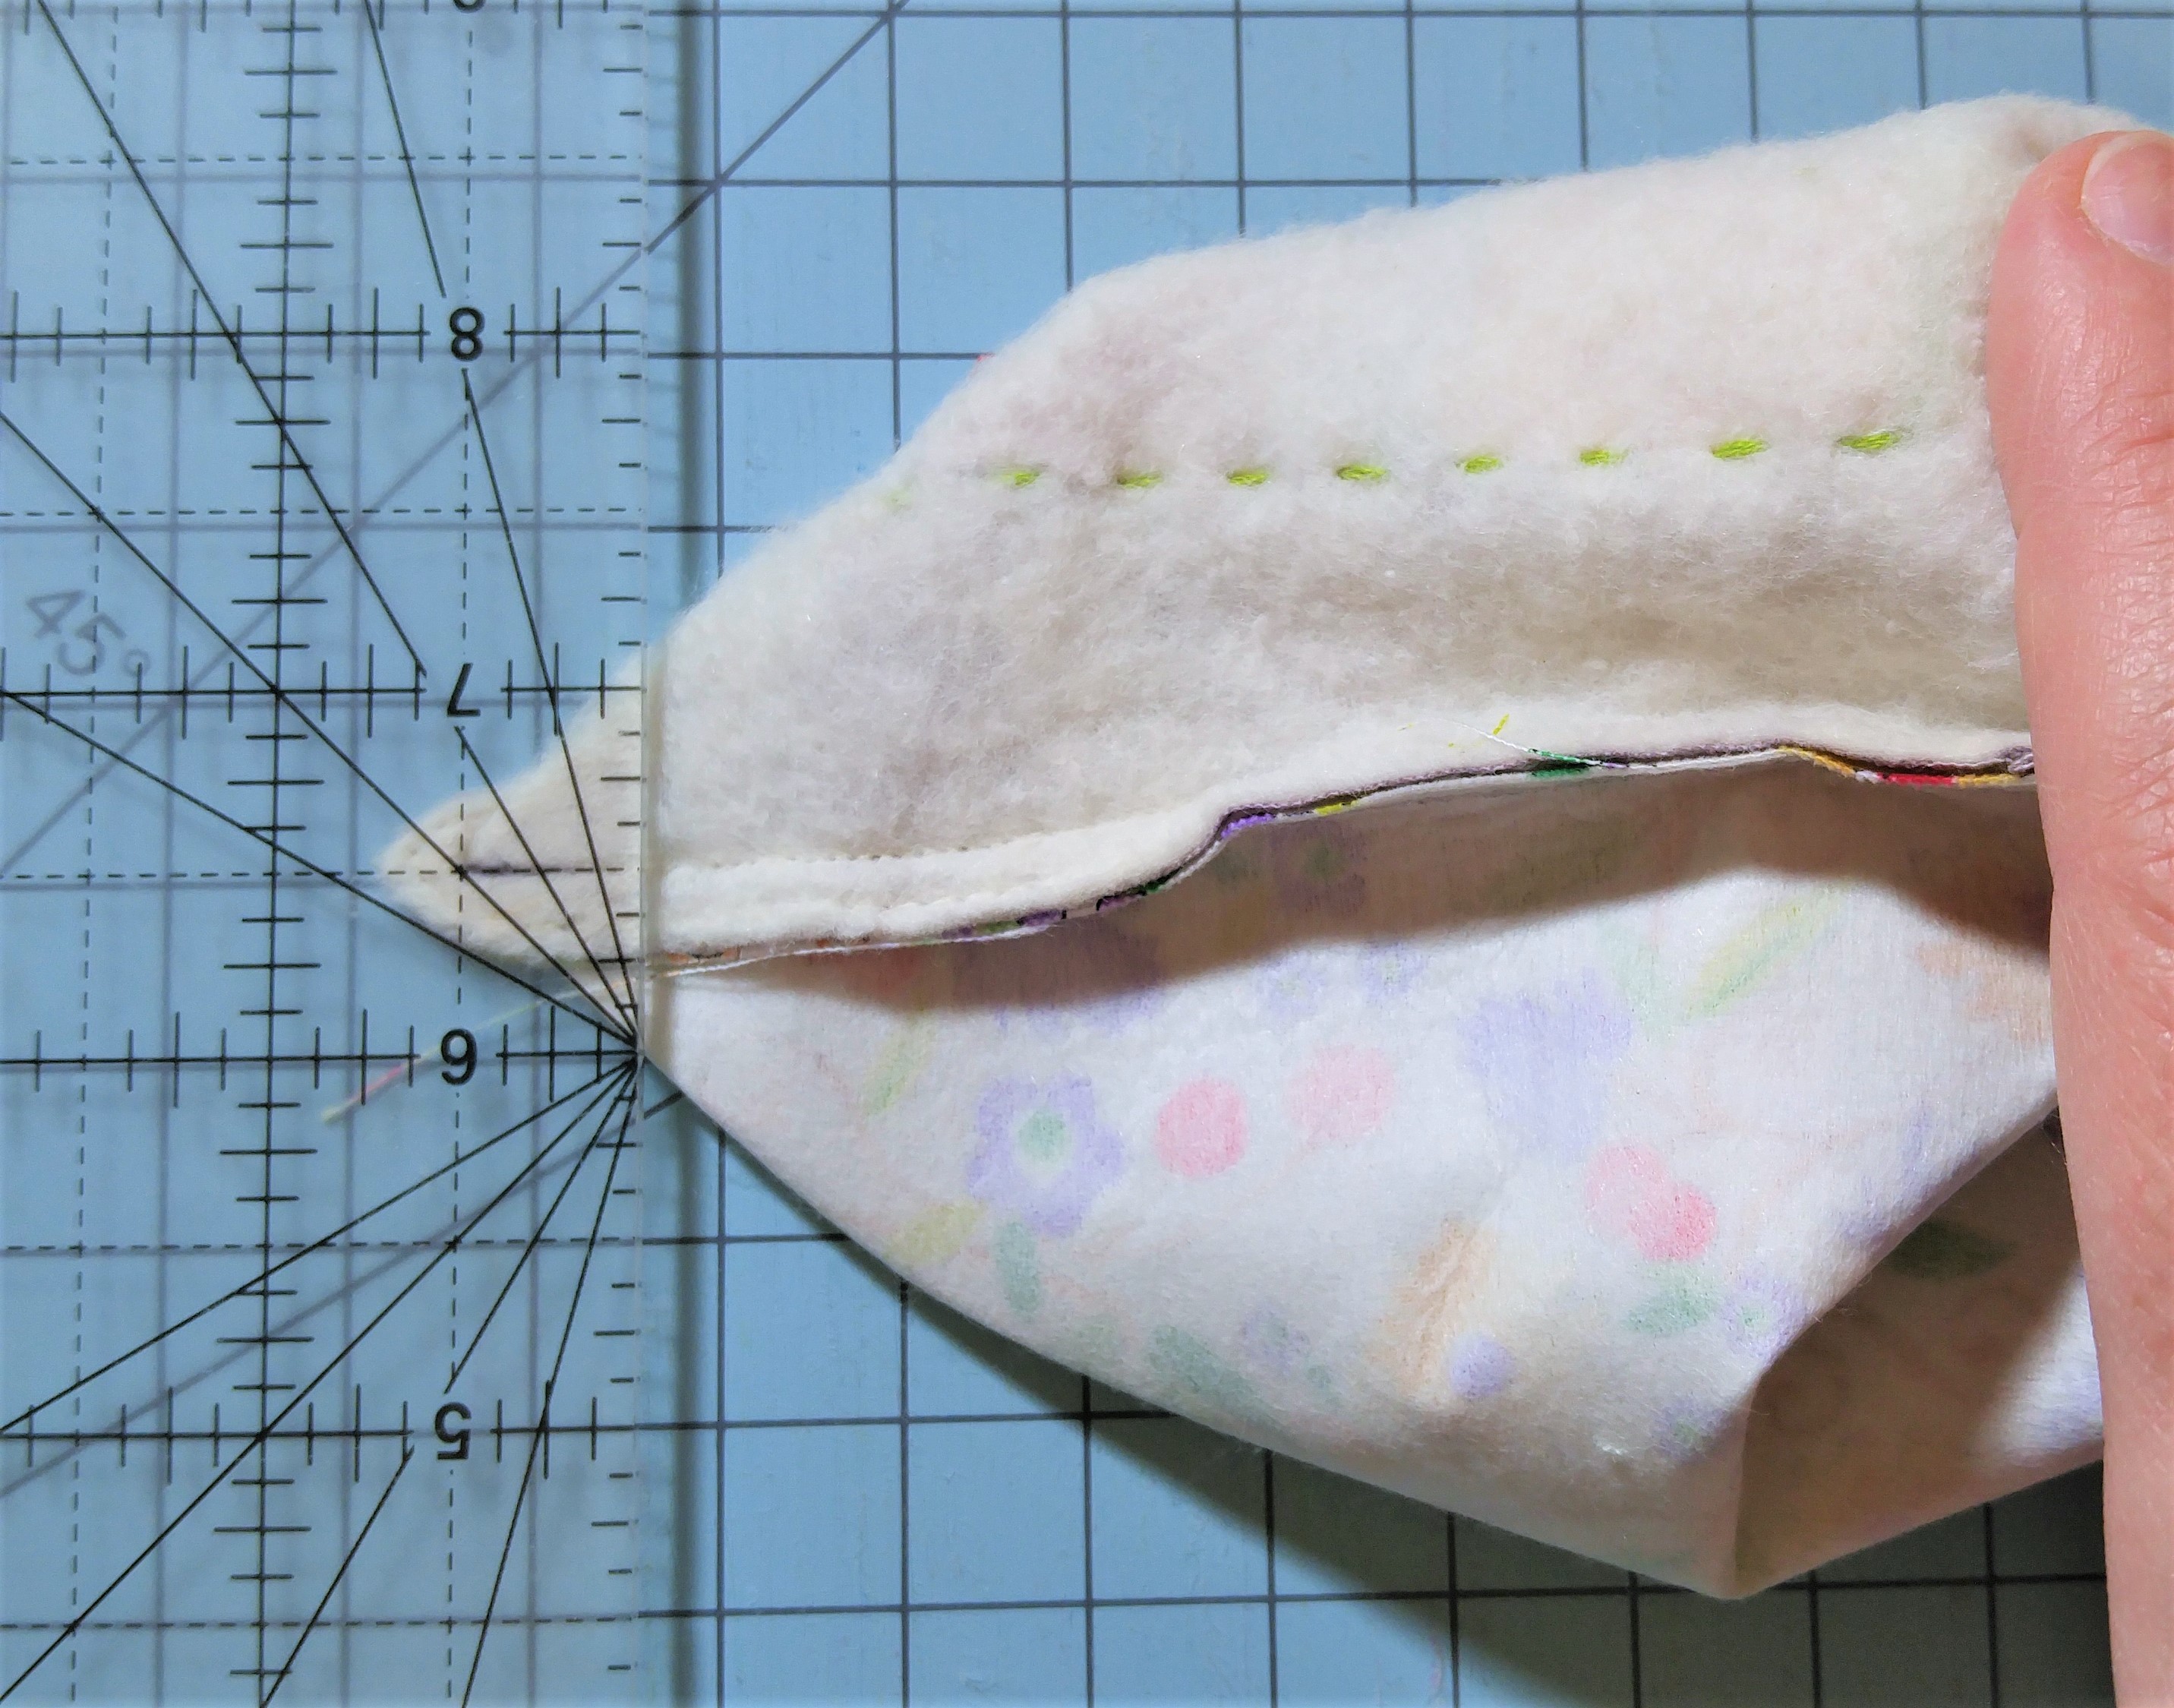
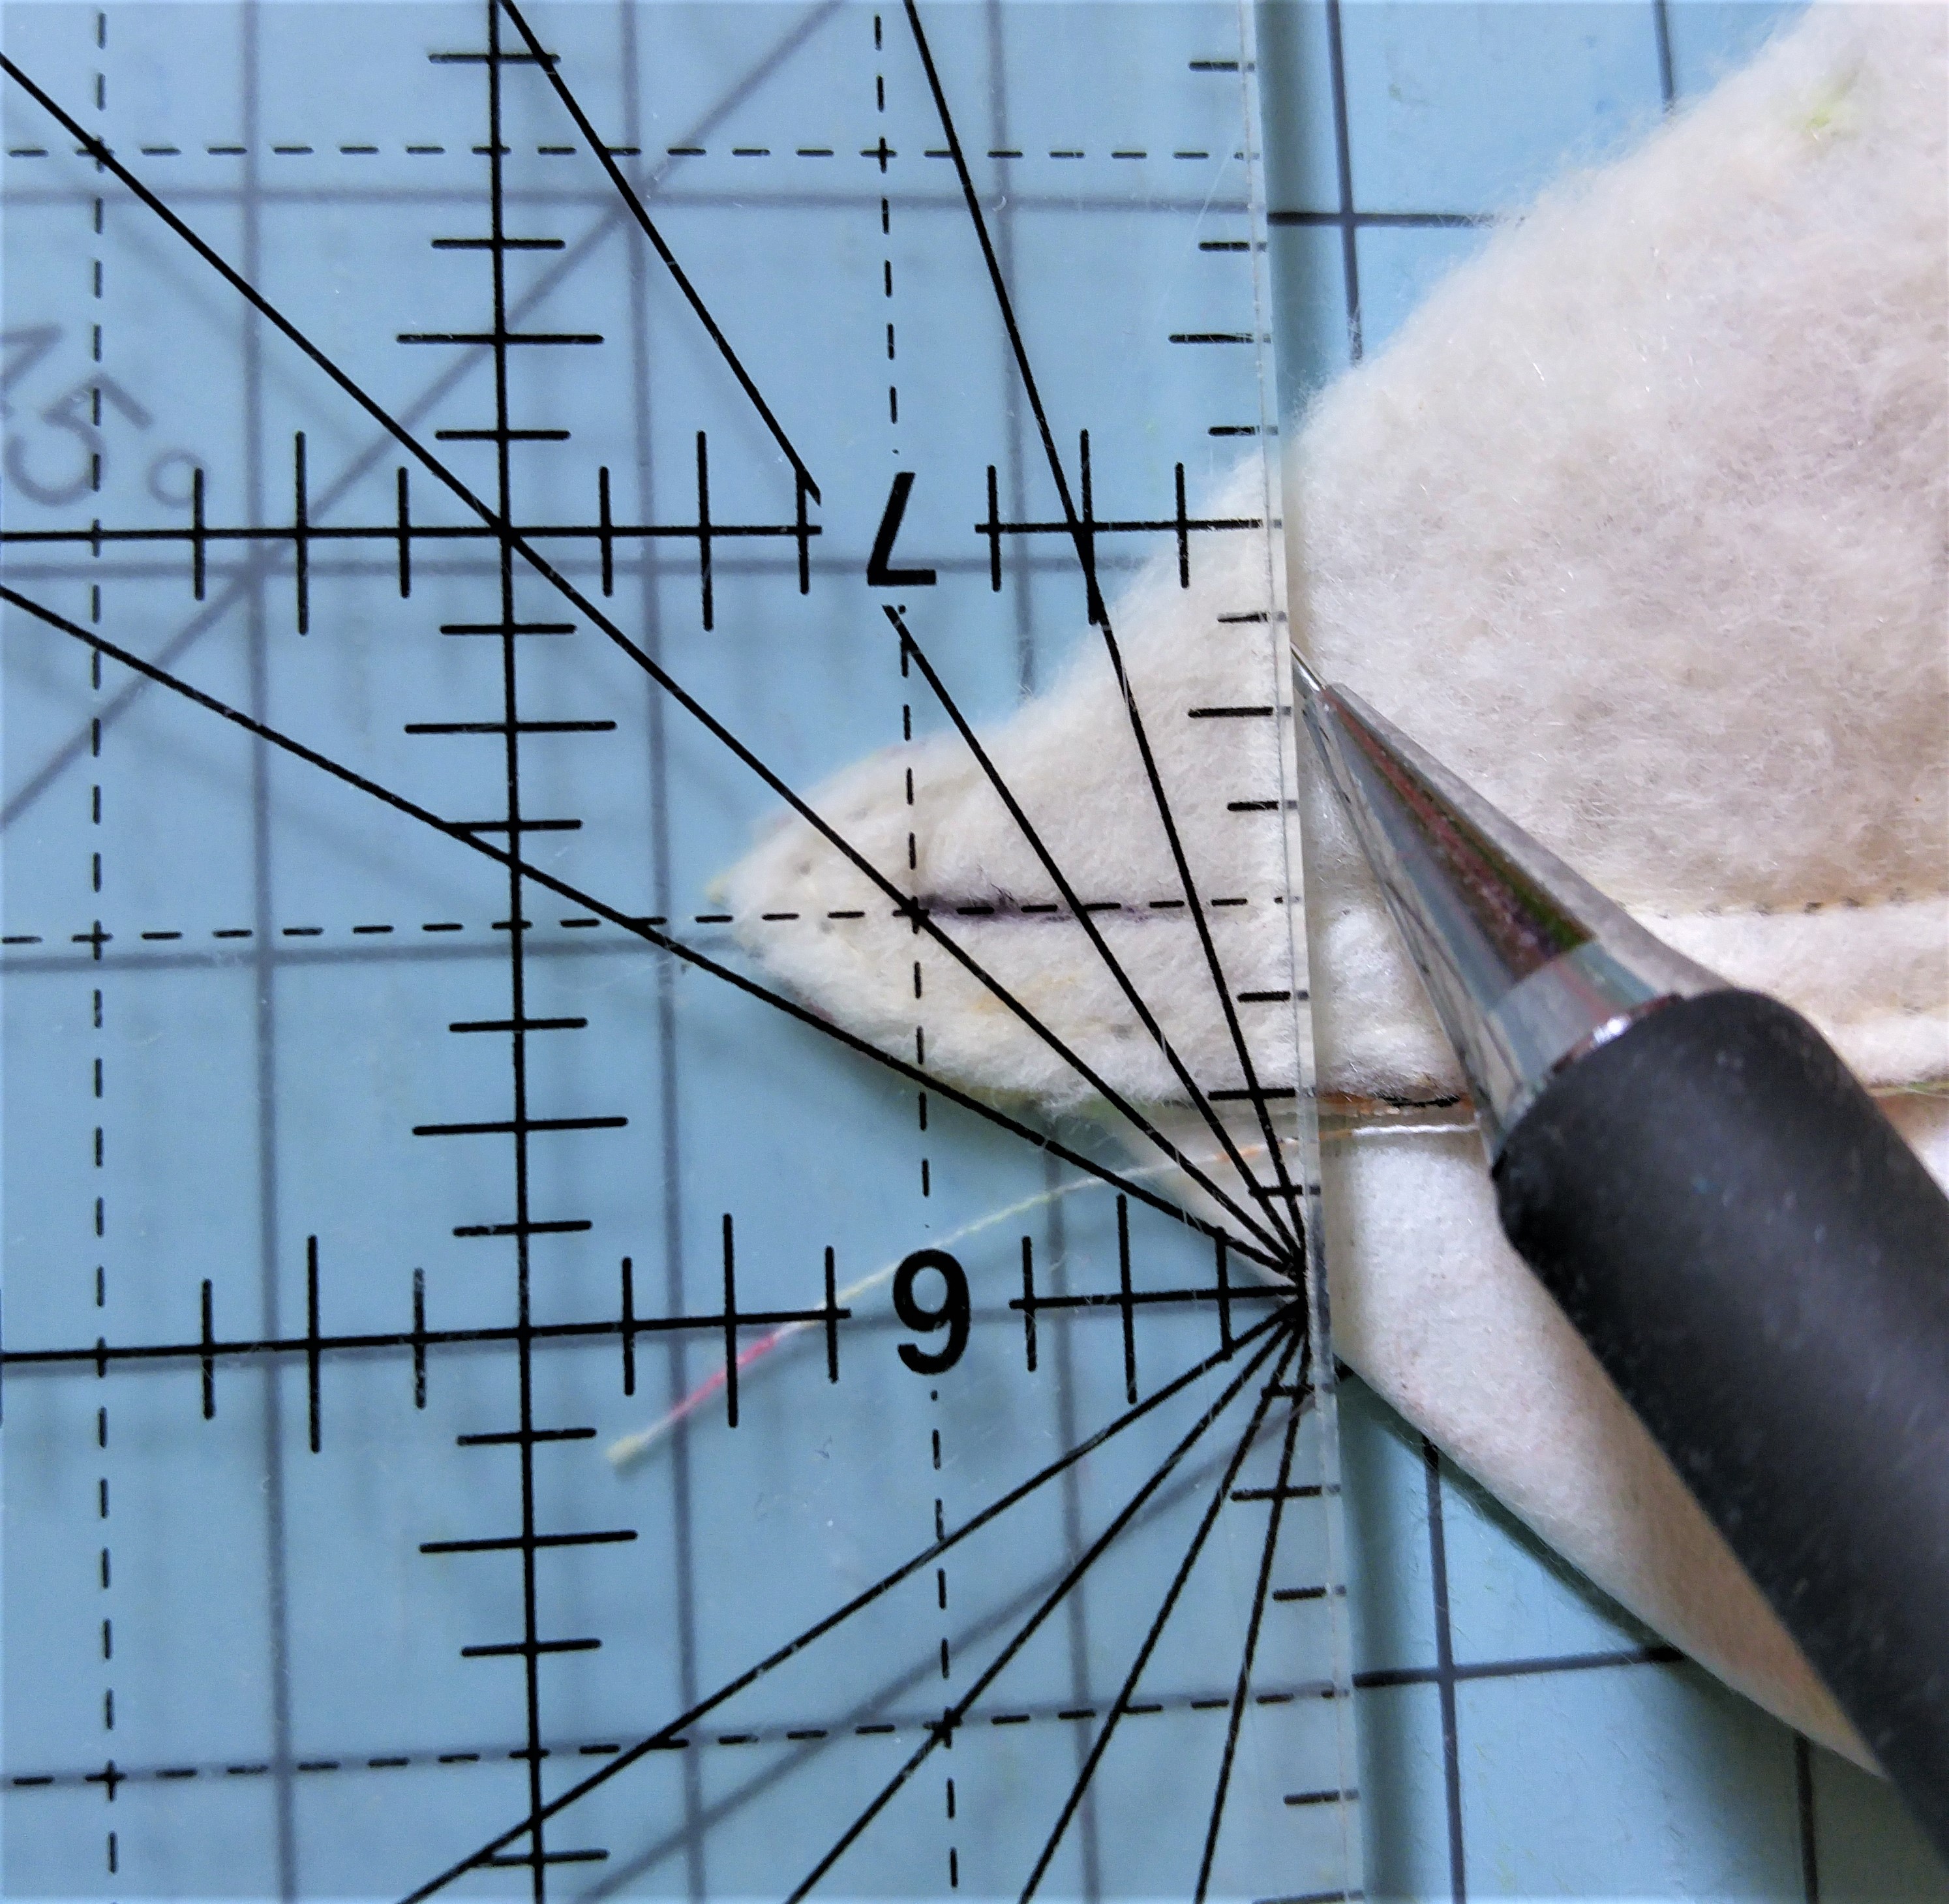
Then make it lay flat, so that the seams line up, and the corner is flat.  Make sure the other three corners are tucked out of the way when you mark your sewing line, 1/2 inch from where the corner stitches meet. (not the tip of the outer seam allowance). To help you see where I am measuring from, I made the line in this photo black, so that you can see the 1/2 inch.  Take a pencil to draw your sewing line, following the edge of the ruler.

20170120_141444

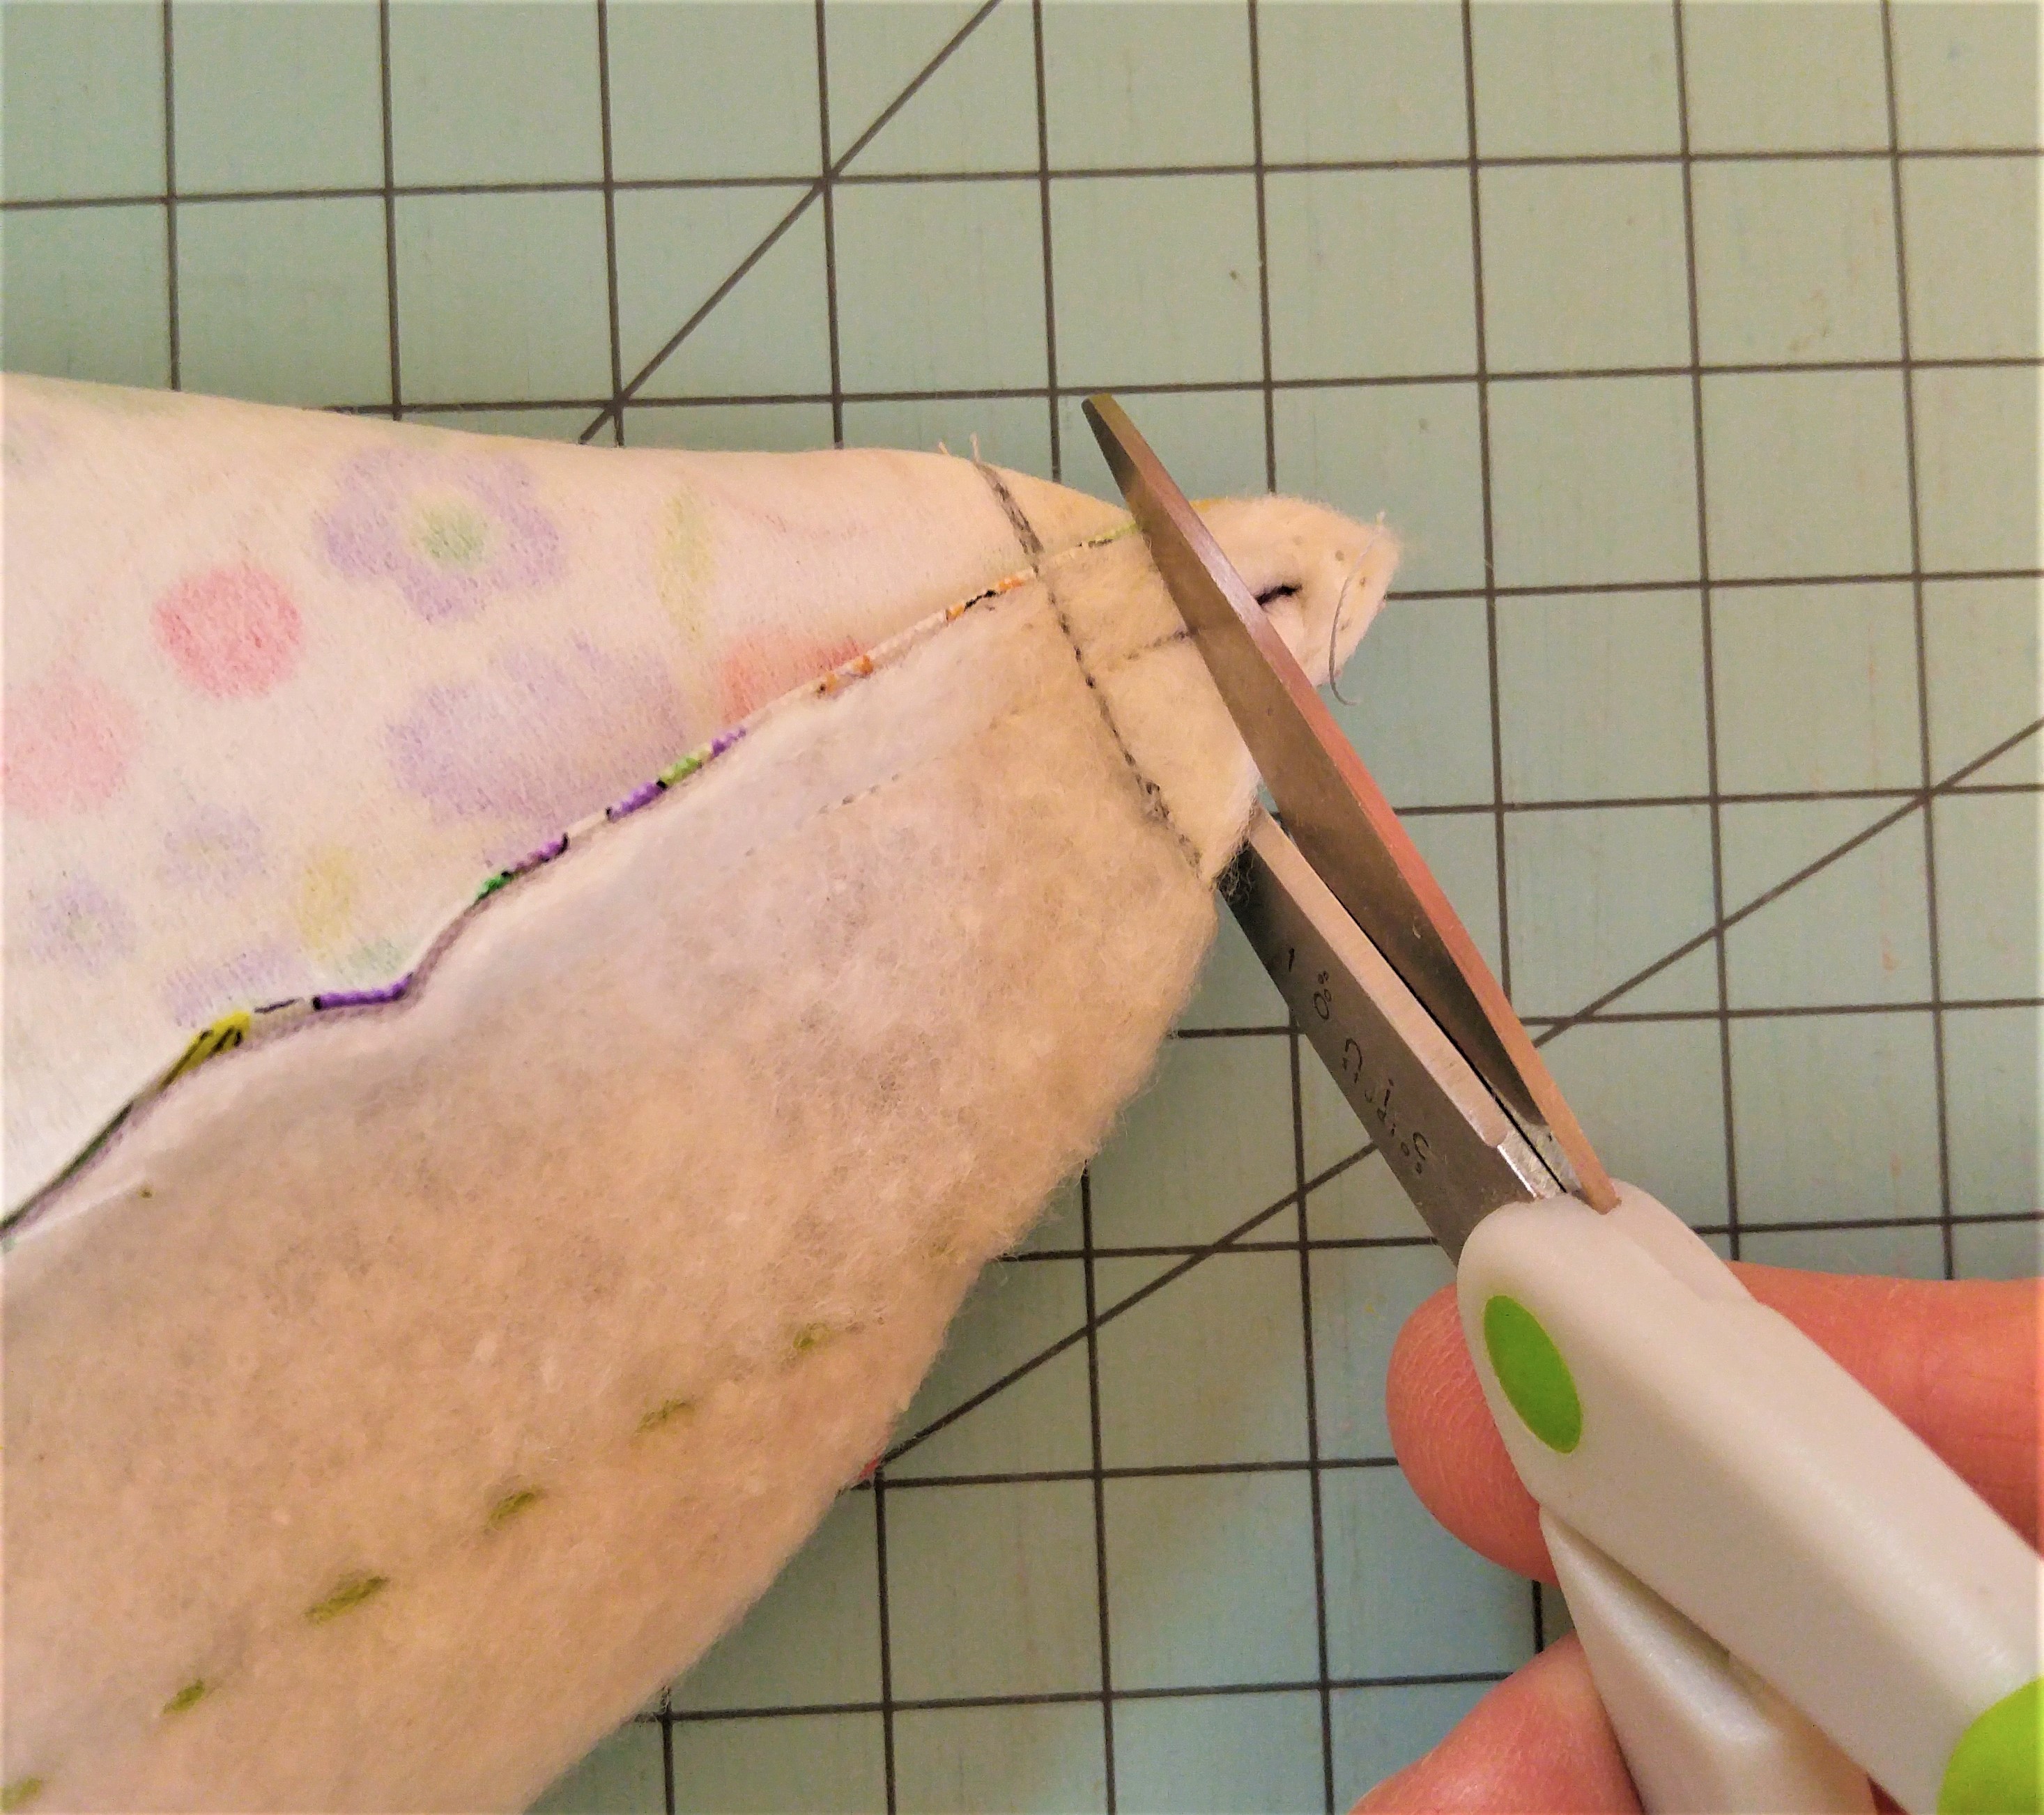
Sew the corner, sewing right on the line that you drew, using a shorter stitch length.  Make sure you back stitch at the beginning and end.  Repeat this procedure for the other three corners.  Trim the corner tips off, about 1/4″ on the outside of the stitches that you just made:

20170120_141811

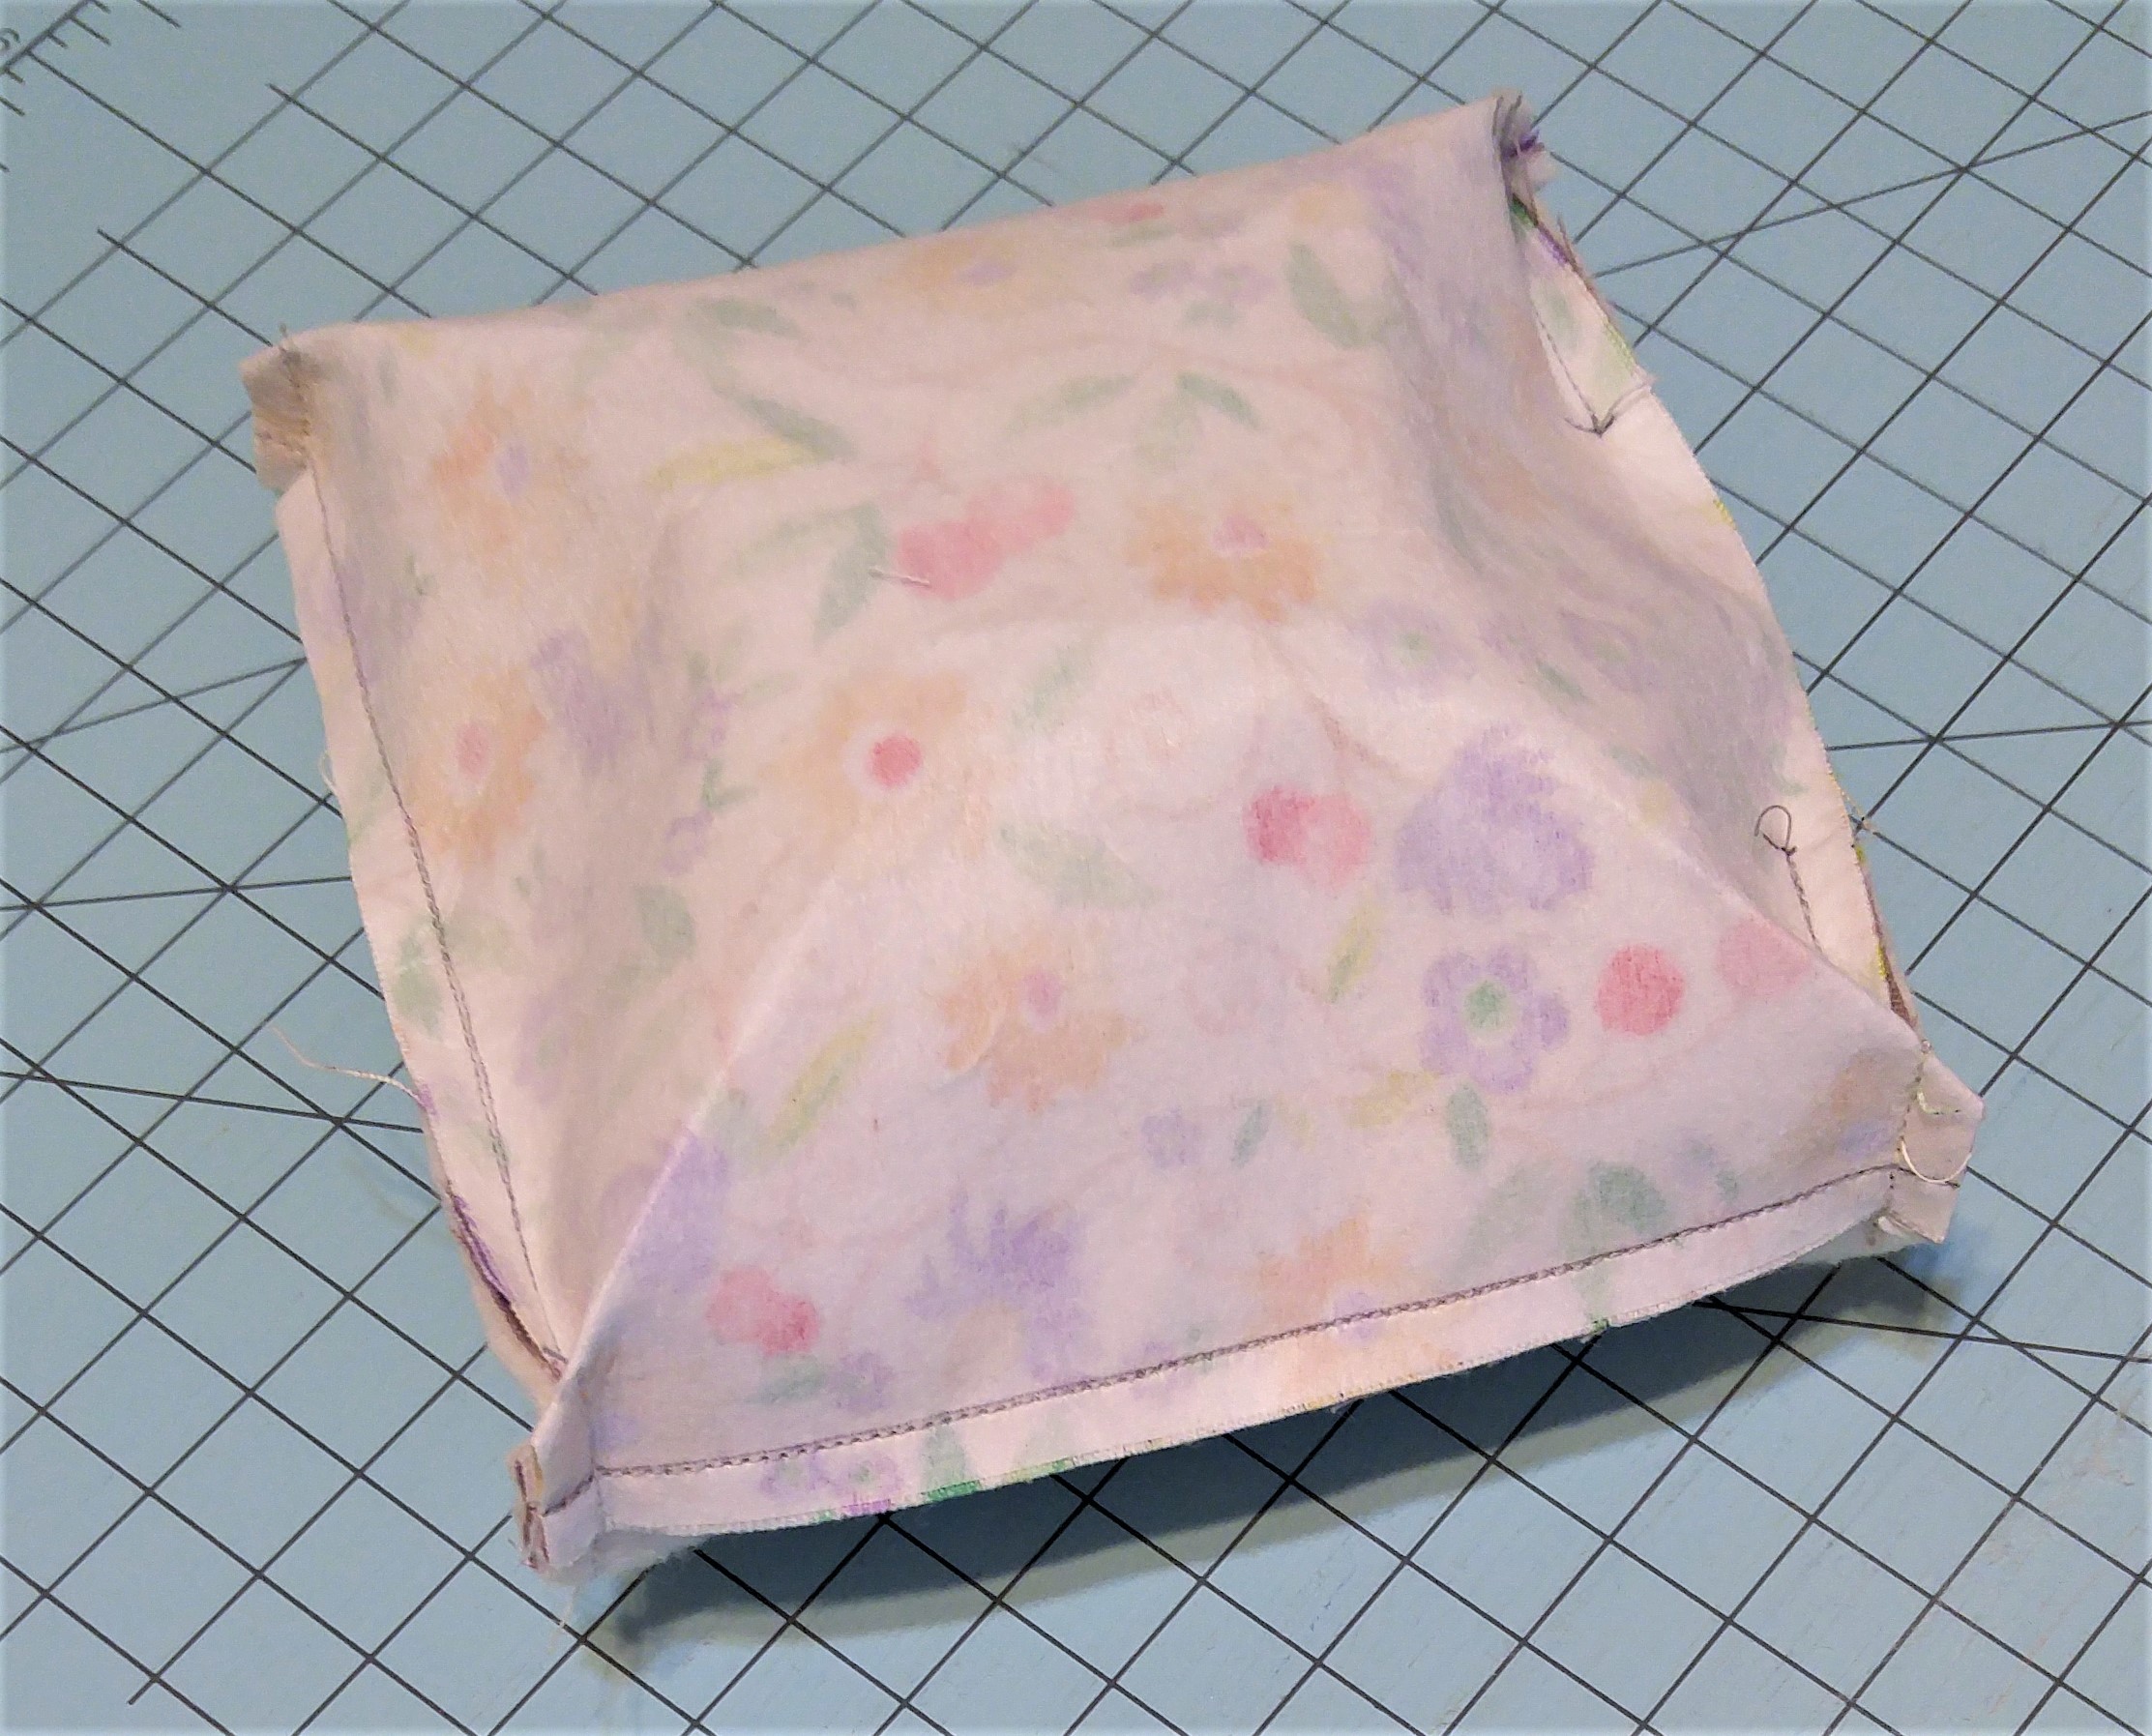
Your pincushion should now look like a styrofoam clamshell for fast food hamburgers. 😀

20170120_143049

Turn this right side out.

20170120_143359

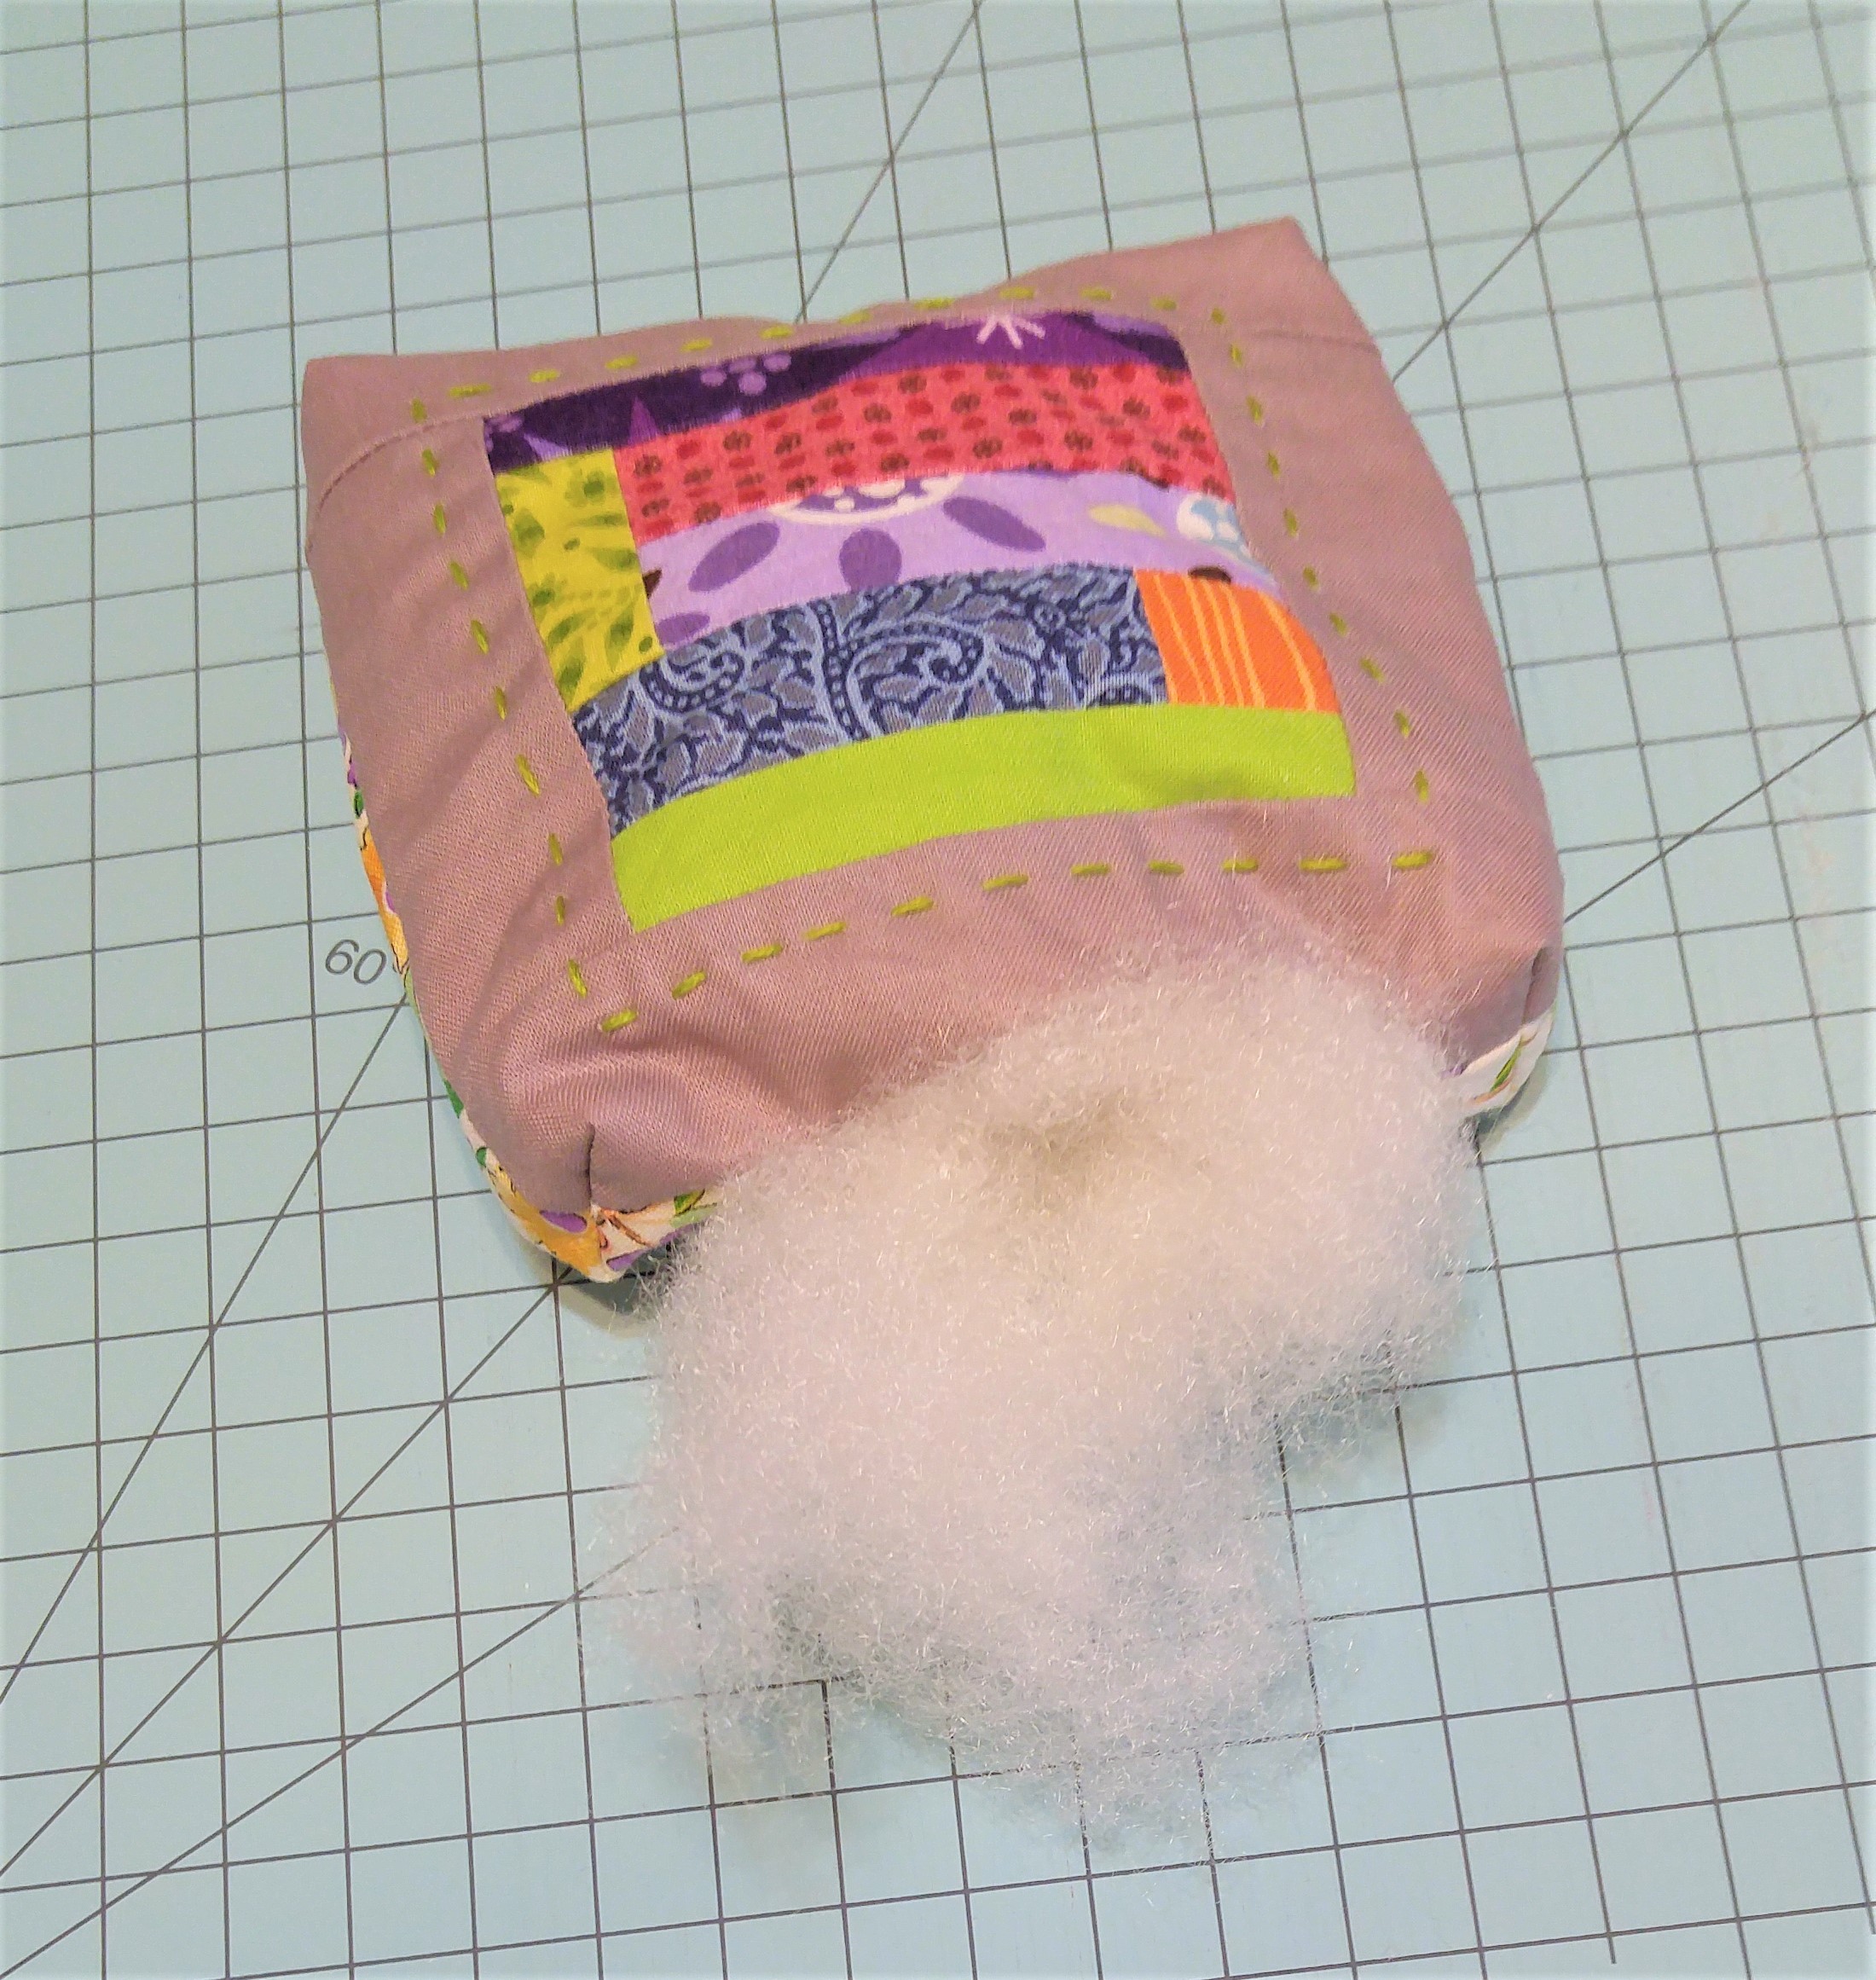
stuff it full of fiber fill, wool, or your pincushion filler of choice.

Stitch the opening closed. By. Hand. Duct tape is only okay if you are over deadline, or if you know you will never, ever, do this again anyway.

Please tag me (‘buttoncounter’ on social media) in your pictures if you make one (Instagram, blog, Flickr, etc.)  I would LOVE to see your version. Please remember that it is a lot of work to make a tutorial, with taking photos, uploading, typing up explainations, editing, then putting your soul out there on social media for people to critique, especially if that tutorial is free.  So, please be an awesome human, and do me a solid by mentioning me and this post if you happen to use it.  I thank you tons and tons.  Have a great and wonderful day!

20170102_153351-1