Positive Blues

I have made quite a few quilts over the past few years. Many of them have been very simple, because I have been gravitating toward patterns that settle the mind, rather that ignite it. I am fully capable of challenging patterns and designs, some of which I plan to share as I begin to ‘unfold’ again into social media and such. It feels so good to be back, with a solid mindset of productivity. I hope to inspire a few of you to pick things up again if you also feel like you had put things on a shelf for another day, which then turned into another year or more.

Having finished a few really fun quilts for guys, I found that I had a decent amount of leftover scraps. This was not a big surprise. Actually, it’s par for the course, I am afraid. Maybe, instead of talking about this quilt, I should have started with the ones that produced the scraps for this one. Doing things backwards is in my blood, though, so lets just go with it.
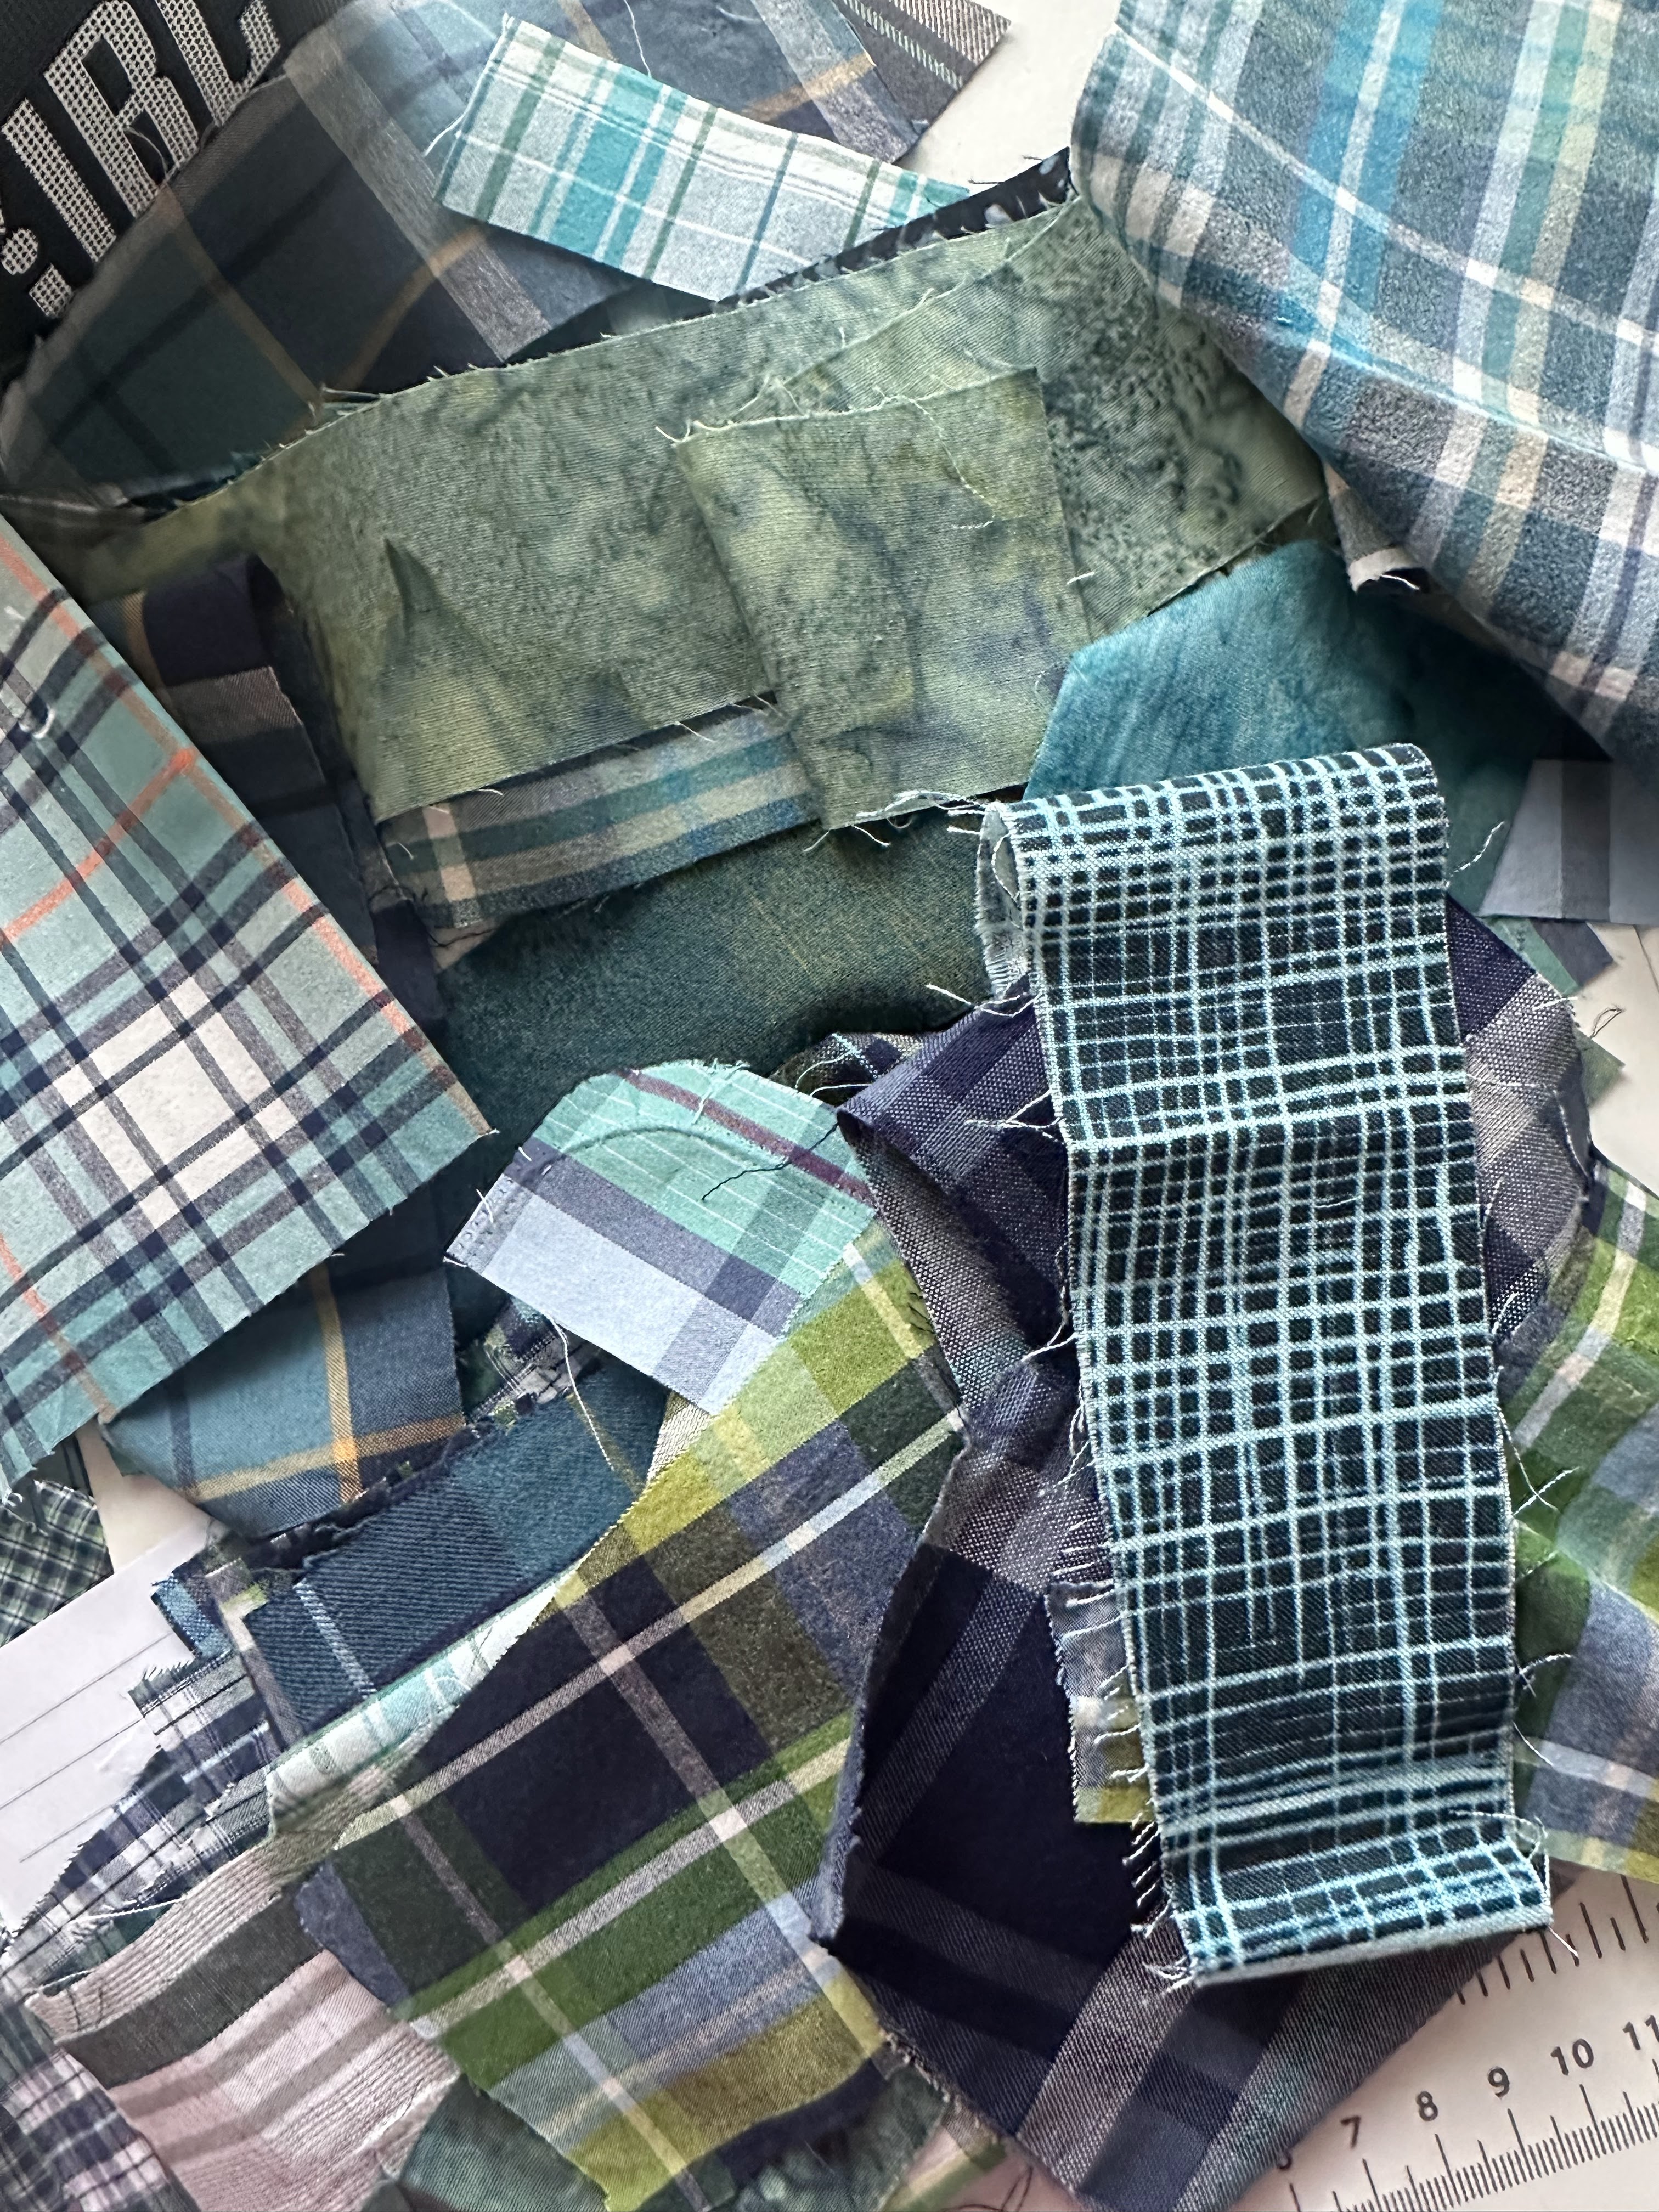
It began as it usually does, with a pile of scraps left over from another project that coordinates so well that I refuse to throw them in the garbage. Sometimes I wish that I would get the minimalist bug, but my brain would just get bored with the nothing and end up with something within about 30 minutes. I won’t explain myself. I will simply share my madness.

Here, you can see that I have a variety of cut-up plaid shirts, quilting cotton, and batiks, In a range of mostly blue, turquois, and green. I stayed on that one corner of the color wheel and it seemed to work out just fine. Most of these scraps were small, so i just sewed a bunch of them together, improv-style, until I got pieces that measured 3 1/2 inches square, not yet knowing what I was going to do with them.
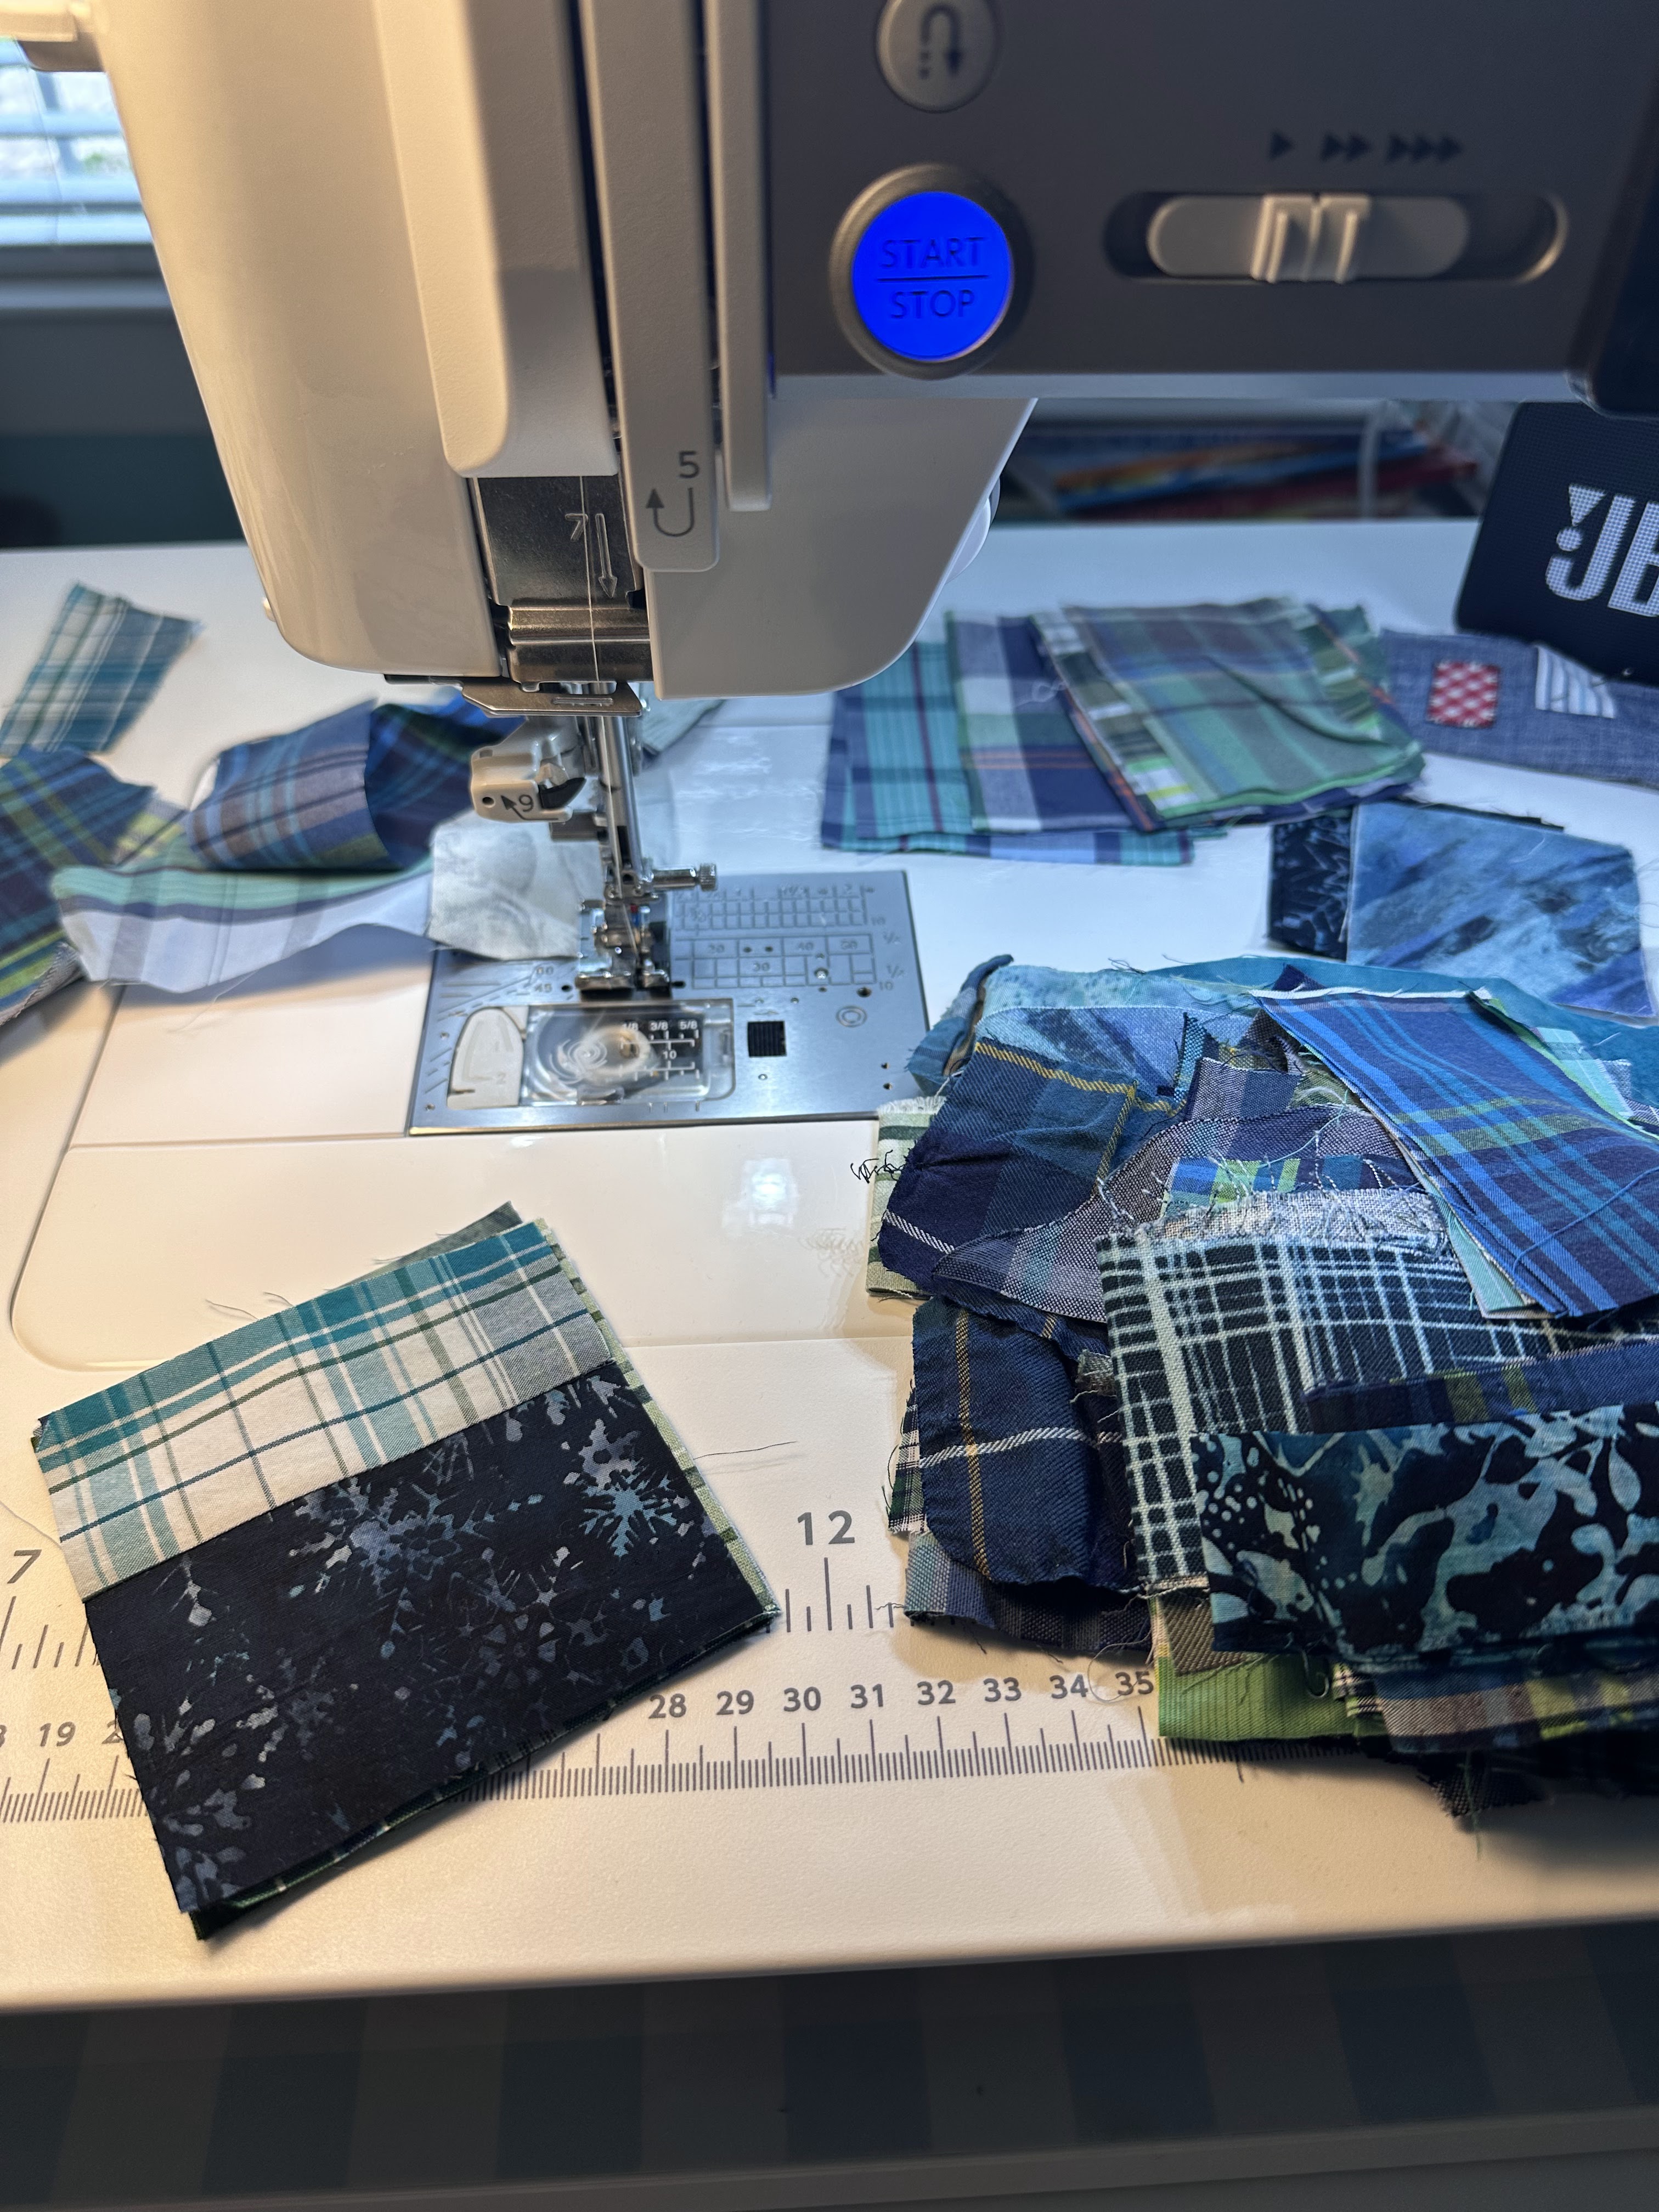
This is what they started looking like as I sewed. I didn’t worry too much about contrast or too much of one color or another, but I did try to vary the type of fabric within each square, such as a batik sewn to a plaid, or quilting cotton to a batik, etc.
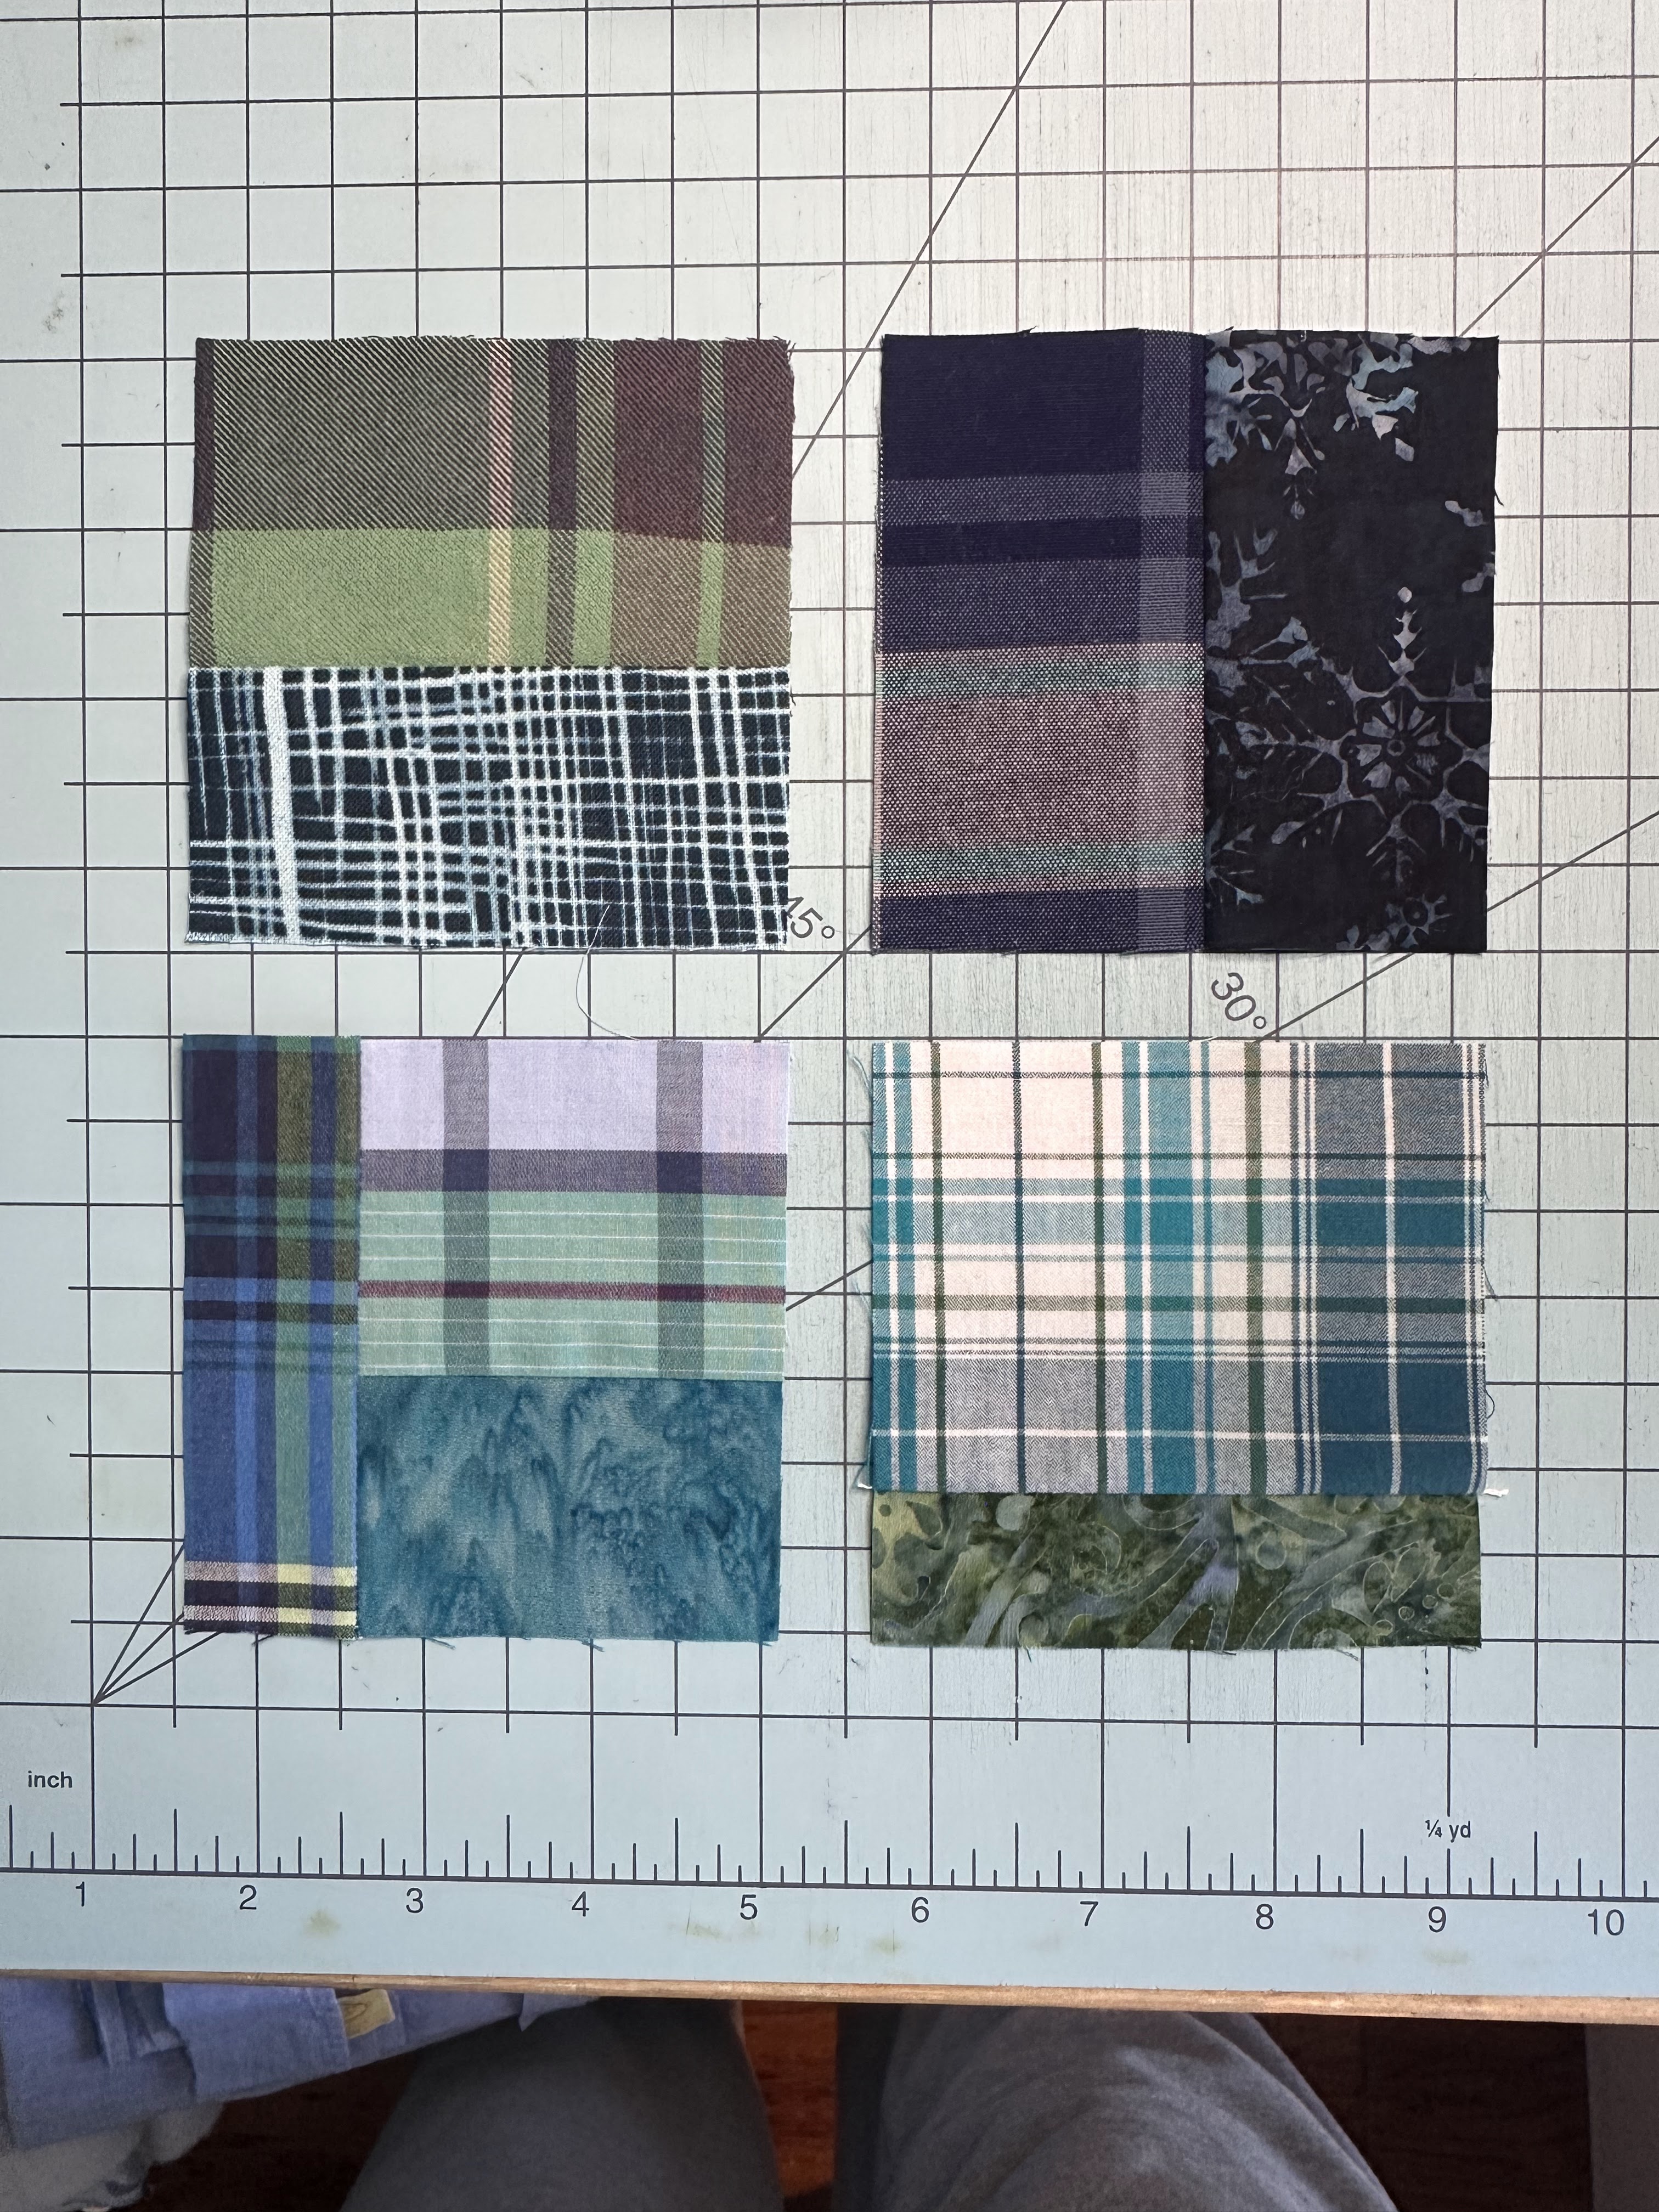
Most of the squares looked like these. I only did vertical and horizontal lines, but I think a stray diagonal would have been fantastic too.
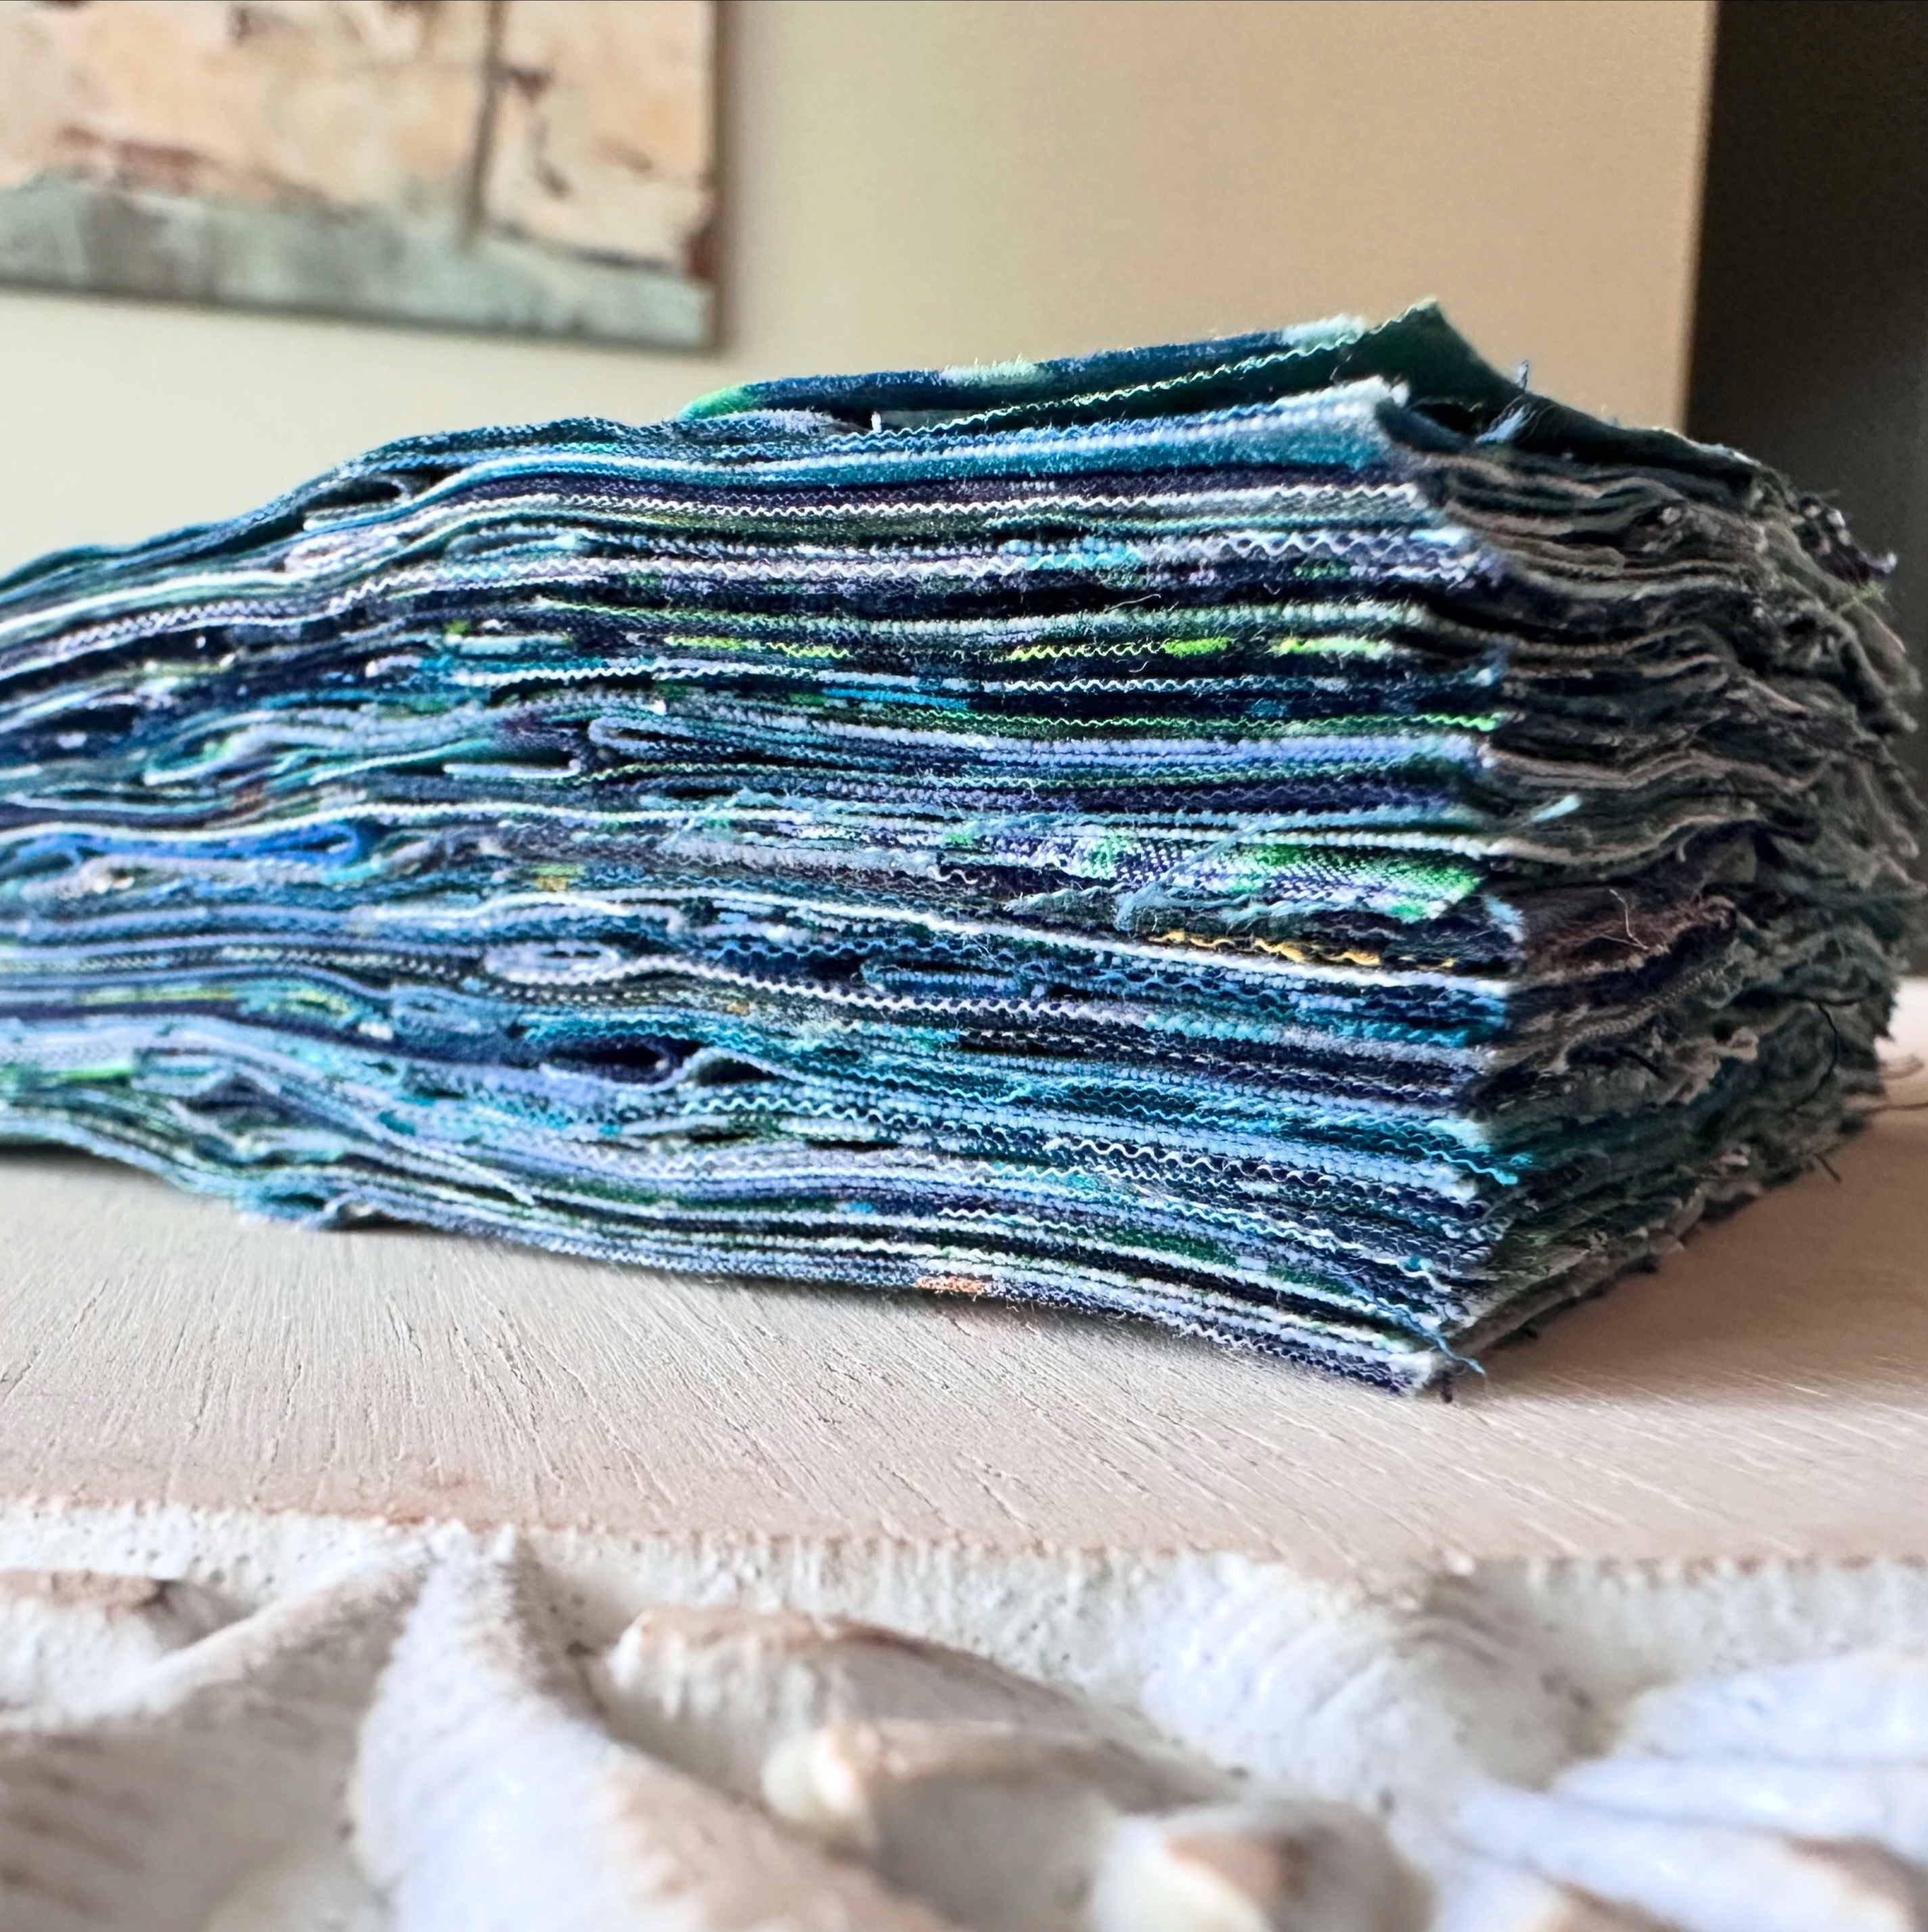
I kept sewing until I had a few stacks like this, still not knowing what to do with them…until I was inspired by a really cool pattern that I will link HERE
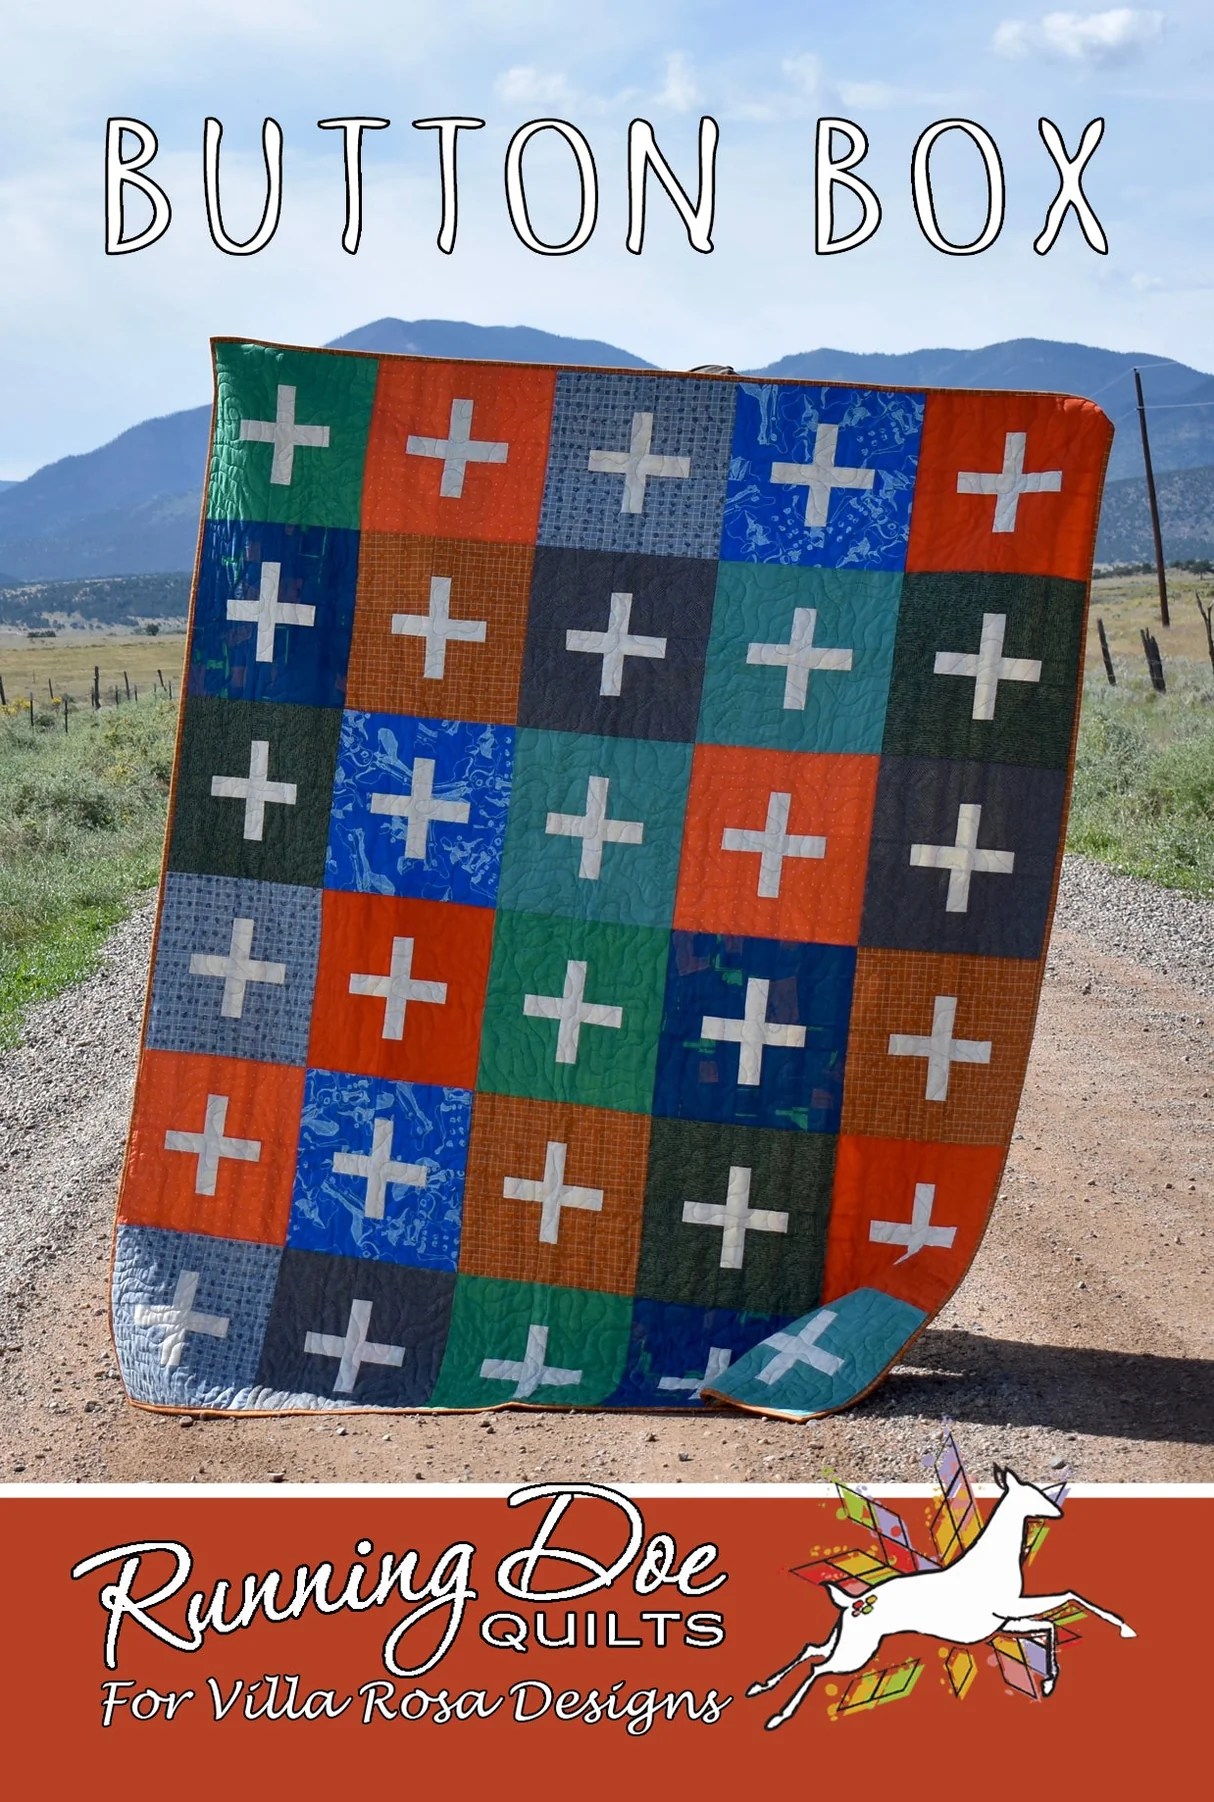
I will disclose that I do not know Catherine at Running Doe personally, but I would be shocked if we haven’t met as she is from the same part of Texas as I. I receive no royalties or kick-backs by sending you to her amazing site full of super easy patterns that are easy on the pocketbook. At writing, this one is $2.00. She does long-arm quilting too, so I will have to make another post relatively soon regarding that part of her business. I have some in the works, Catherine! Watch for me.

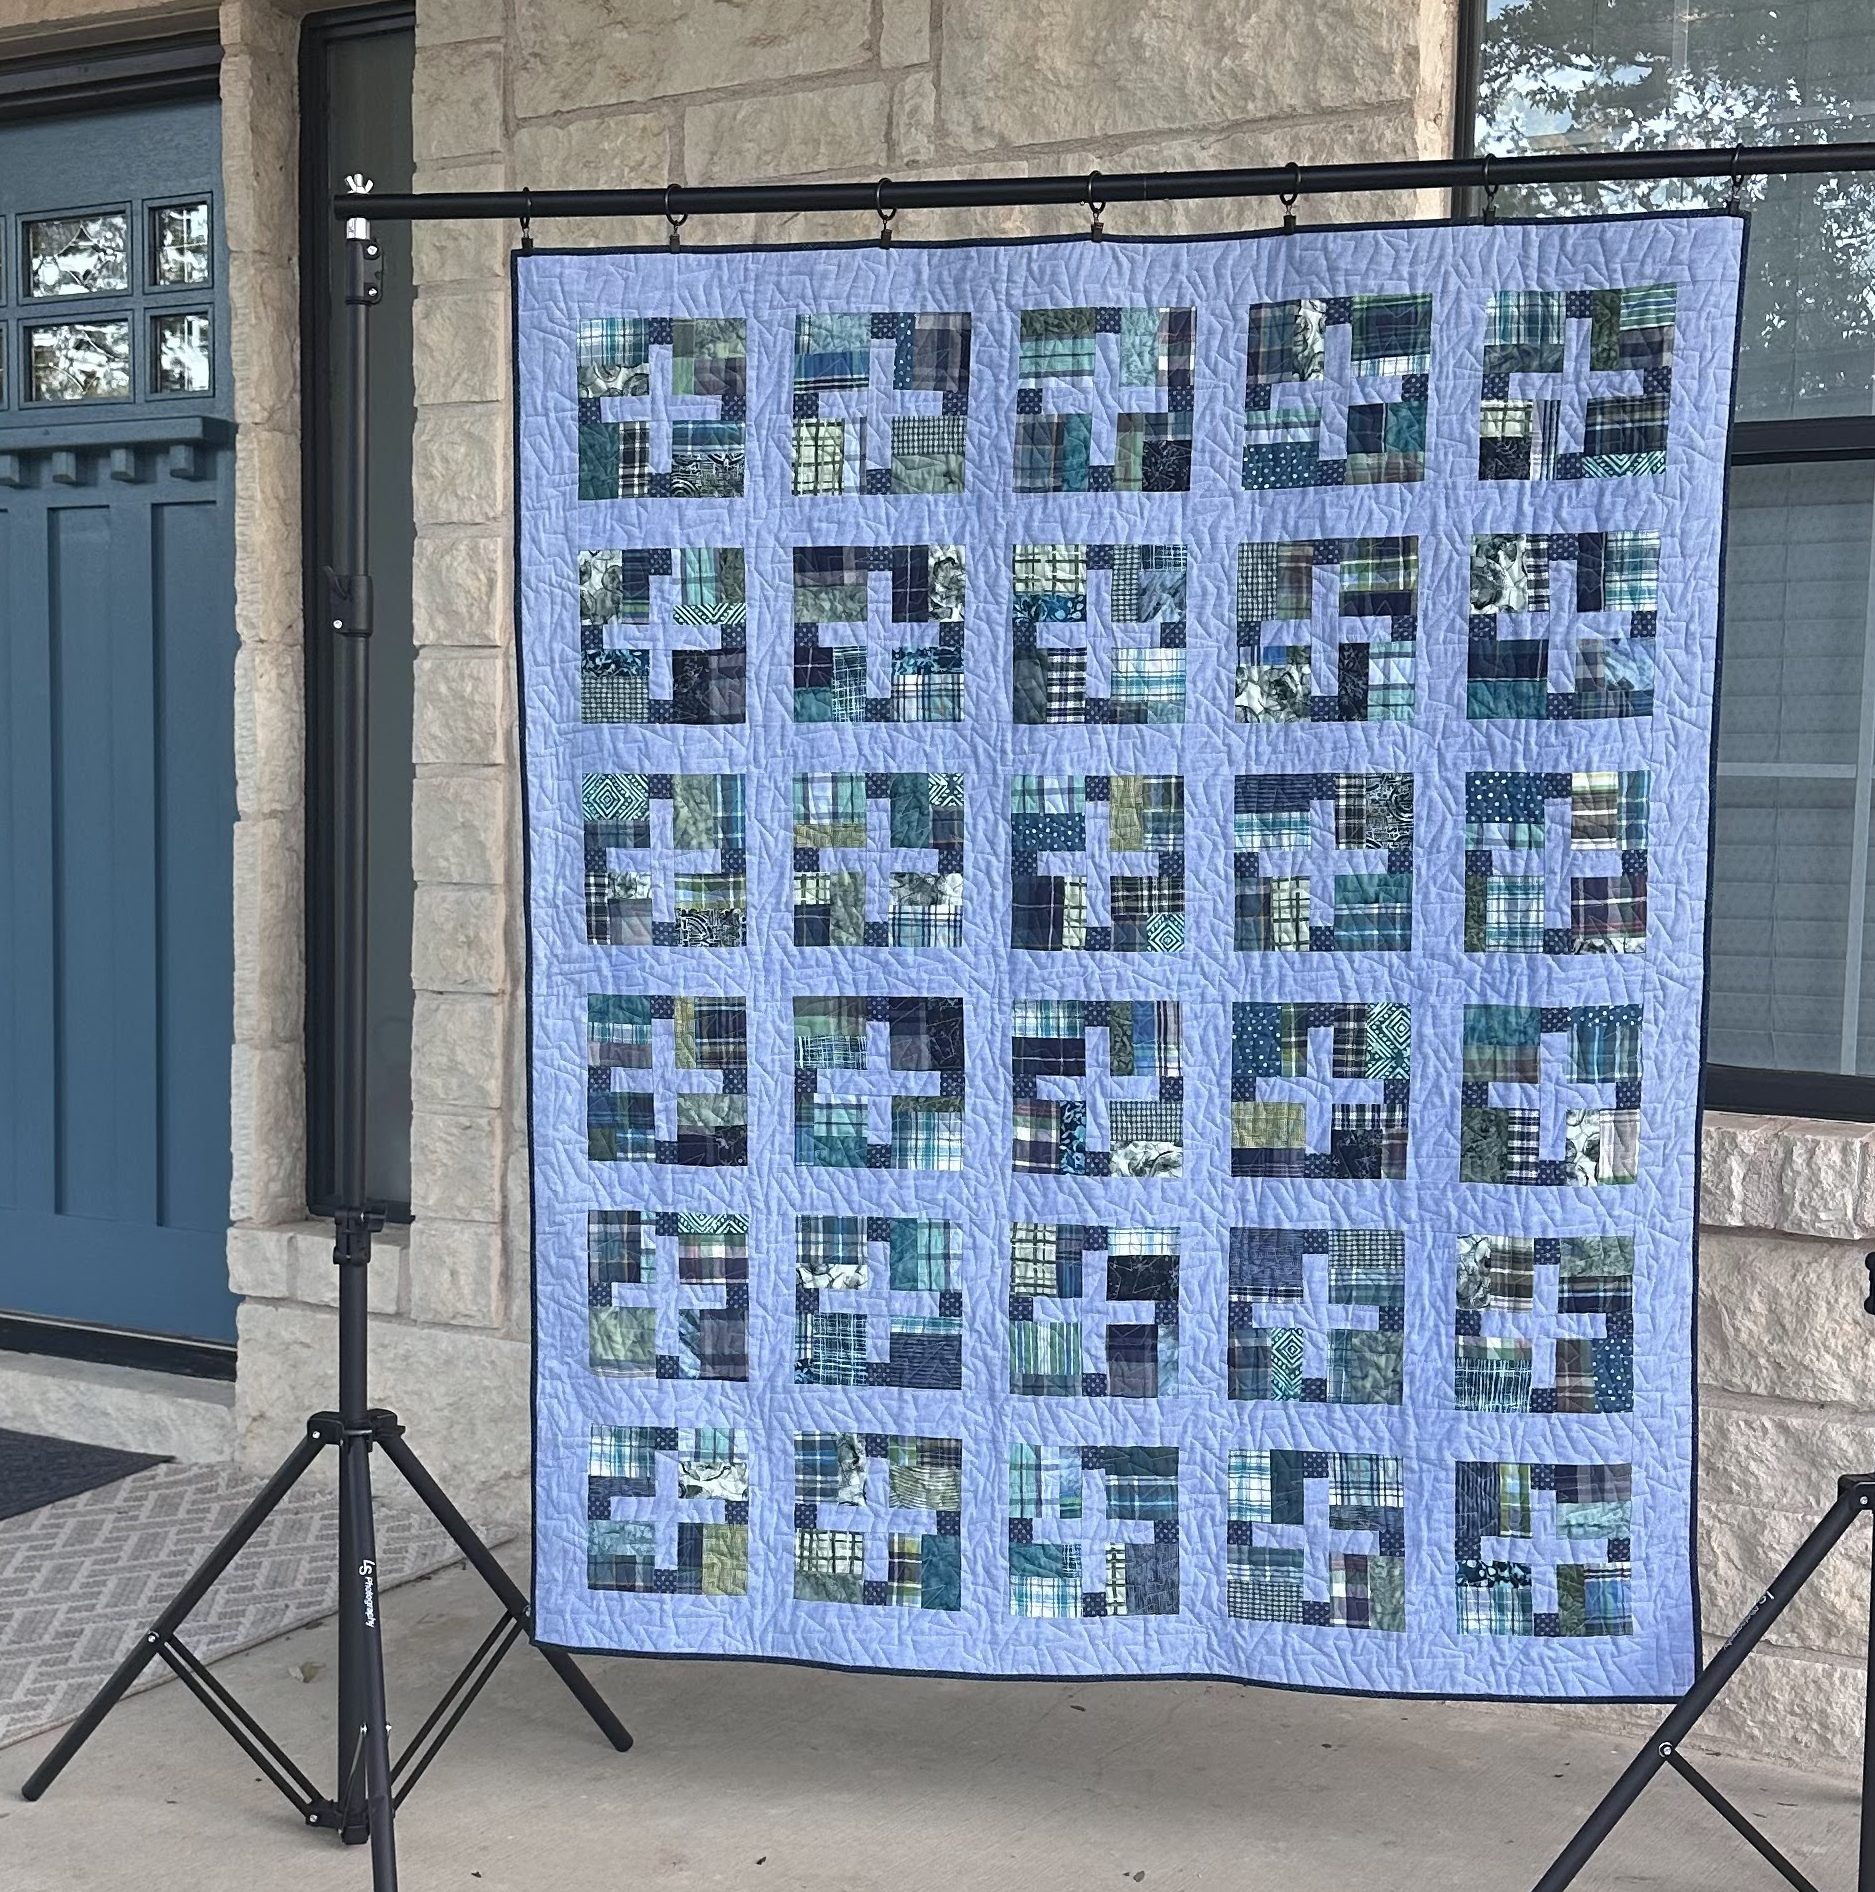
Anyway, I bought her pattern at a local quilt shop at first site, because I thought it would be a good idea for these squares, so I used it for inspiration, and didn’t follow her measurements, since I was already starting with smaller squares. My adaptation made a baby size quilt, hers makes a much bigger quilt. I just know that I will be making her original version eventually, because I just really love this block so much. It is such a great design for a guy quilt.
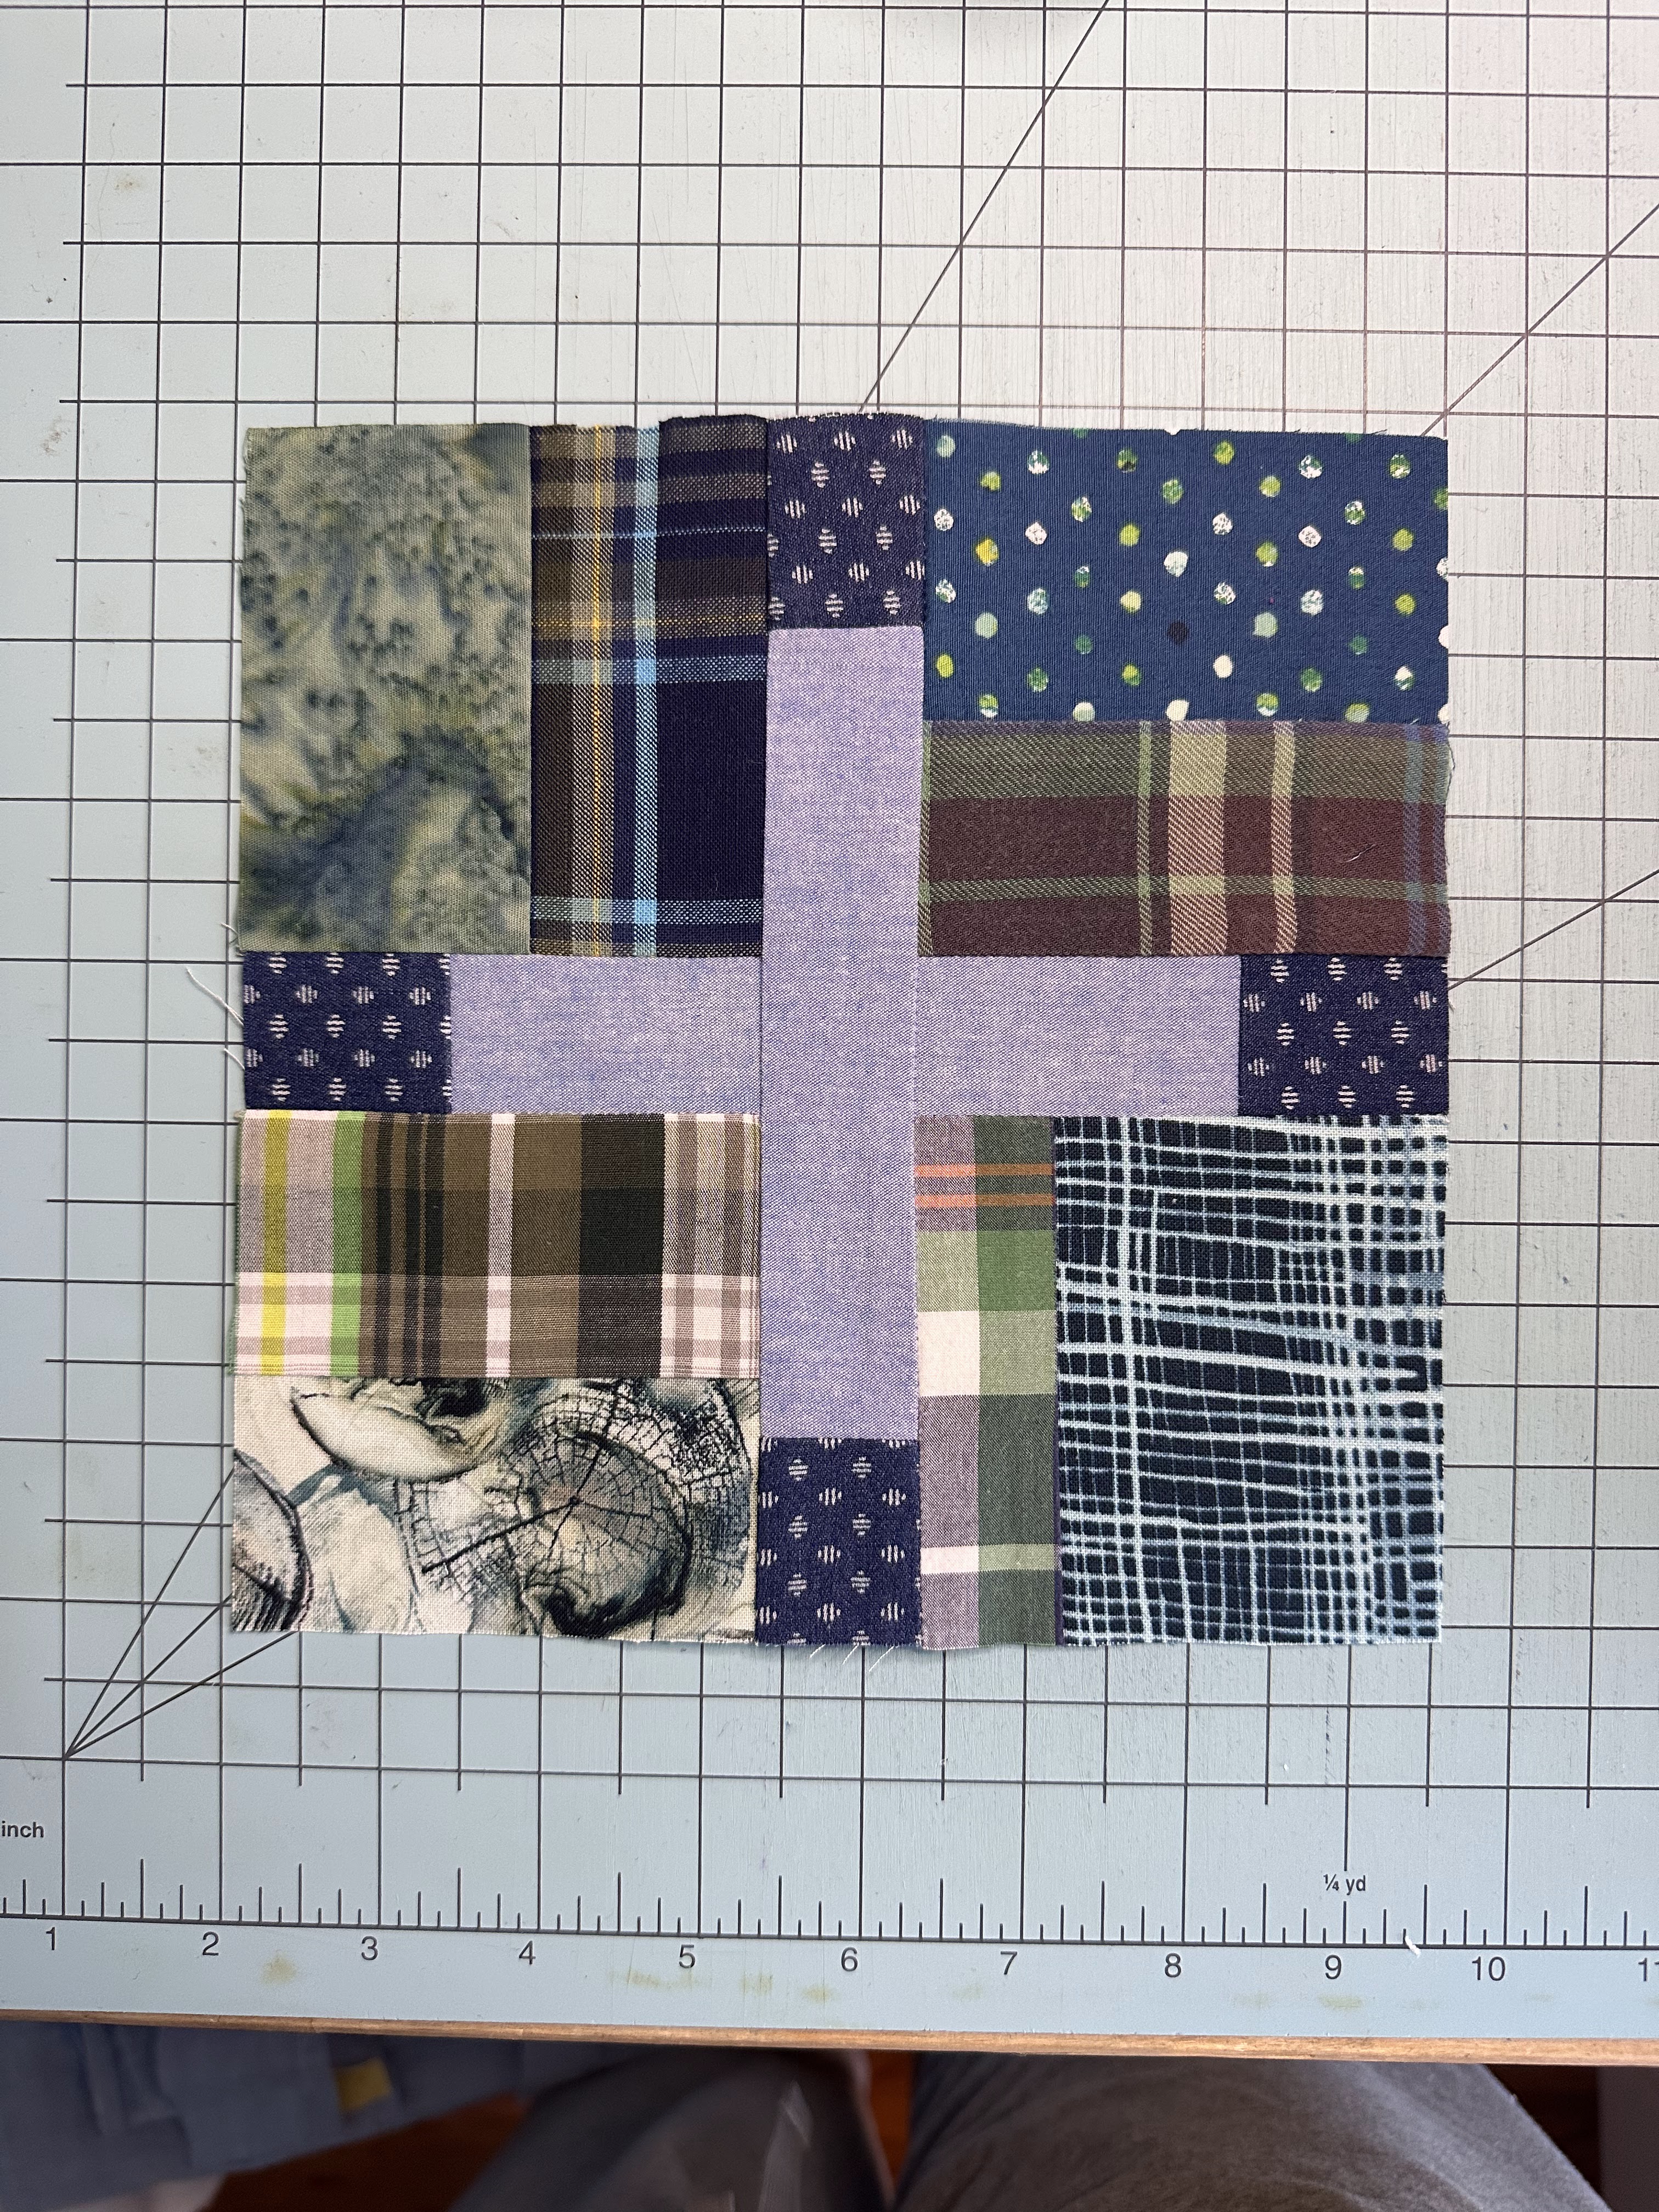
What I ended up doing here, is I added one fabric that is the same in all of the cross blocks to ‘pull’ the scrap squares together visually, and I did all of the math to figure out how much background fabric that I would need for sashing and borders, then I repeated that same background fabric in the middle cross to make those blocks look like they are just floating on the background.
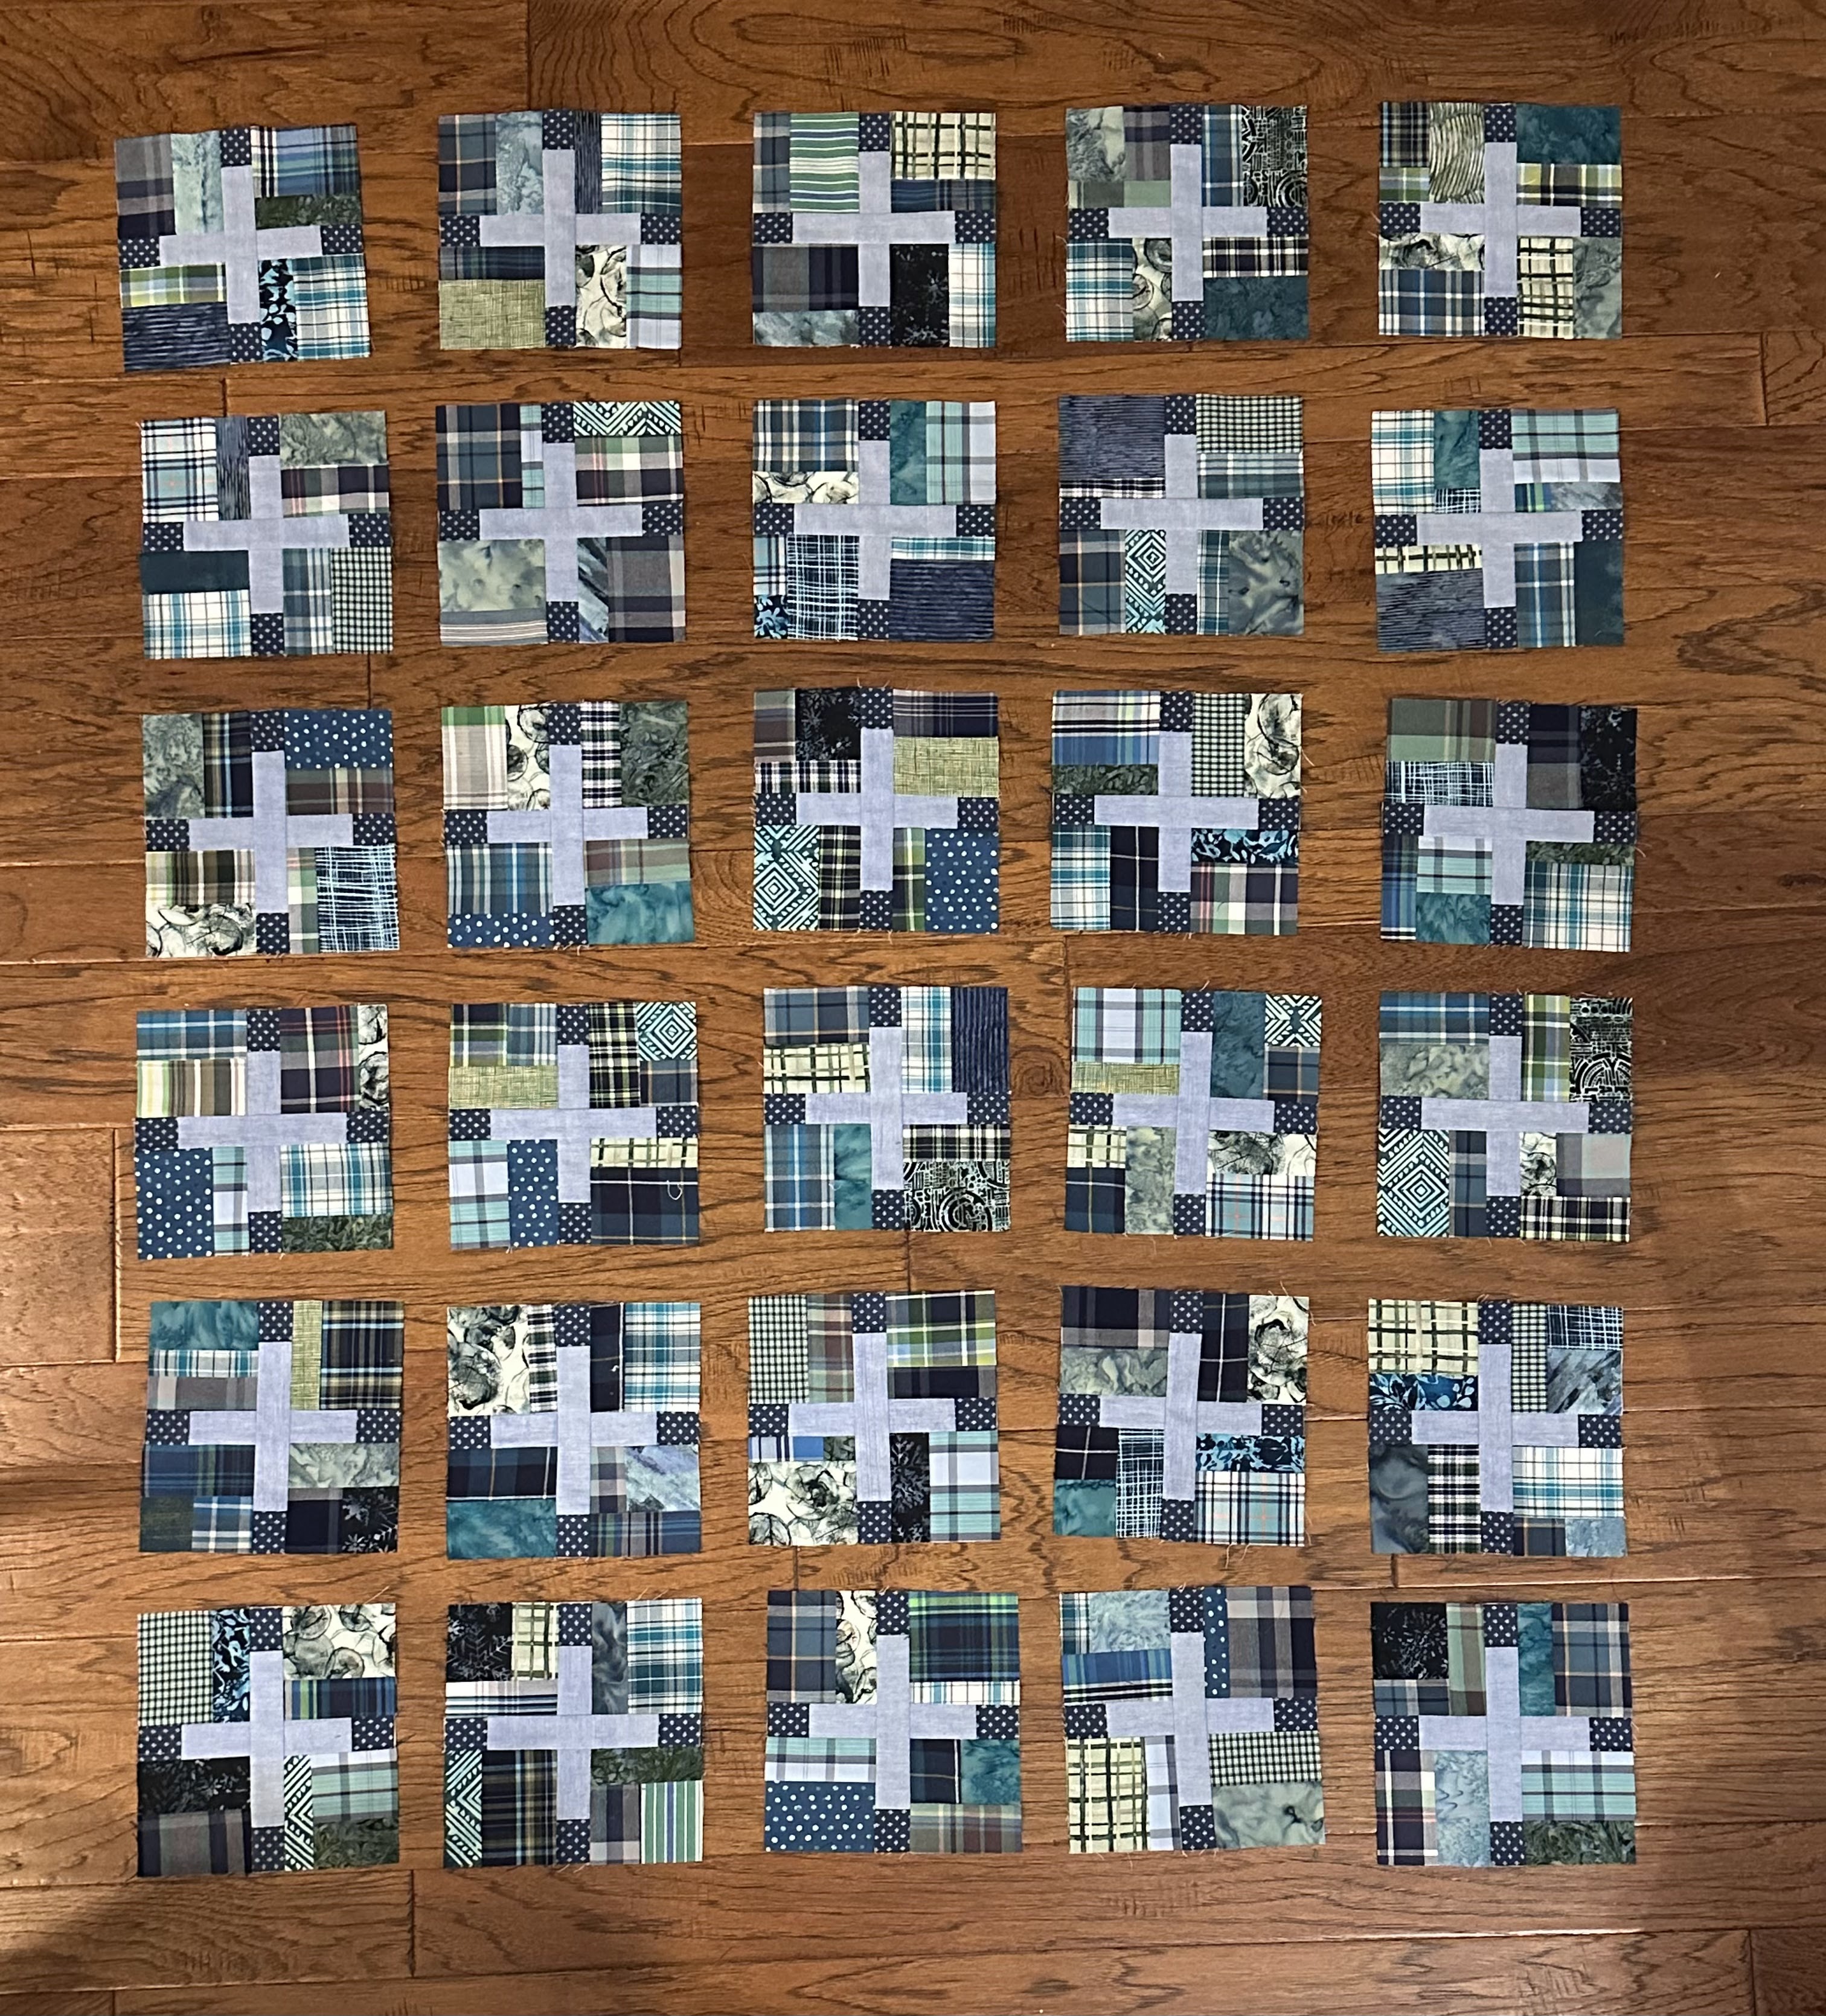
This is what the blocks looked like once I finished sewing what I had left. Once I got the quilt top all together, I sent it to www.quiltingbydavid.com who I have used multiple times in the past. I really need to get comfortable quilting on my domestic Janome, but that will take some practice and determination on my part. Lets see what is in store for me in the future. Hand quilting, yes, but I couldn’t possibly hand quilt all of my quilts in my lifetime. Longarm quilters are true gifts from God. Thank you to all who provide this service.

In closing, I ask you if YOU ever just start projects, not knowing how it will end up looking. What is your most common source of inspiration? Do you have to know what you are making before you begin, or do you piddle around like I do, until you find a path?

I have missed you all! I am so glad to be back sharing again. Have a great week!

-Button Counter
Snare the Innocent.

20190719_174139

During the last Austin Area Quilt Guild show last year, I spent most of my time (and money) visiting the vendor booths in search of my usual vintage fabric, quilt tops, and blocks.  I did find a respectable amount to bring home with me, but I was able to keep my shopping frenzy to a controlled minimum.

I also happened to have one of my daughters with me, the youngest, then at age 8.  She isn’t as interested in quilting or sewing as I was at her age, but she does dabble, and I don’t push her into that direction at all, lest I lose her quilting curiosity completely.  She may not get the quilt bug at all, and that is fine. She may pick it up later in life, when she is grown and has a family of her own.  I won’t bank on it.  I will love to see whatever she decides to do with her free time. Right now, her interest lies in destroying a ‘Wreck This Journal’ book. I couldn’t be happier.

20190719_174453

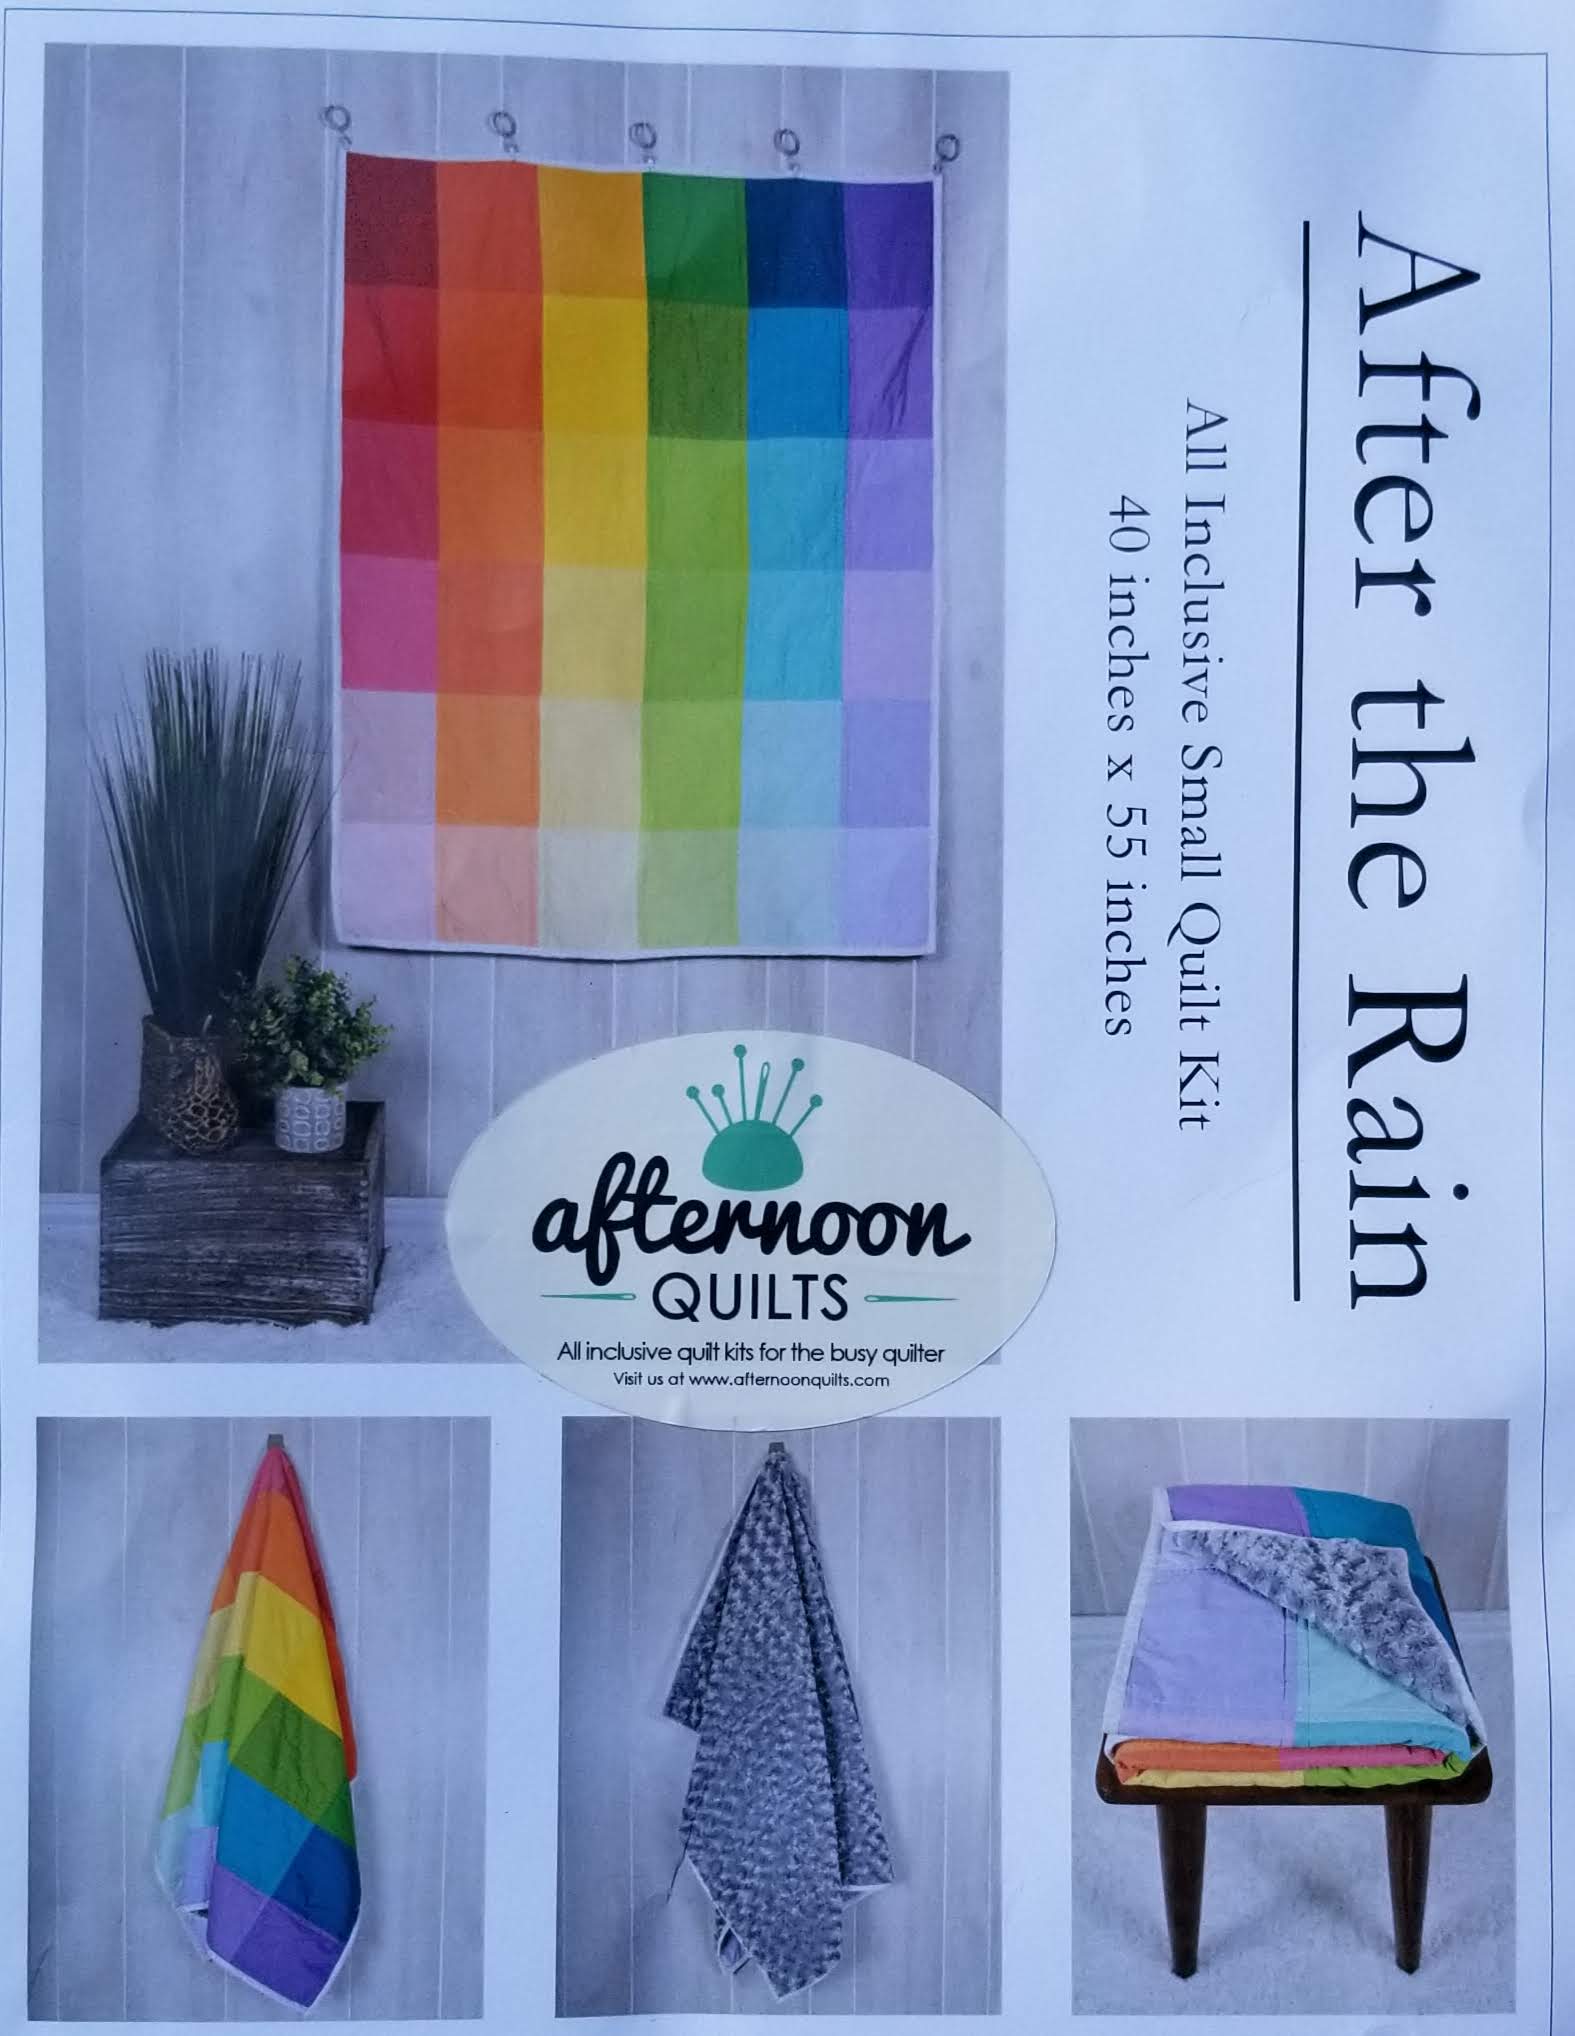
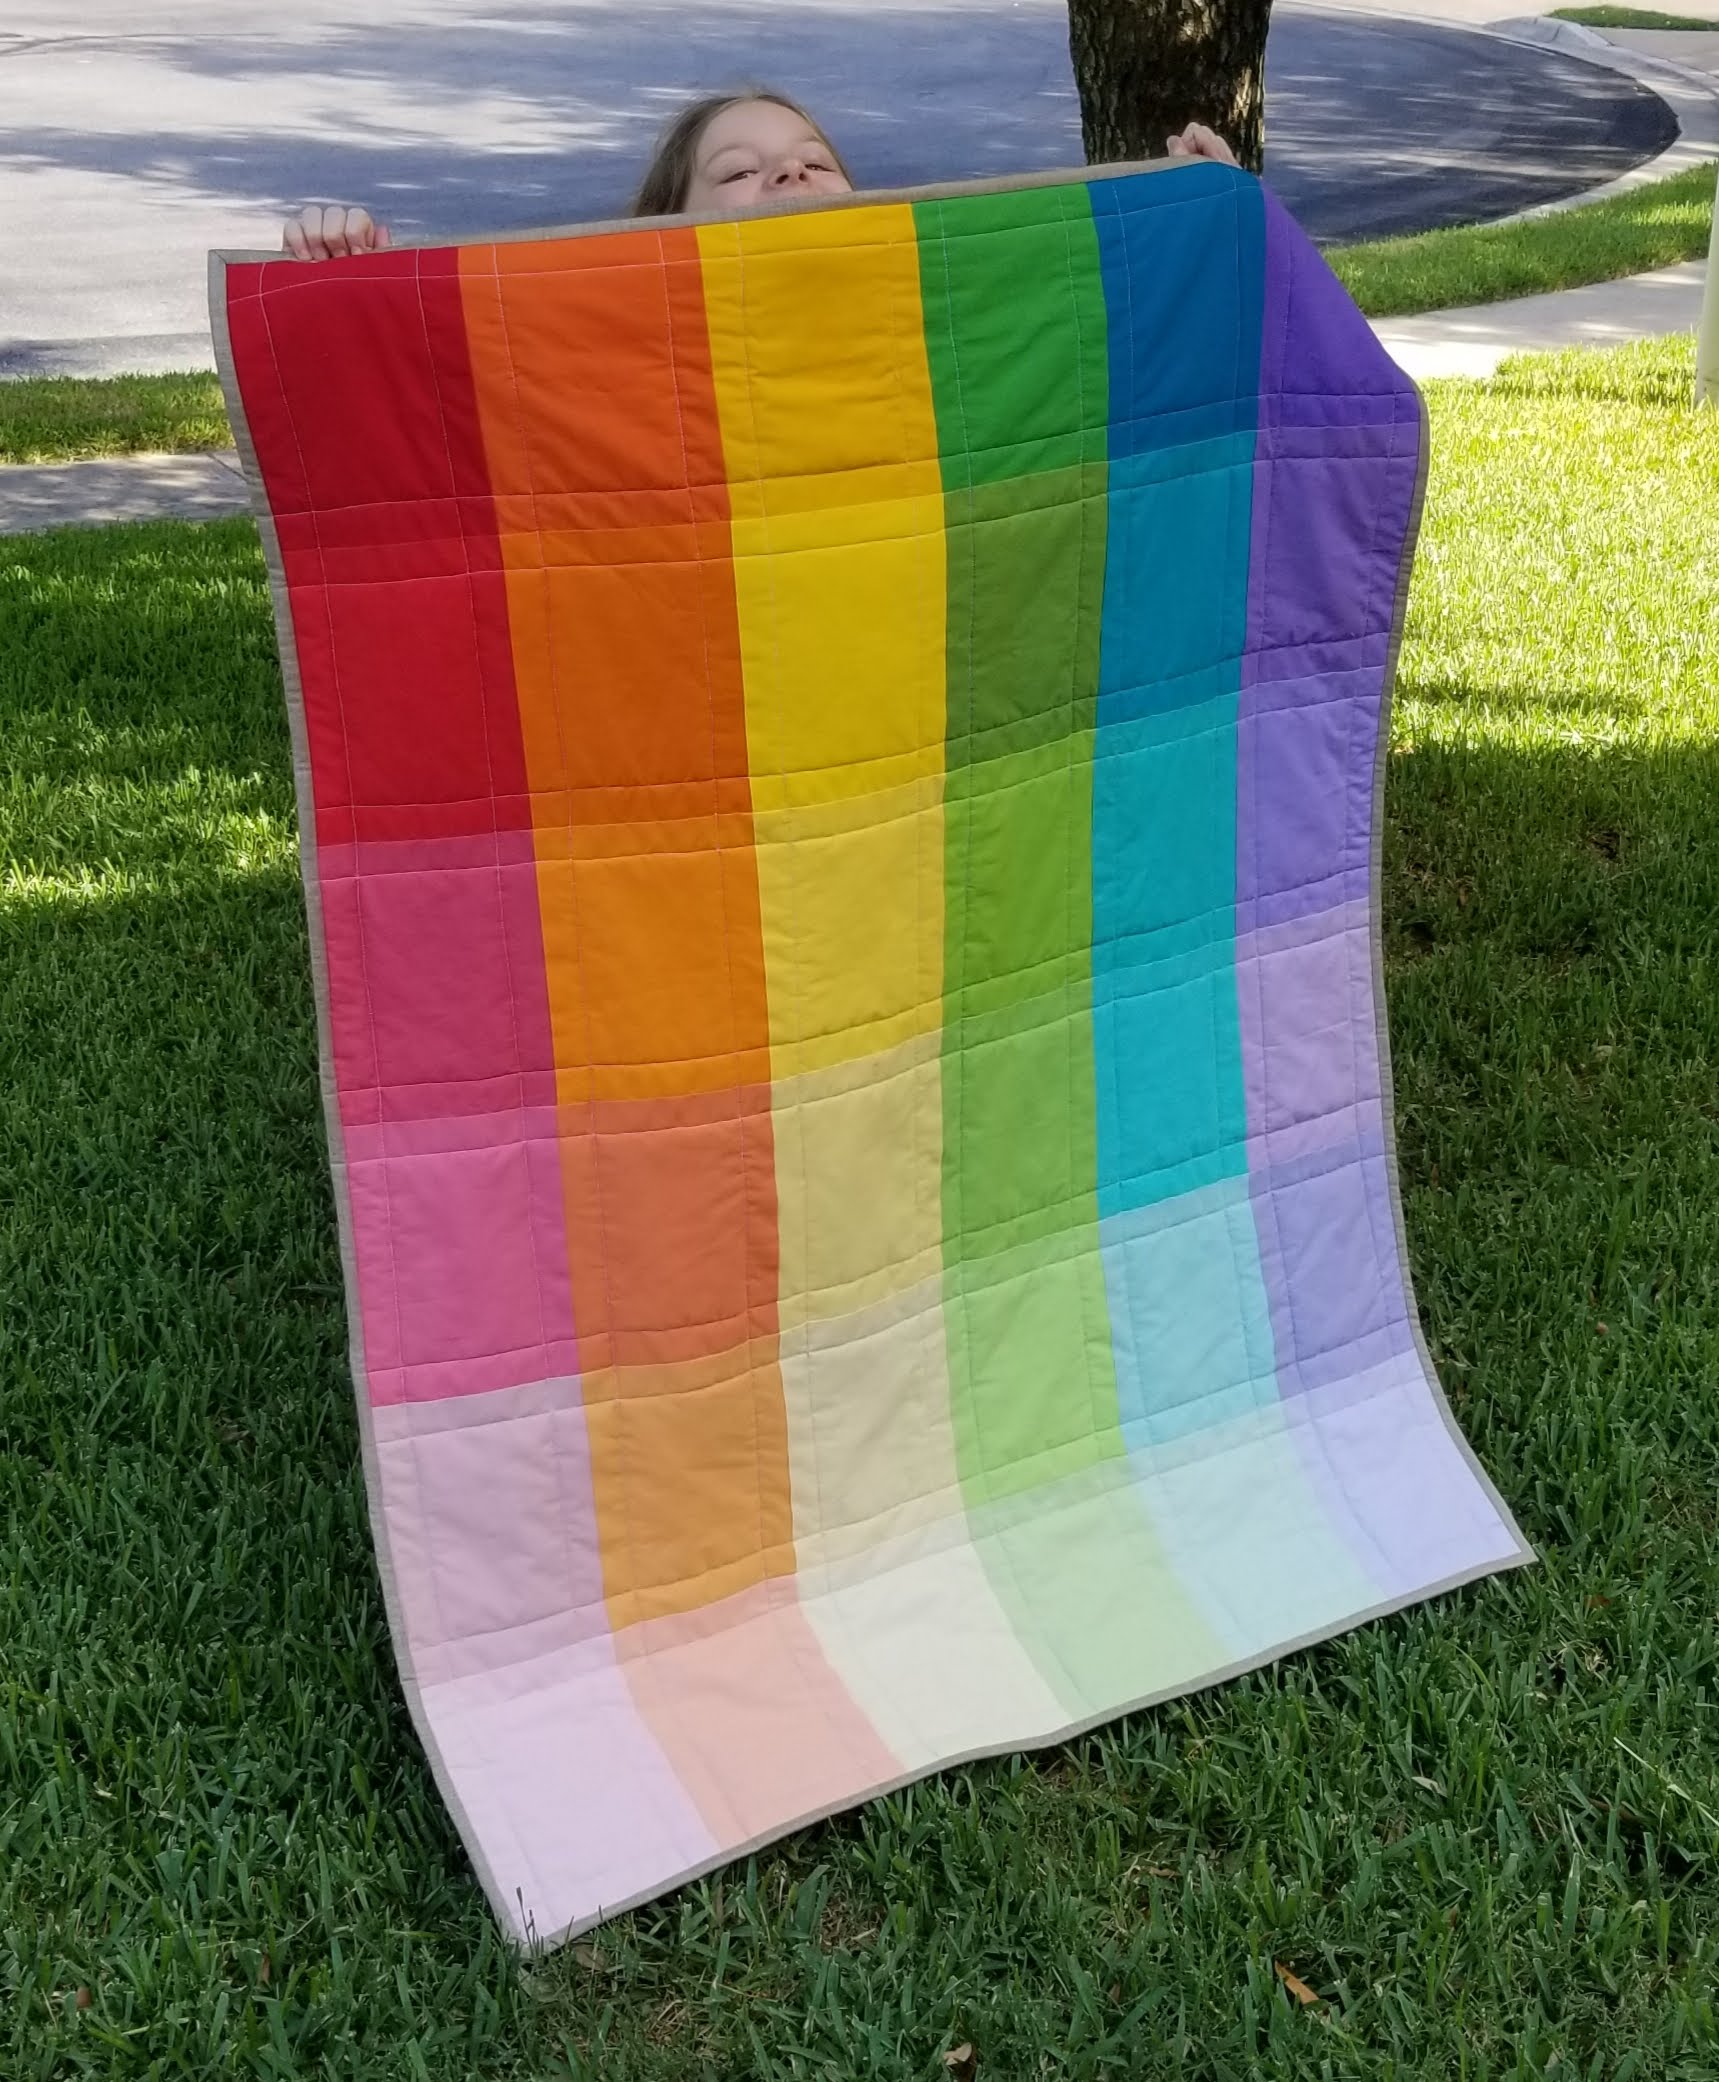
Anyway, while we were wandering the booths, we came to one vender called Afternoon Quilts, who had all of these beautiful little quilt kits. Most of them were small or lap size, all were simple, quick designs, and they were all-inclusive. The binding, the minkee backing, the batting, the carefully labeled pieces for the top (front of the quilt), and excellent easy-to-read instructions were all there in each kit.  My daughter was begging to have one, and so, we snagged the one named ‘After the Rainbow’ after much deliberation and one eeny-meeny-miny-moe tie-breaker.  It was pleasant to work with Katie and Debbie, the owners of Afternoon Quilts, as their customer service was outstanding. The part that really made me want to throw my credit card down, was the special attention that they gave to my daughter.  They kept eye contact and conversation with her at all times, as she was the true customer. It was a refreshing change in a place were children are not understood to be the possible next generation of quilters. I am telling you, this event might have hooked her into the world of fabric hoarding and ripping seams for the next 80 years (or so).

She came home that day all excited to make that quilt; however, I am ashamed to admit that I promised her we would get to right after (insert whatever interruptions normally happen here).  Okay, my bad. I realize and own this mistake. It’s all on me. This kit came to surface again last month when I was cleaning and purging my sewing room, so I immediately set it at the top of the ‘MUST DO!!!’ list, and we got to work.

I set her up on her brother’s Brother, and she went to town sewing these blocks together into rows, then I helped her get the rows together into a top. This was truly the perfect pattern for kids to be introduced to quilting. There is zero cutting to do (other than trimming to prepare for the binding step, and that step you can use scissors for.) It went together so fast. With kids, they want instant gratification on a project or they get bored, so this is very important to keep them motivated to keep with it.

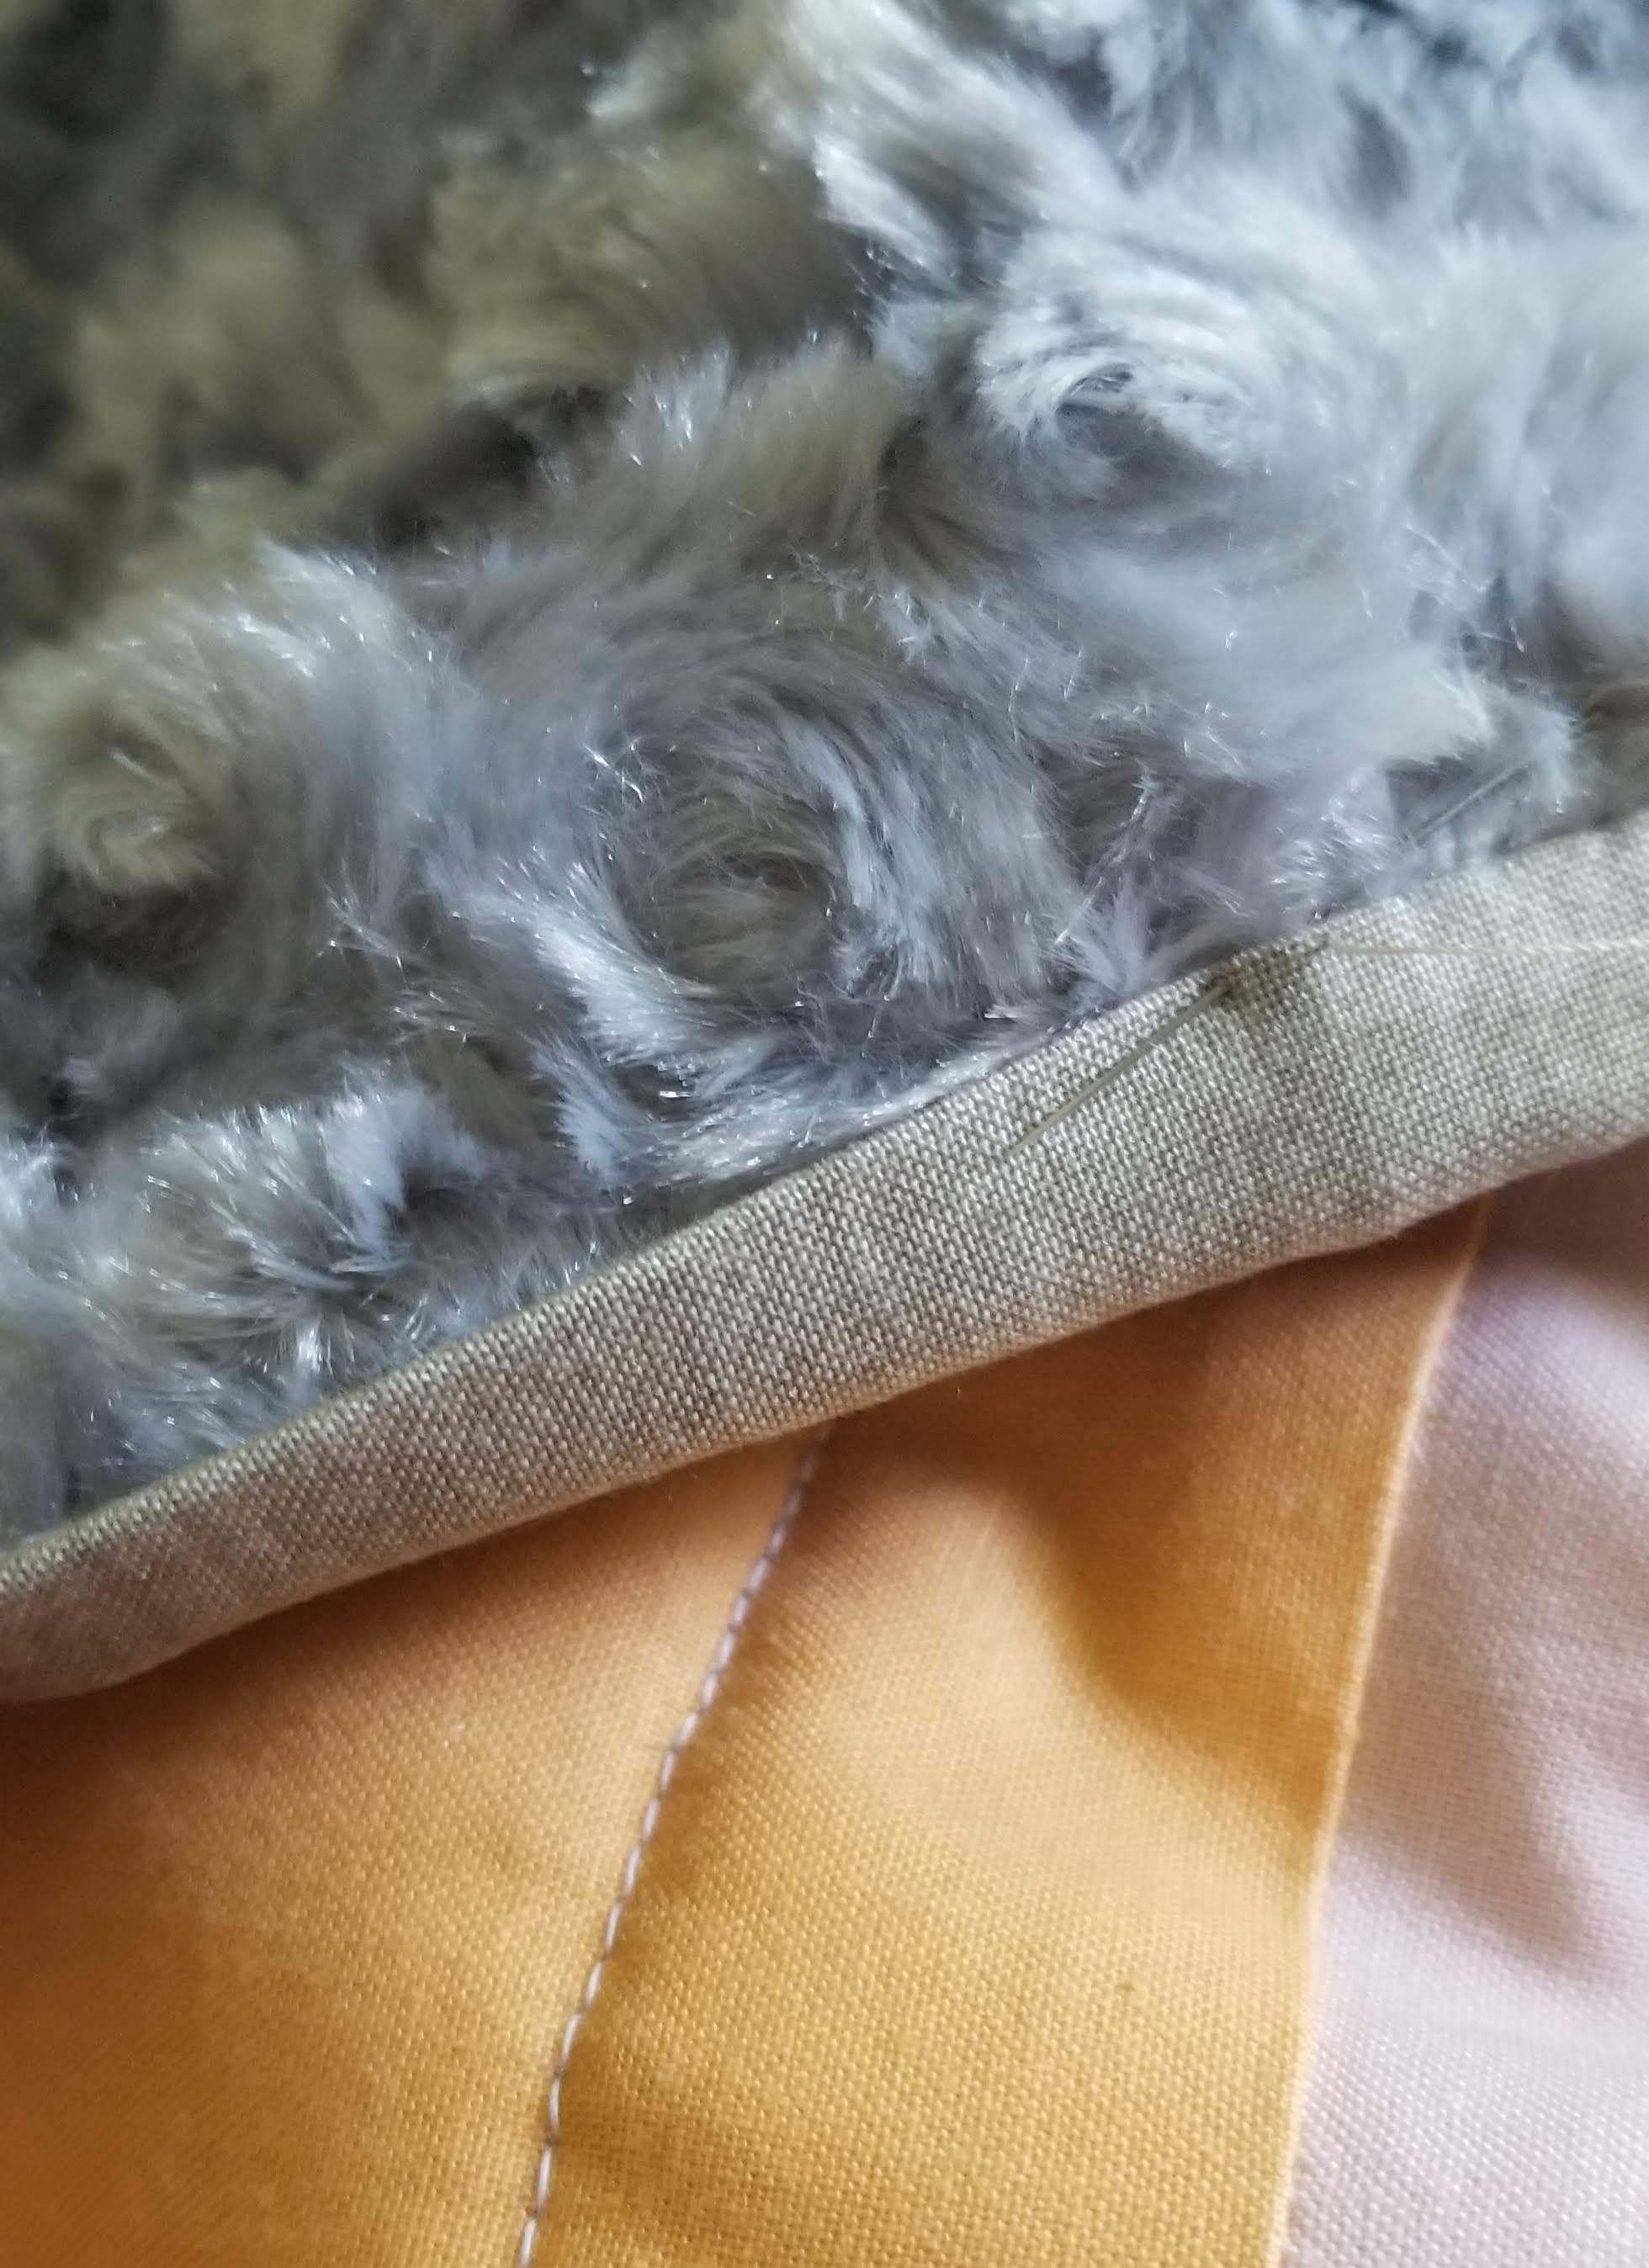
The only notes that I would add to anyone interested in one of these kits is that the minkee/fluffy backing is not beginner quilter friendly. I had no problem machine quilting with it on my domestic machine, but I have a dual feed presser foot, which helps prevent shifting during quilting. Otherwise, I would recommended either asking if they have a cotton backing option, or you could spray baste between the backing and the batting layers before quilting.  We used plenty of safety pins, which worked just fine for the simple straight line quilting that we chose.

Another thing that could be done to make this quilt kit easy for a beginner, is to omit the binding completely. Before quilting, sandwich the three layers envelope style (batting, Backing-face up, then top-face down) sew around the perimeter leaving an opening to turn it inside out. stitch the opening closed afterward. Sew around the perimeter again to encase the outer seam, then quilt or tie the center area as desired.

20190719_125959

Hilariously, I decided to sew the binding to the front of the quilt by machine and hand stitch down to the back (my typical method), which is all well and good unless you have this fluffy backing.  I knew better, I really did.  I knew that I should have machine sewn the binding to the back, then hand stitch to the front, but you know how I love a good laugh. Other than that single trip-up, this was actually a fun experience. She got a new favorite lap quilt, I got a UFO out of my sewing room, and we both finished it together without any tears. 5 out of 5 stars full bobbins.

DISCLOSURE: This is an honest customer review.  I do not have a bias, nor have I financially benefited from this company by making this review.  At the time of this writing, Afternoon Quilts is unaware of my writings, which are my opinions alone. Thank you in advance for any feedback from my post, as I always value your kind words.

Have a happy sewing weekend, Y’all.